I am installing the Van’s door latch indicator system to provide positive verification that the doors are correctly latched when closed.
In retrospect, it would have made more sense to purchase the sensors and magnets separately as I did not need the remaining items in the kit. I will use a discrete input to my EFIS and will not need the relays and LED lights.

The Van’s plans would have you install the sensor perpendicular to the axis of the magnet by securing it with an Adel clamp beside the pin.
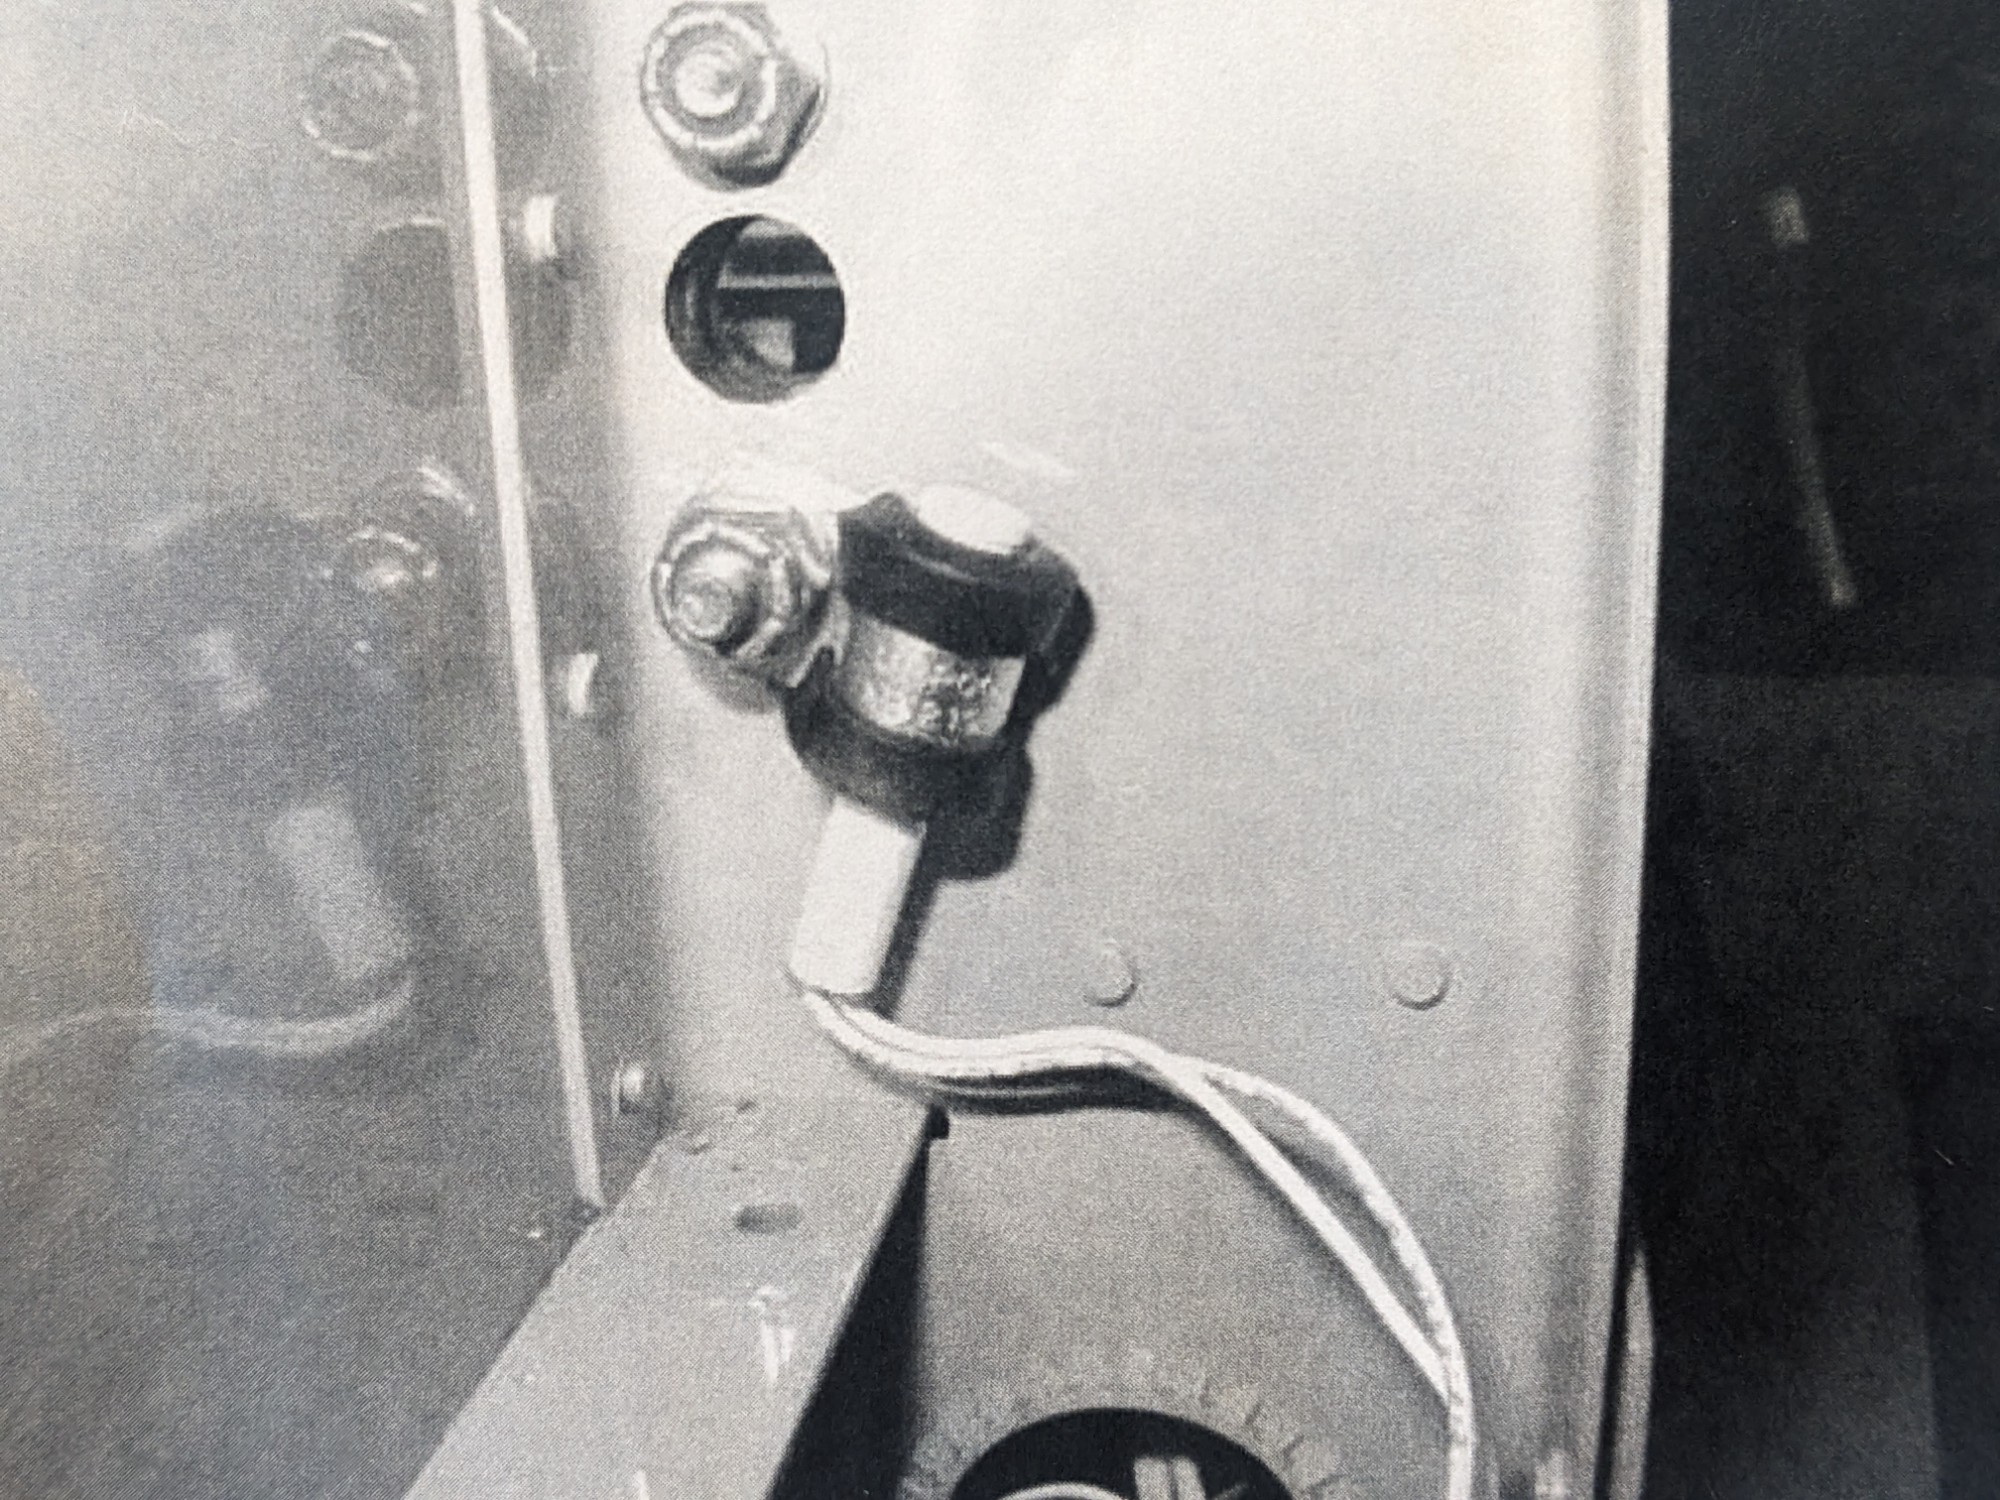
I tested this configuration with the increased travel of the PlaneAround 180 degree latch and found that it wasn’t ideal.
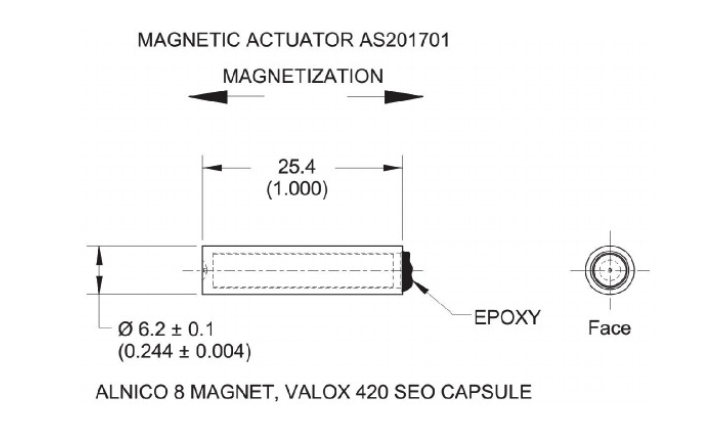
The axis of the sensor (Cherry MP2017) is along the cylindrical axis of the housing and is intended to be aligned with the N-S axis of the magnet. While the sensor works in the Van’s configuration (perpendicular to the magnet) it wouldn’t reliably sense at the middle of the magnet given the weak magnetic field in this area. The increased travel from the PlaneAround system puts the center of the magnet close to the sensor and gave me inconsistent results.
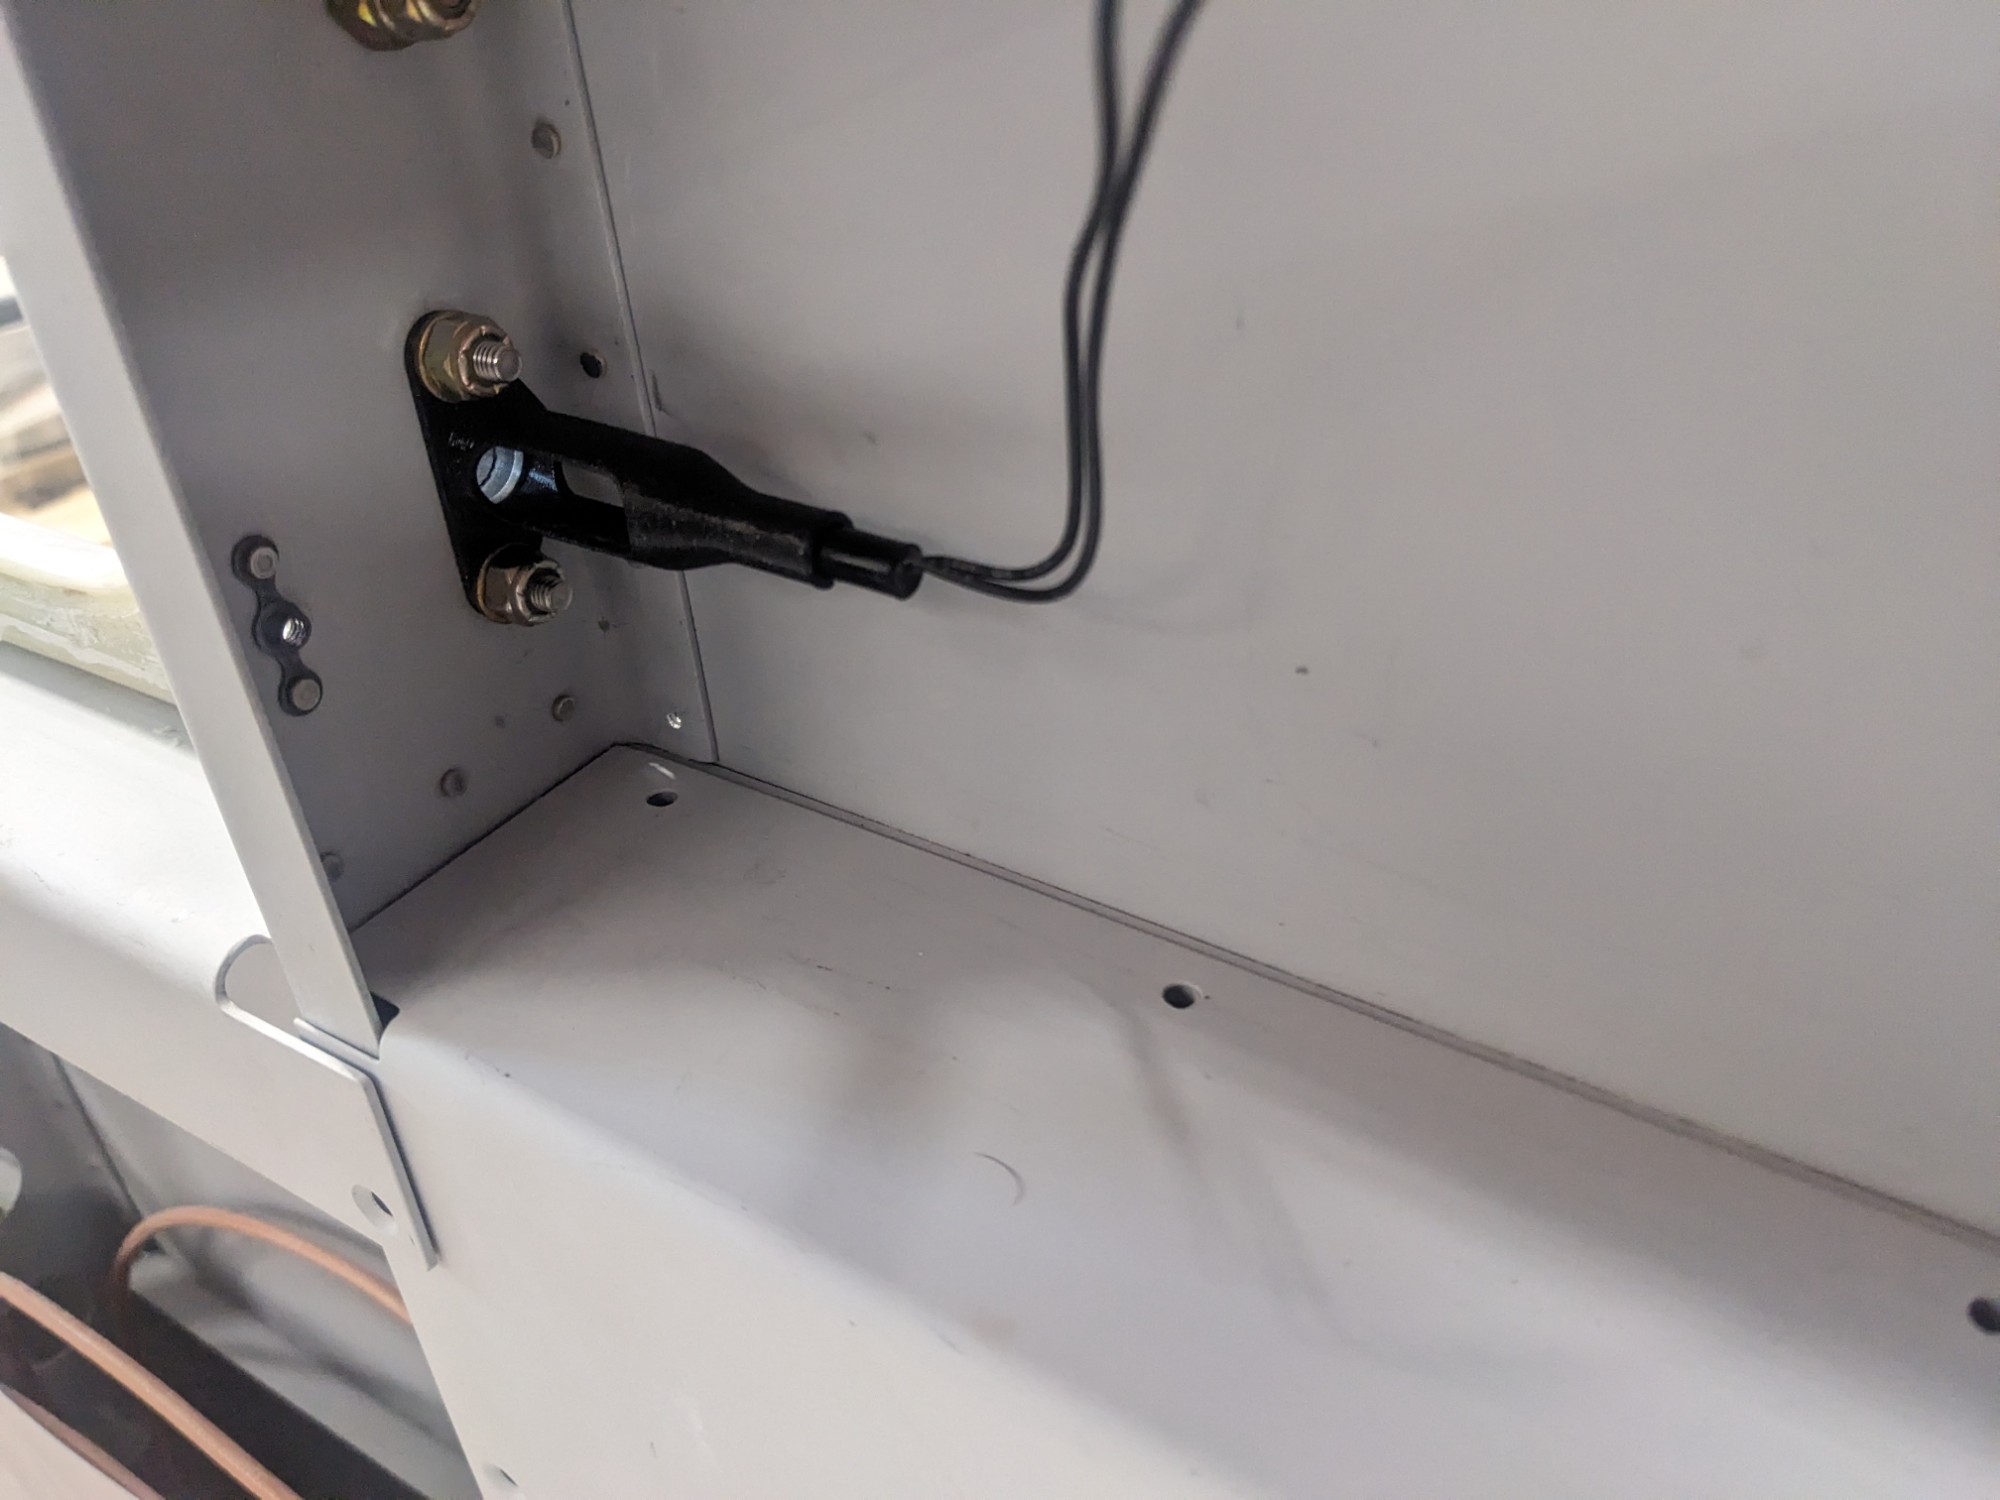
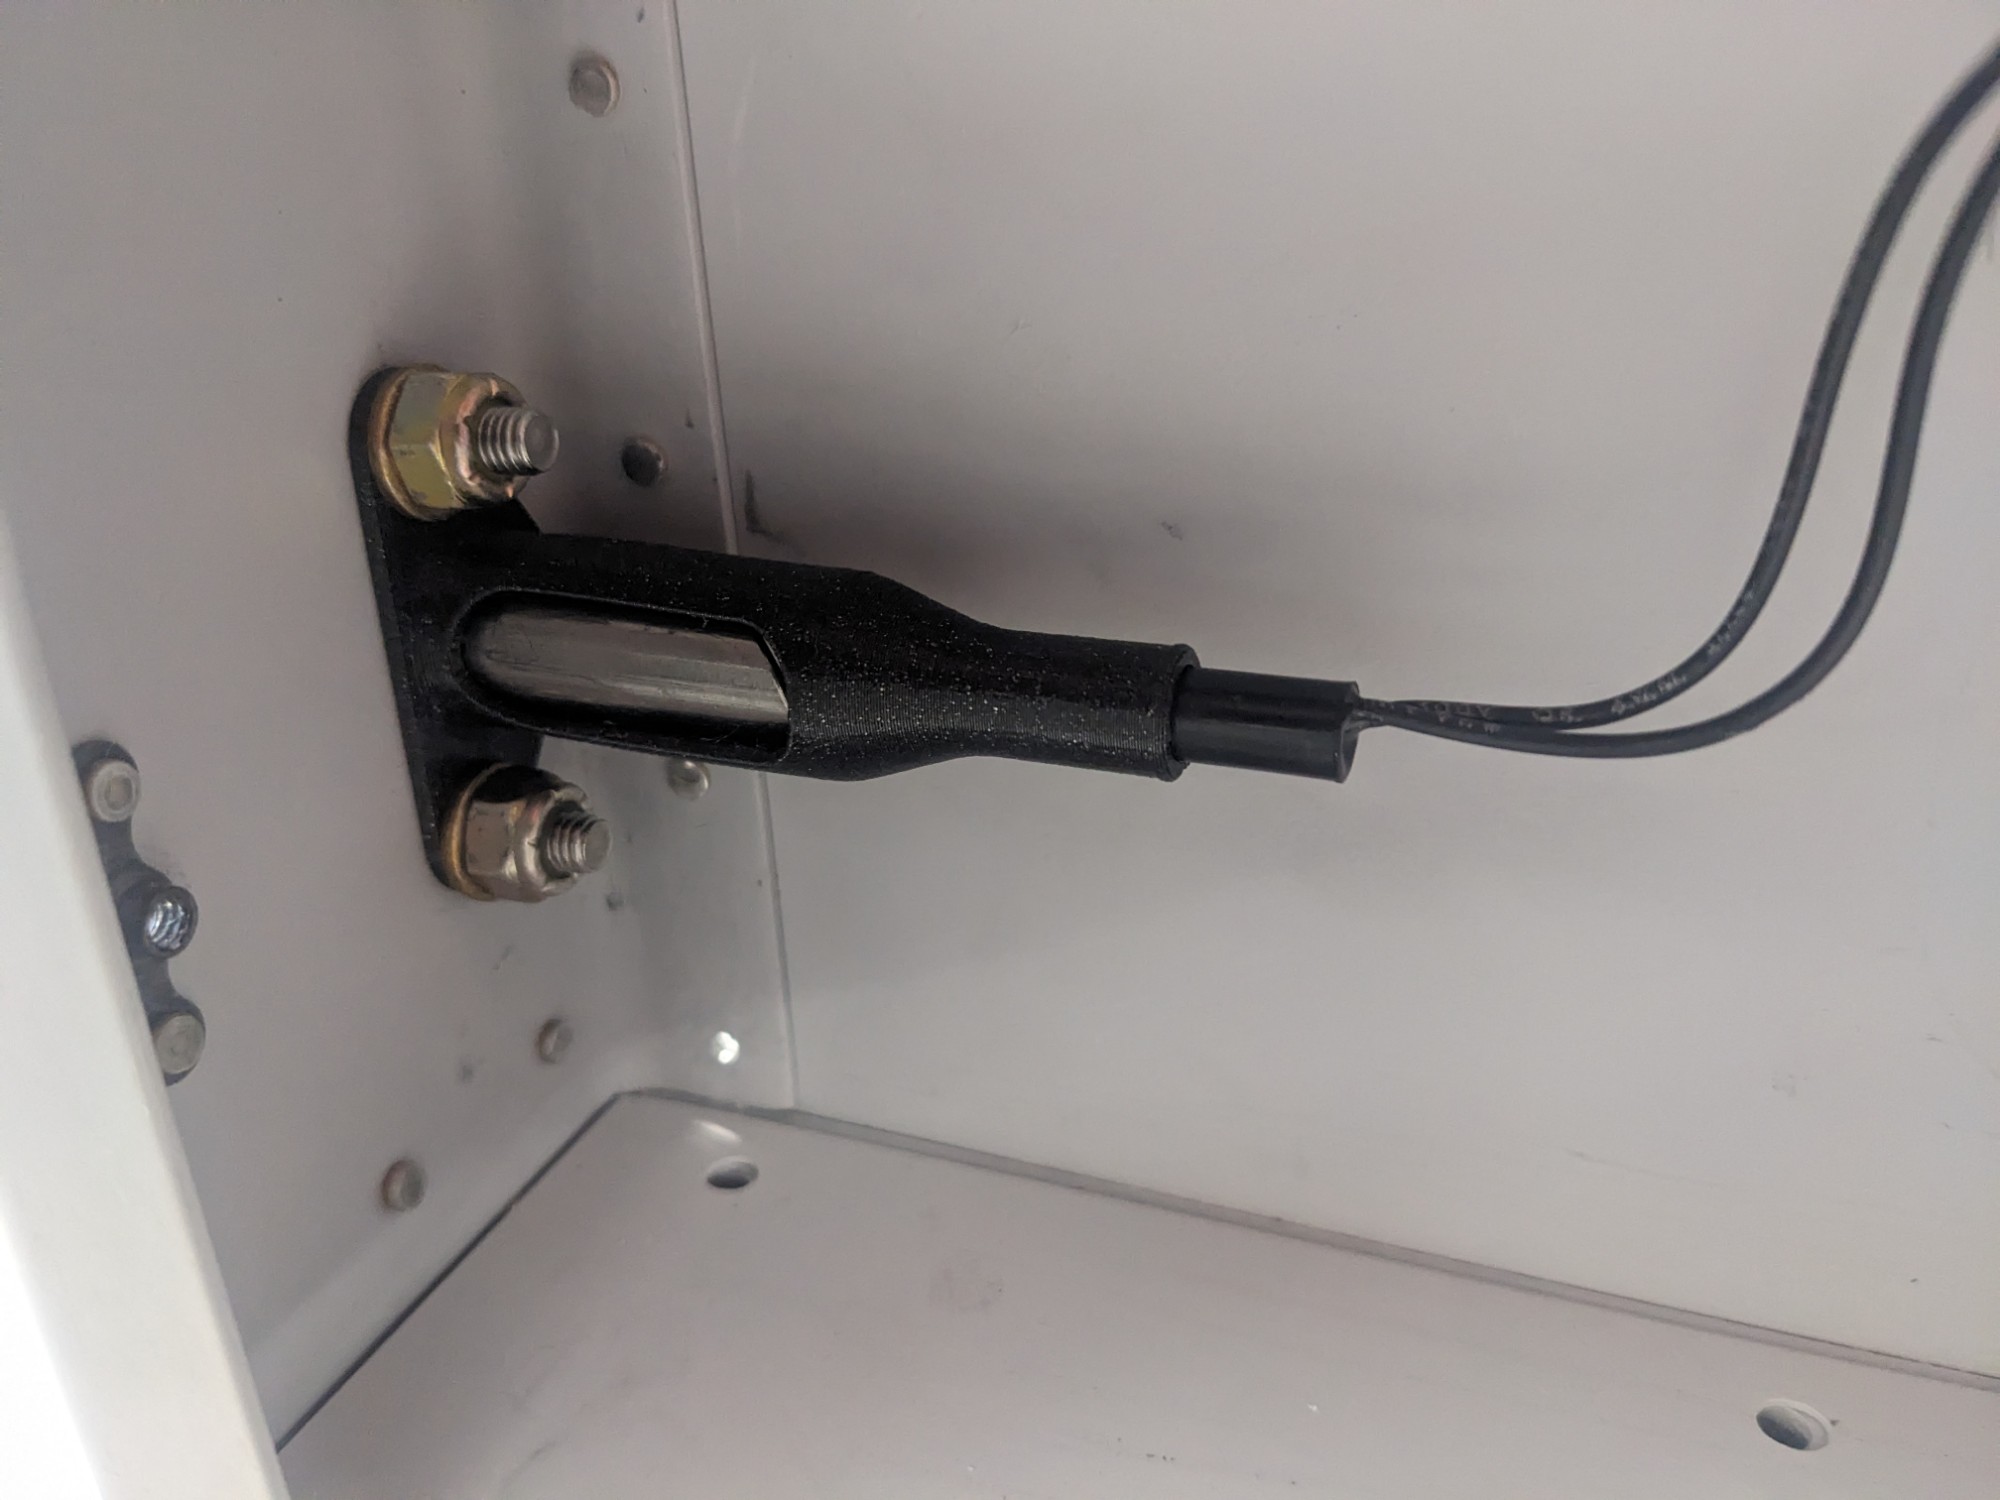
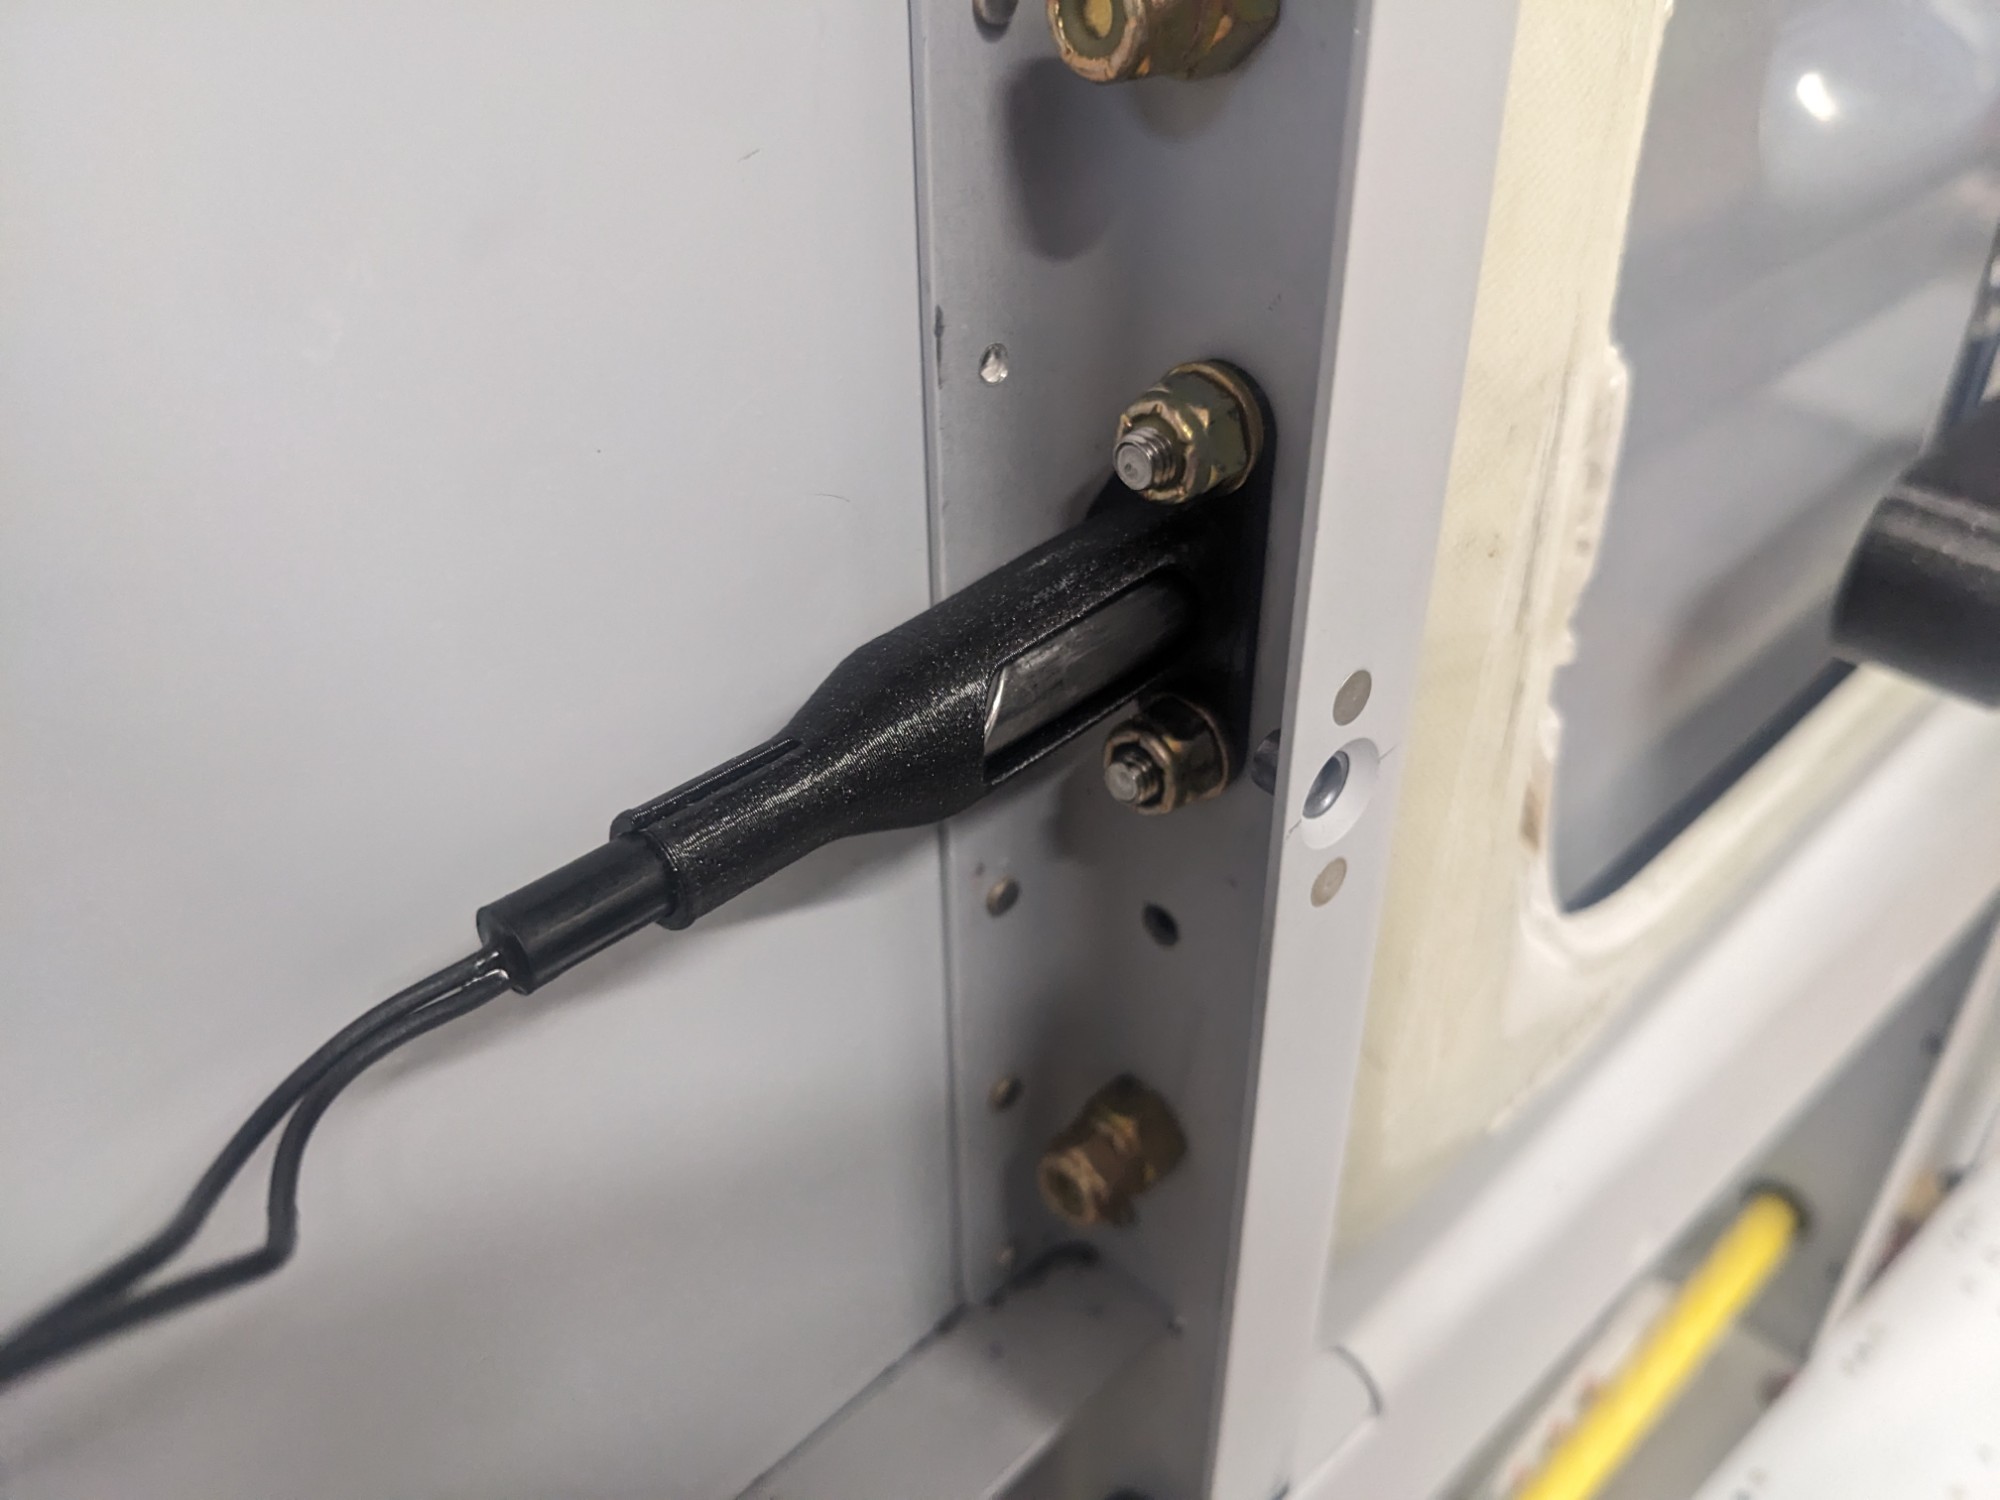
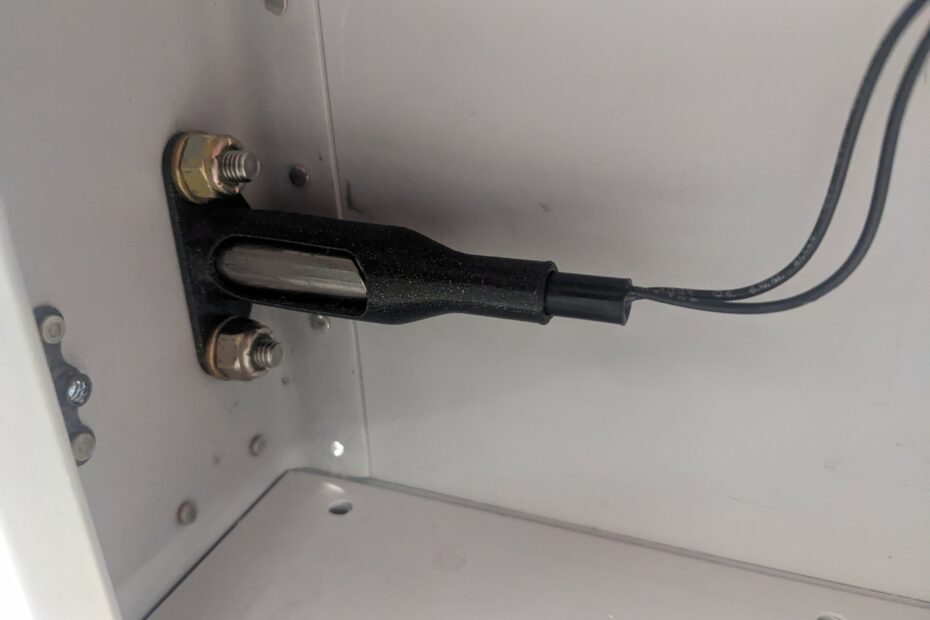
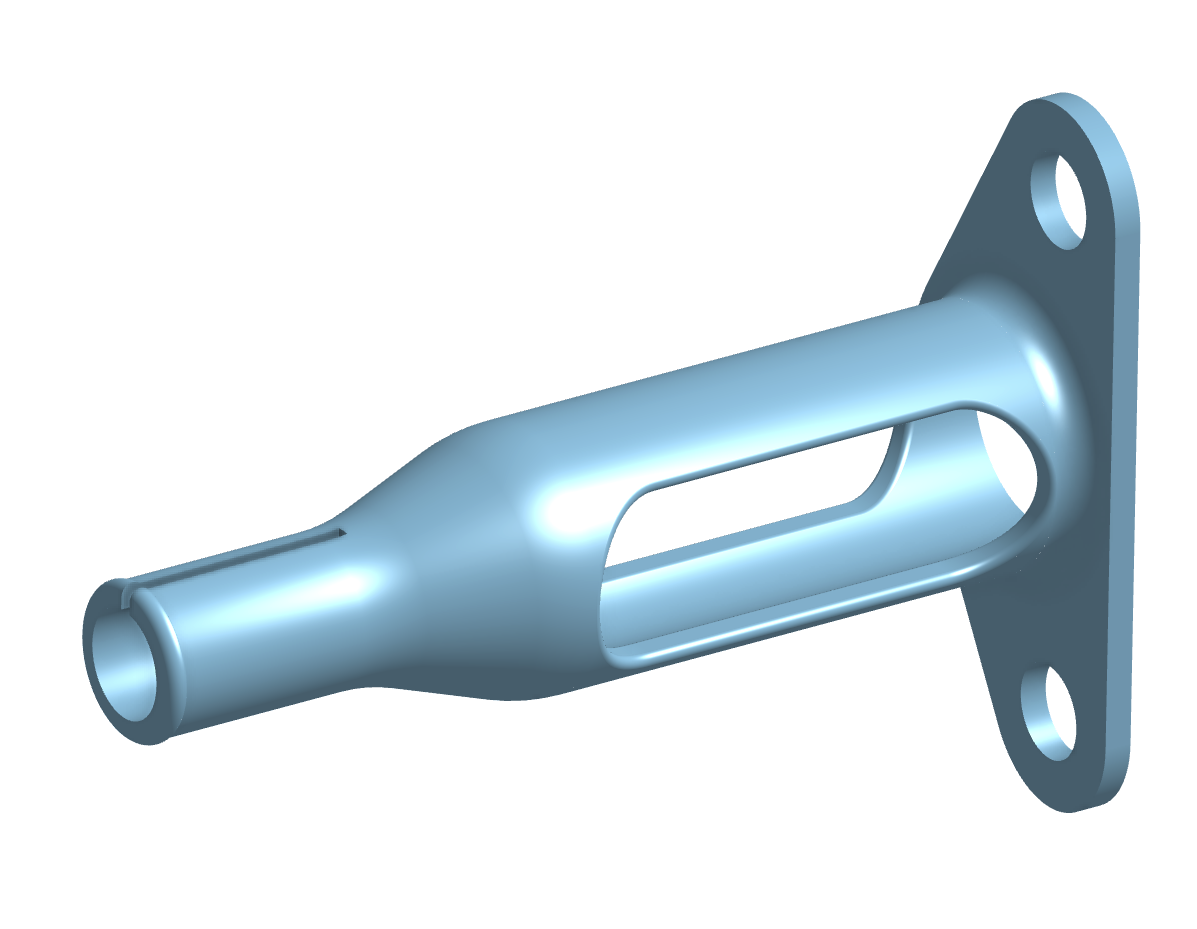
I ended up designing a 3d printed mount to hold the sensor in the axis of the pin magnet. The relief slot allows the sensor to be friction-fit to adjust the depth. In the final install, I’ll loop the sensor wire back and secure both the wire and the sensor to the mount with heat shrink tubing. The window removes some weight and allows for visual inspection.
While printing the part, I epoxied the magnets into the door pins with 5-minute epoxy.
The printed part was simple to install and it gave me reliable results during my tests.