
I have decided to install an oxygen system in the airplane and I have selected the Mountain High EDS-4ip Pulse Demand system. I want to be able to fill my own oxygen via a cascading fill system in the hangar so I wanted to put a fill port in an accessible location.
I researched several different approaches and I ultimately decided to use the space under the baggage floor. I initially considered mounting a fill port on the rear baggage bulkhead, and had I chosen this route, I would likely have done something similar to what Guil at BuildFlyGo did (RV-10 Build: Mountain High O2 Cylinder Install). His design cleverly allows the baggage bulkhead to be removed while keeping all components of the oxygen system in place. I ultimately decided against this as I was hesitant to modify the rear baggage bulkhead and I wanted to avoid adding anything that might obstruct my ability to climb into the tailcone in the future.
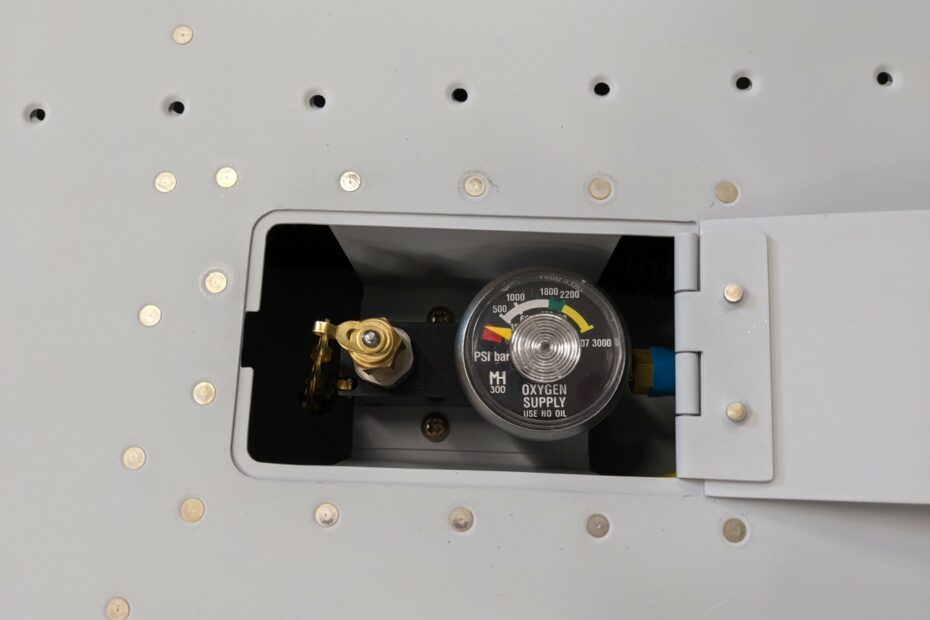
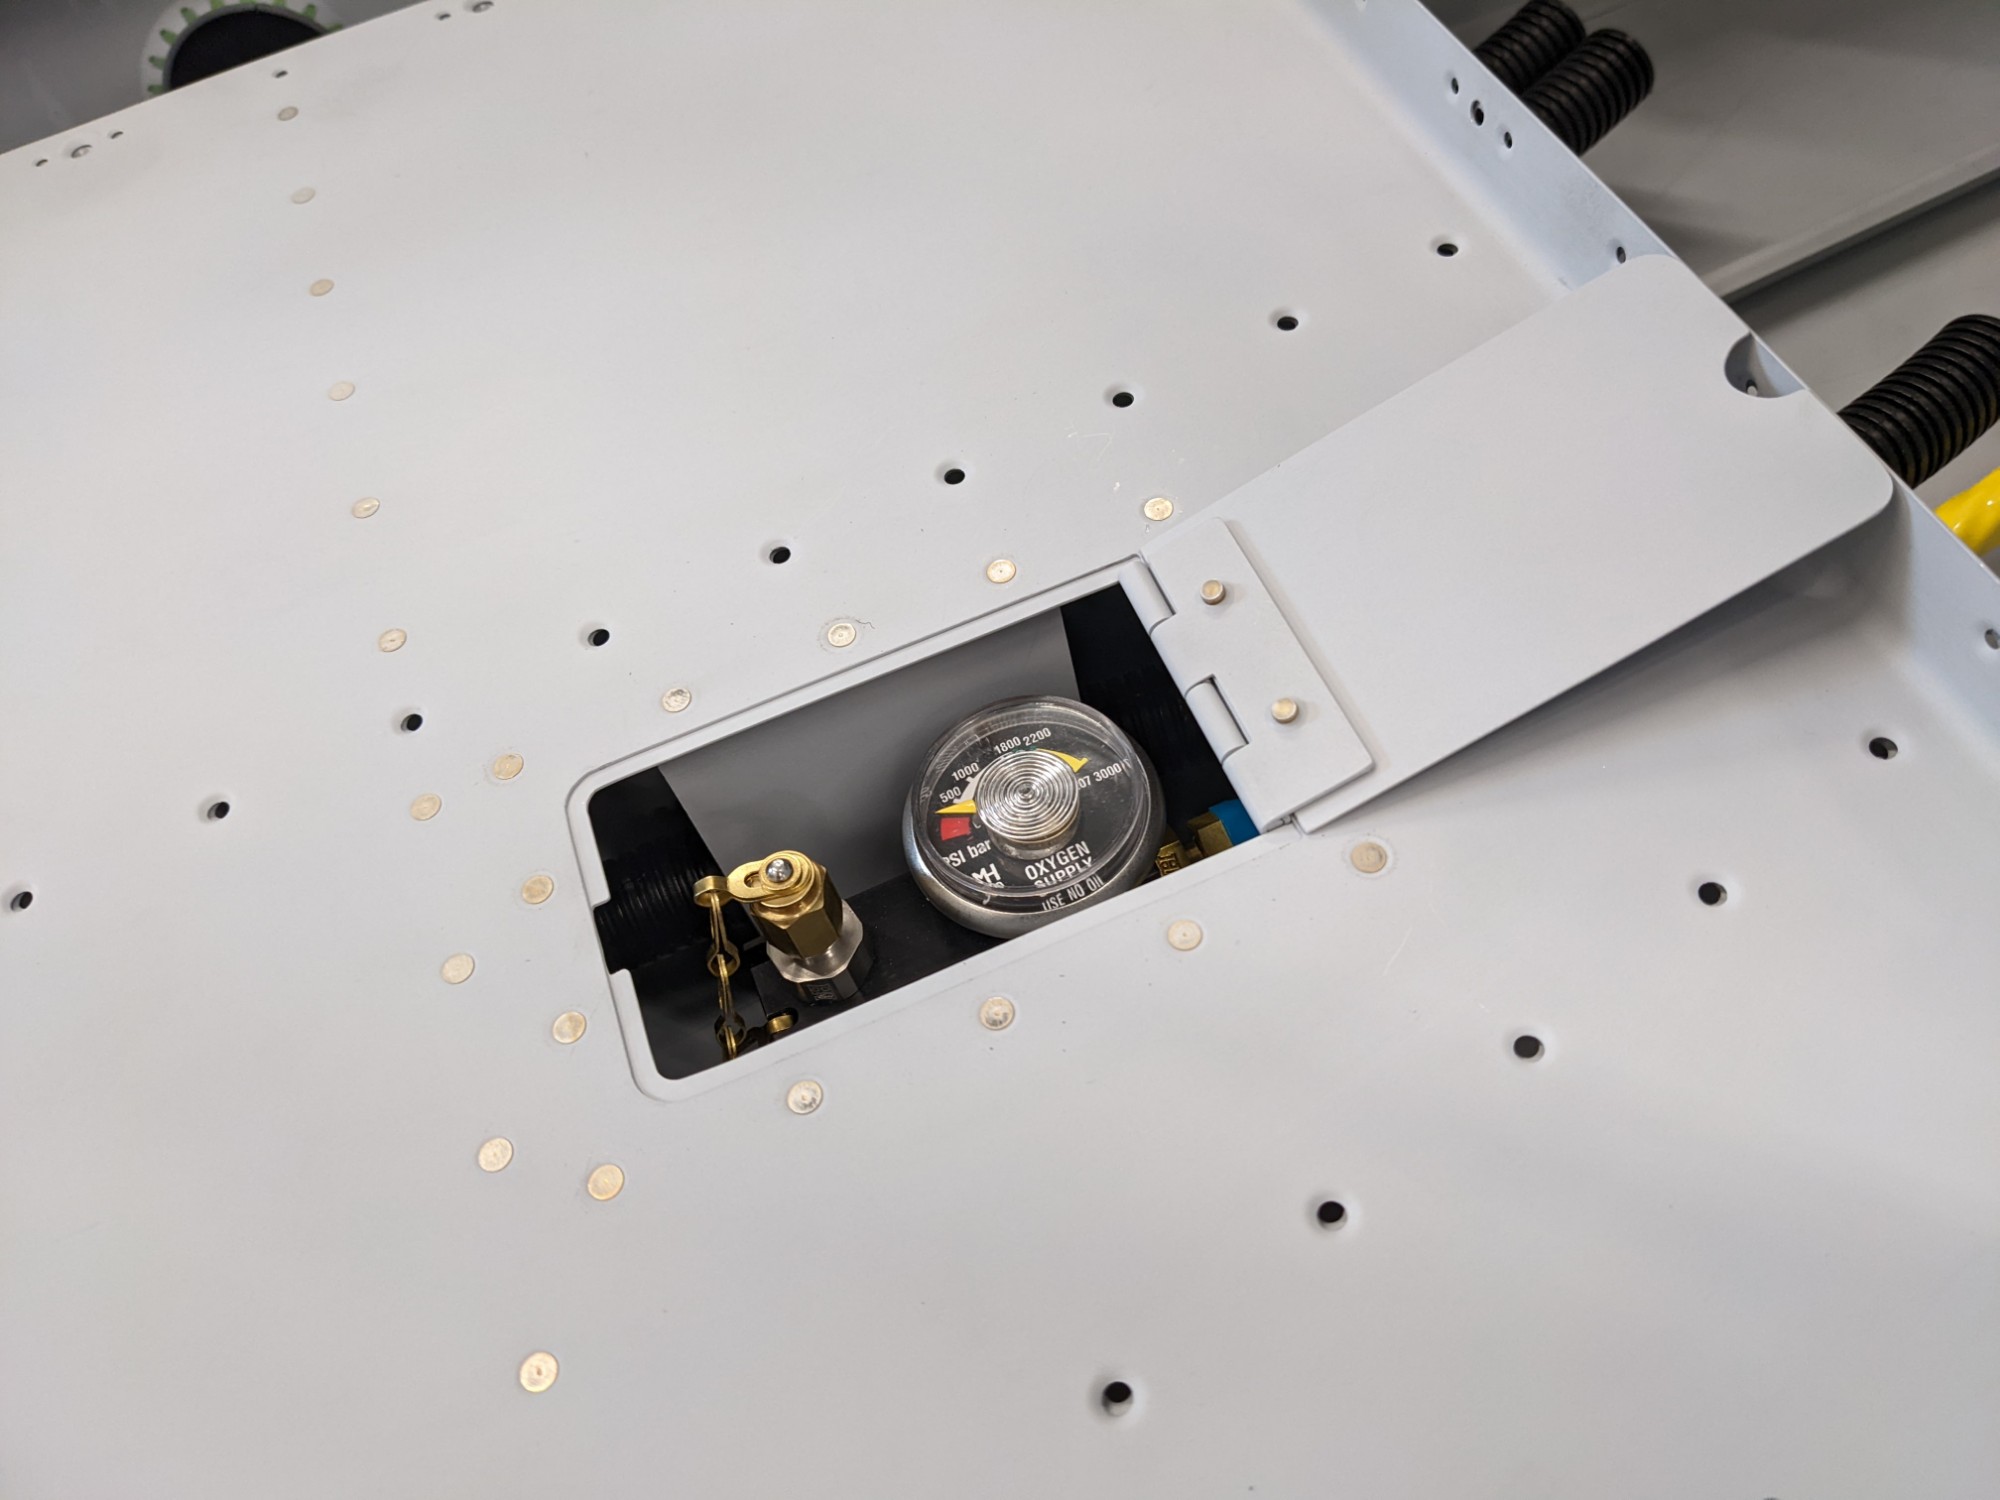
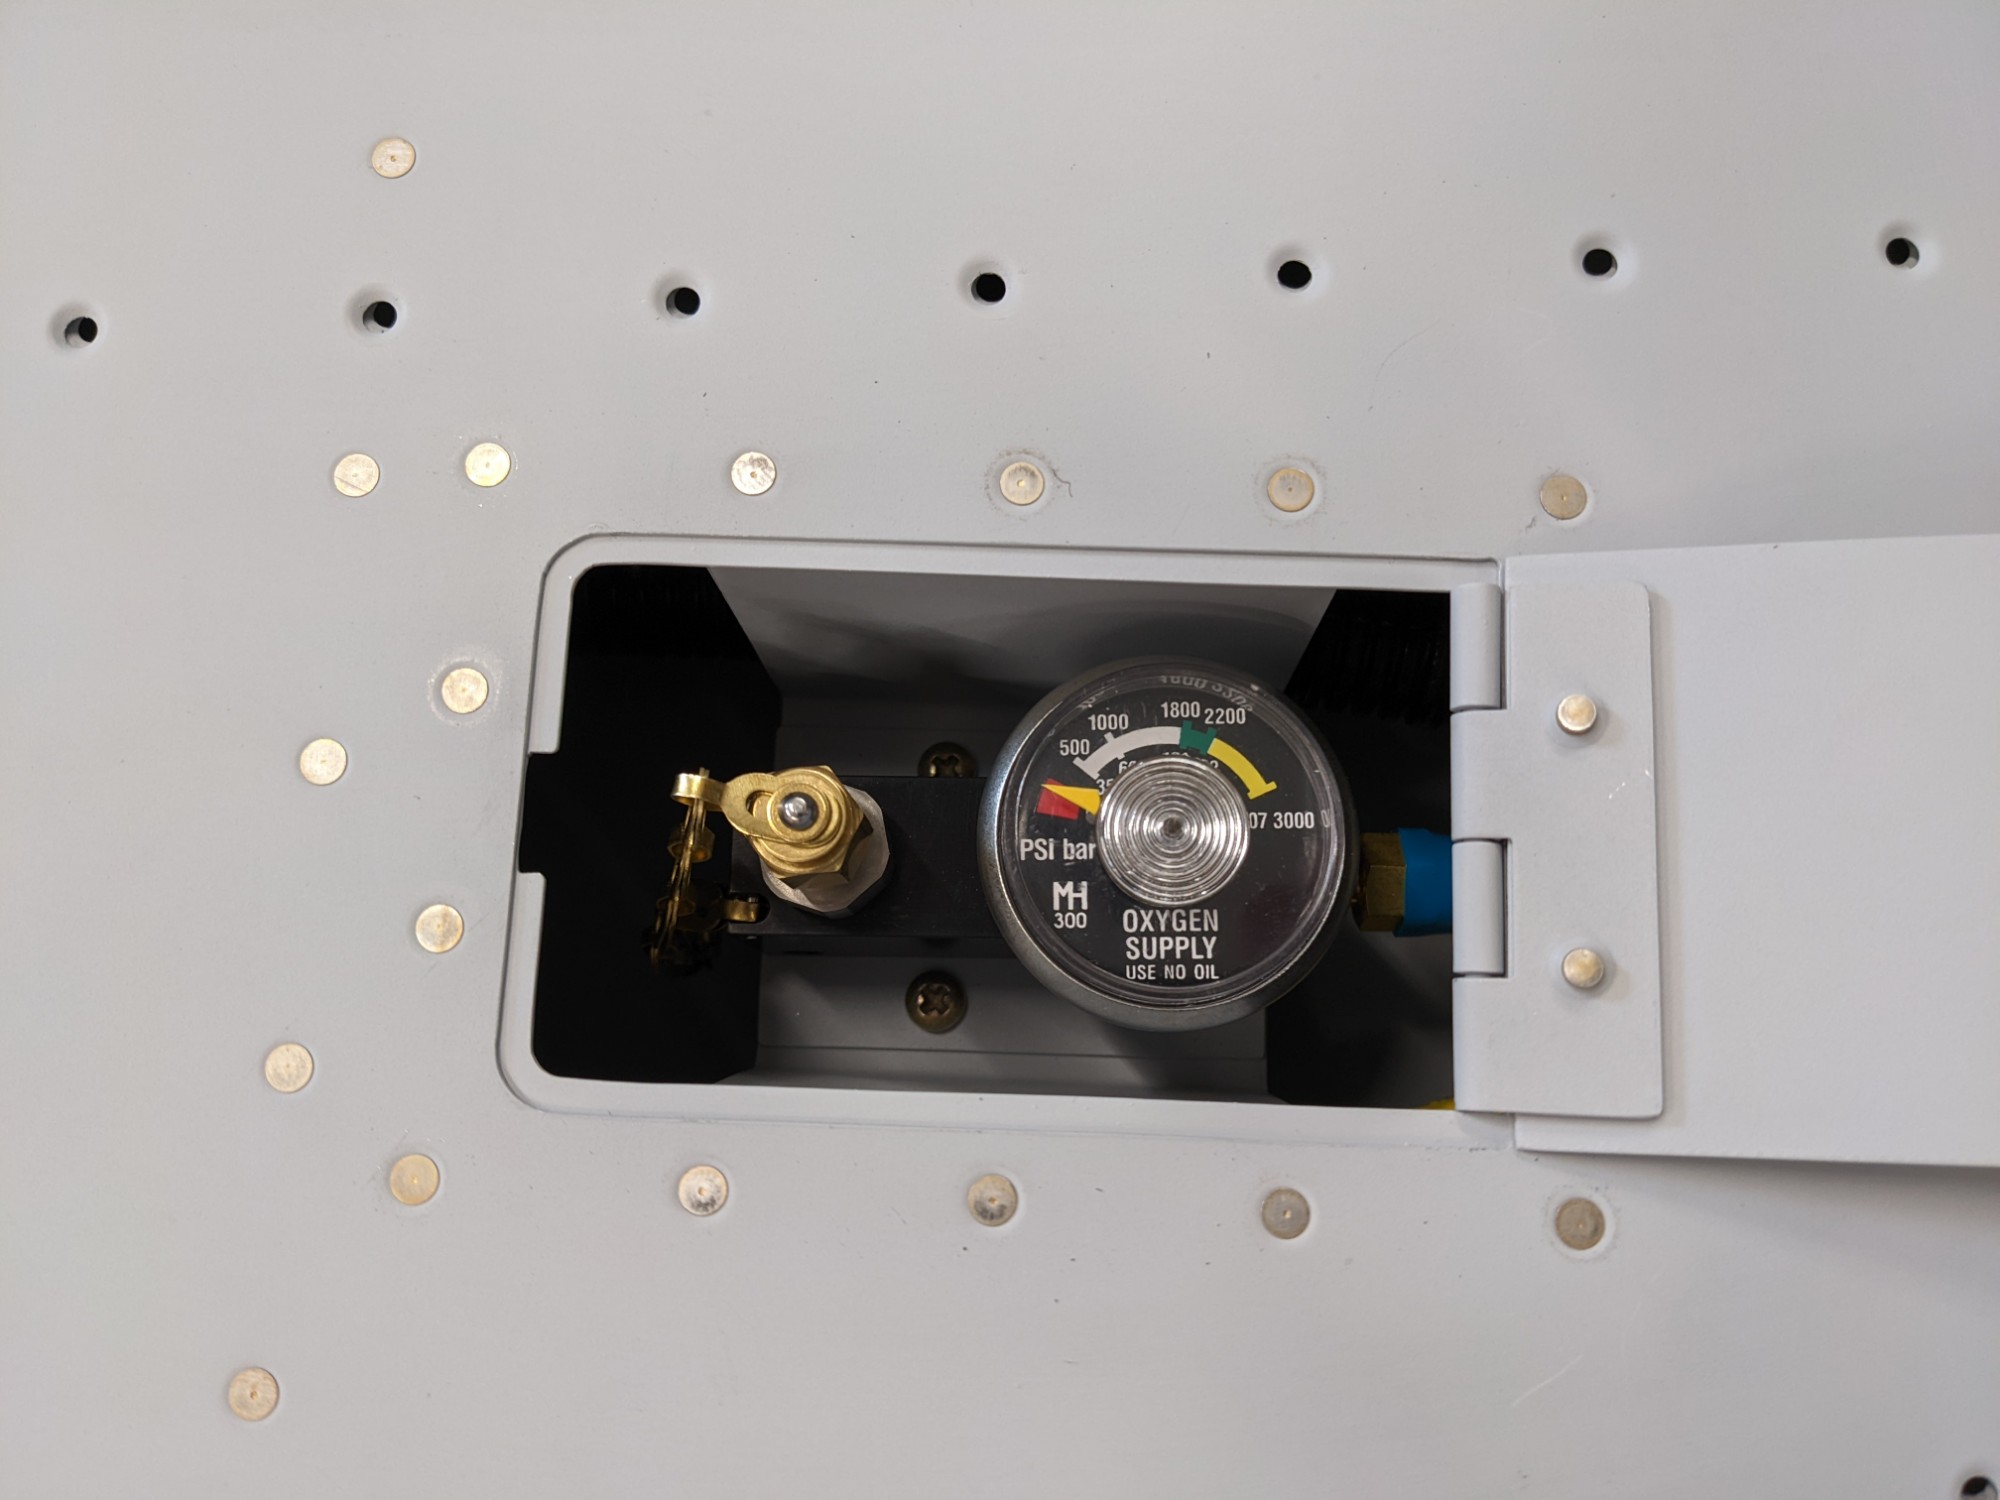
As some others have done (thanks Tim for the idea), I decided that a small hatch under the baggage floor would be ideal as it would keep all of the components out of the way and allow easy access. The pressure gauge won’t be immediately visible without opening the hatch but this felt like a reasonable tradeoff.
I designed a mount in OnShape that will allow me to install the Mountain High Deluxe Fill port under the baggage floor.
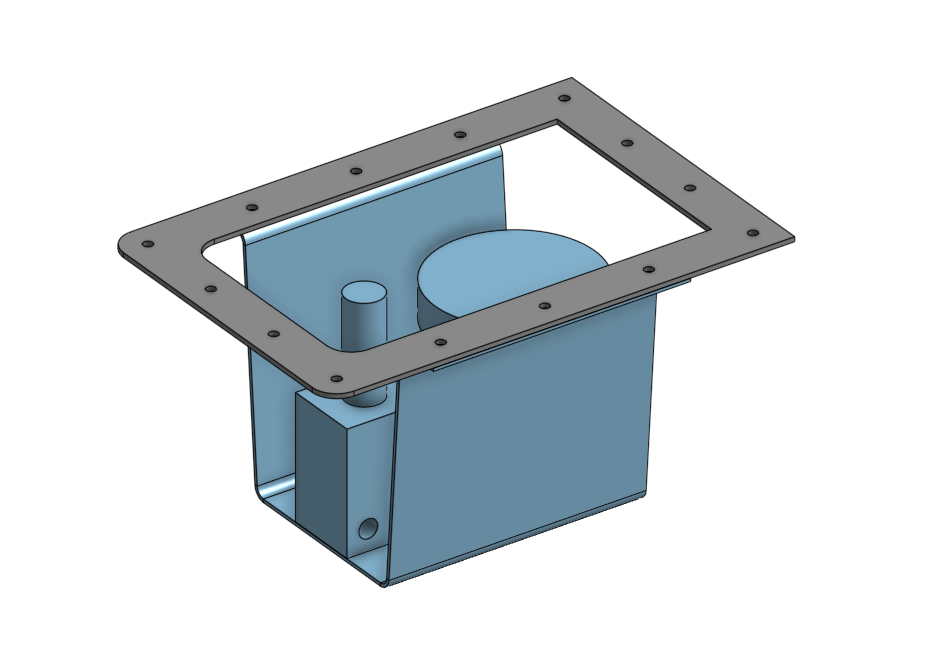
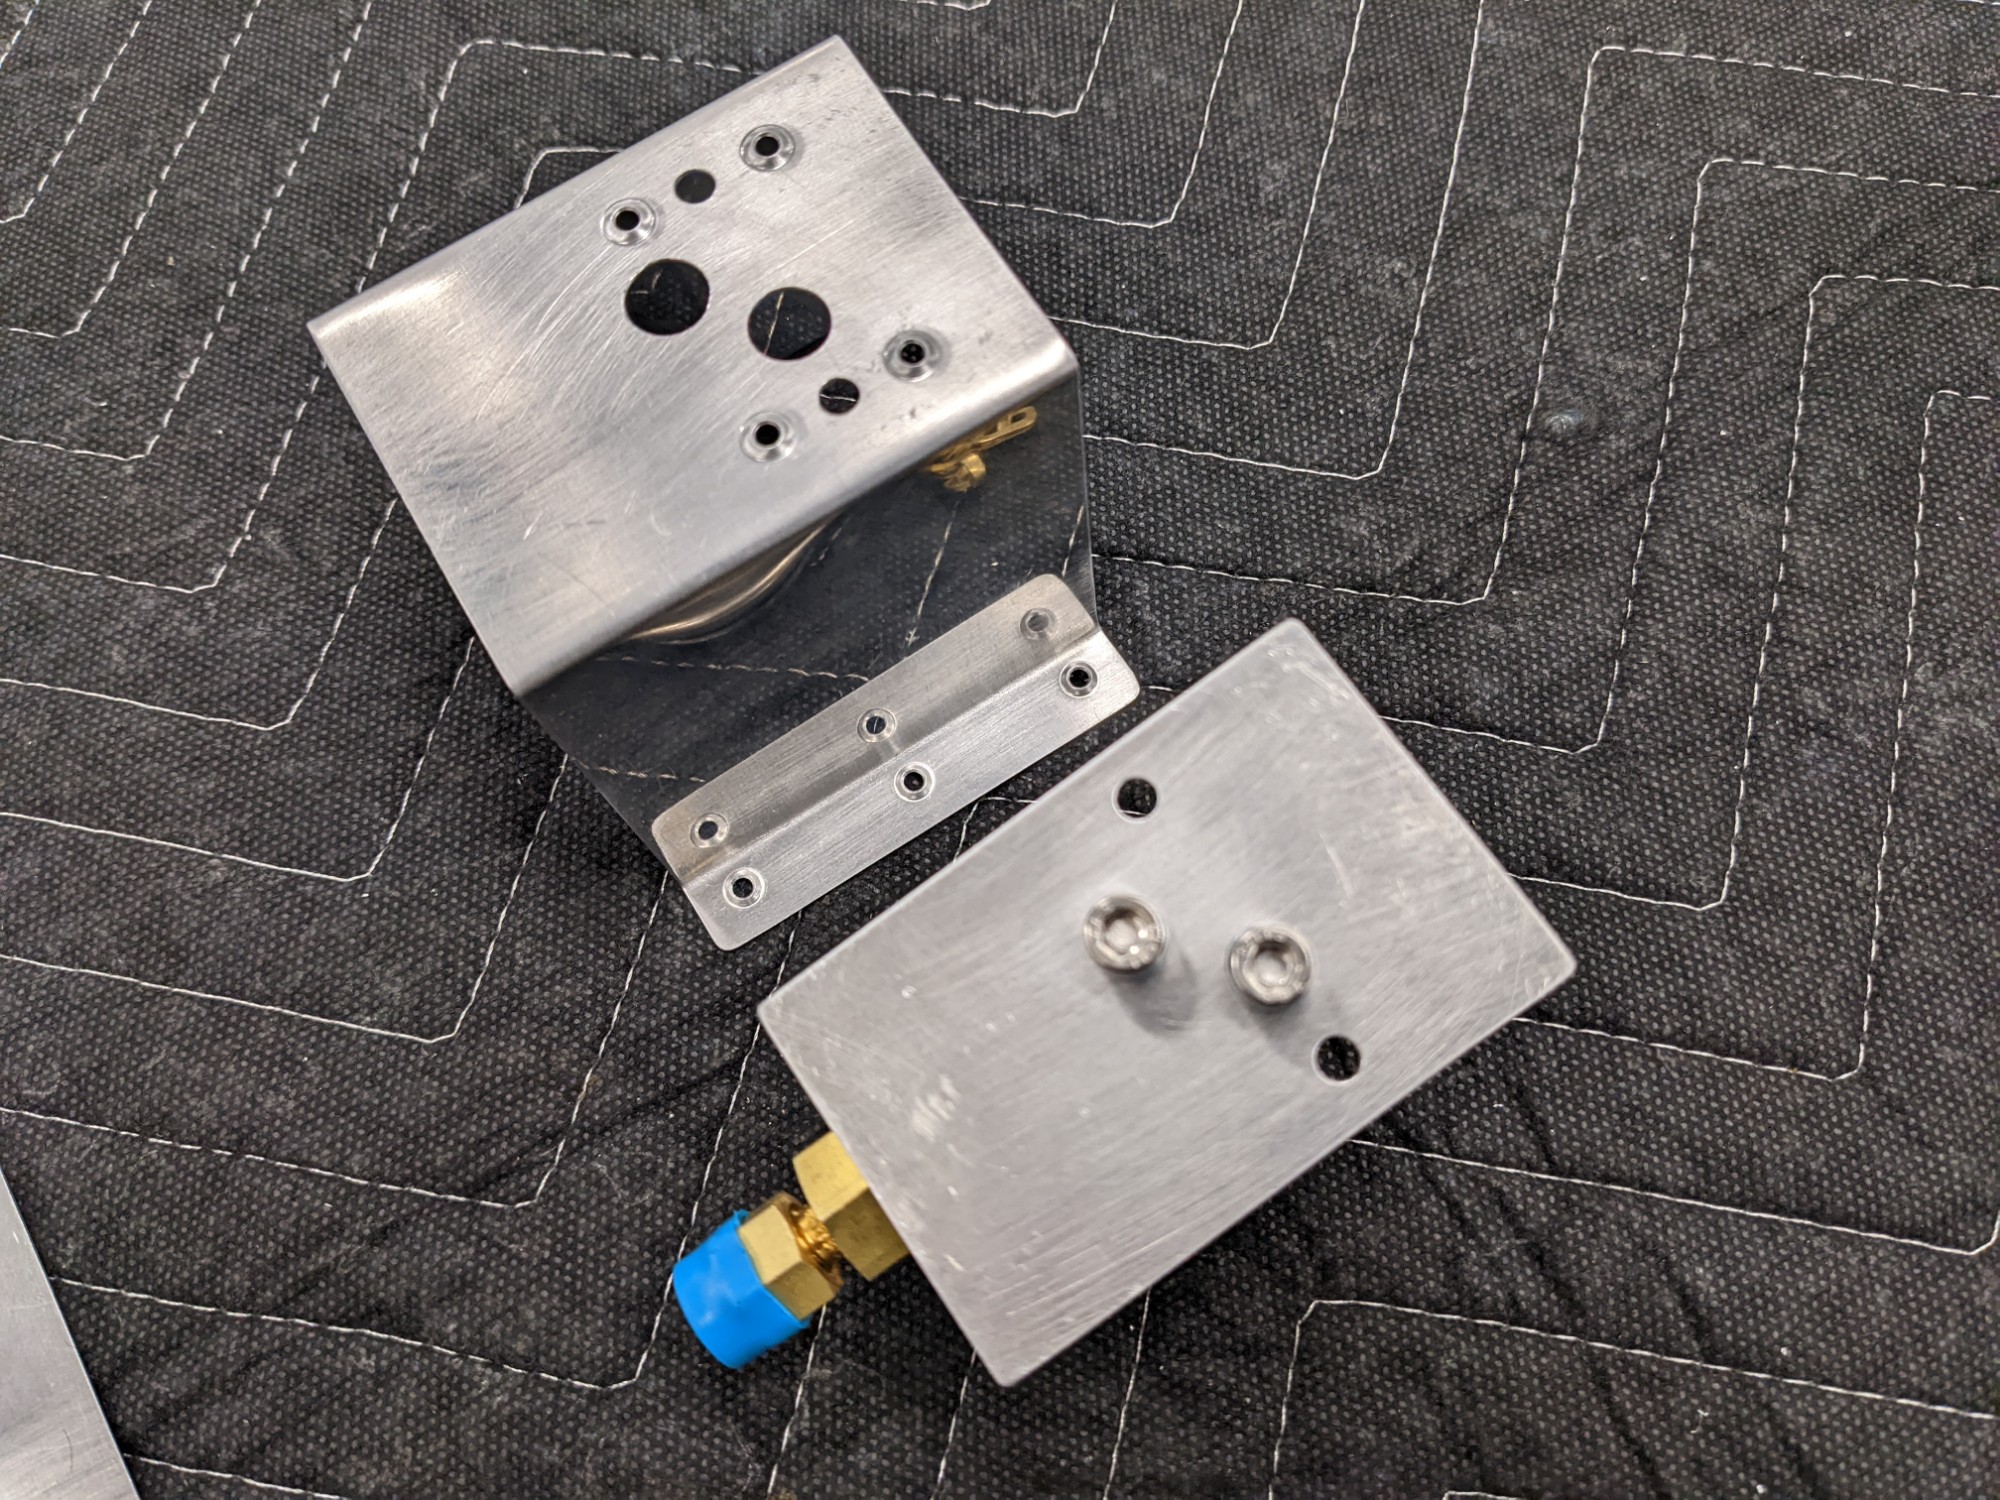
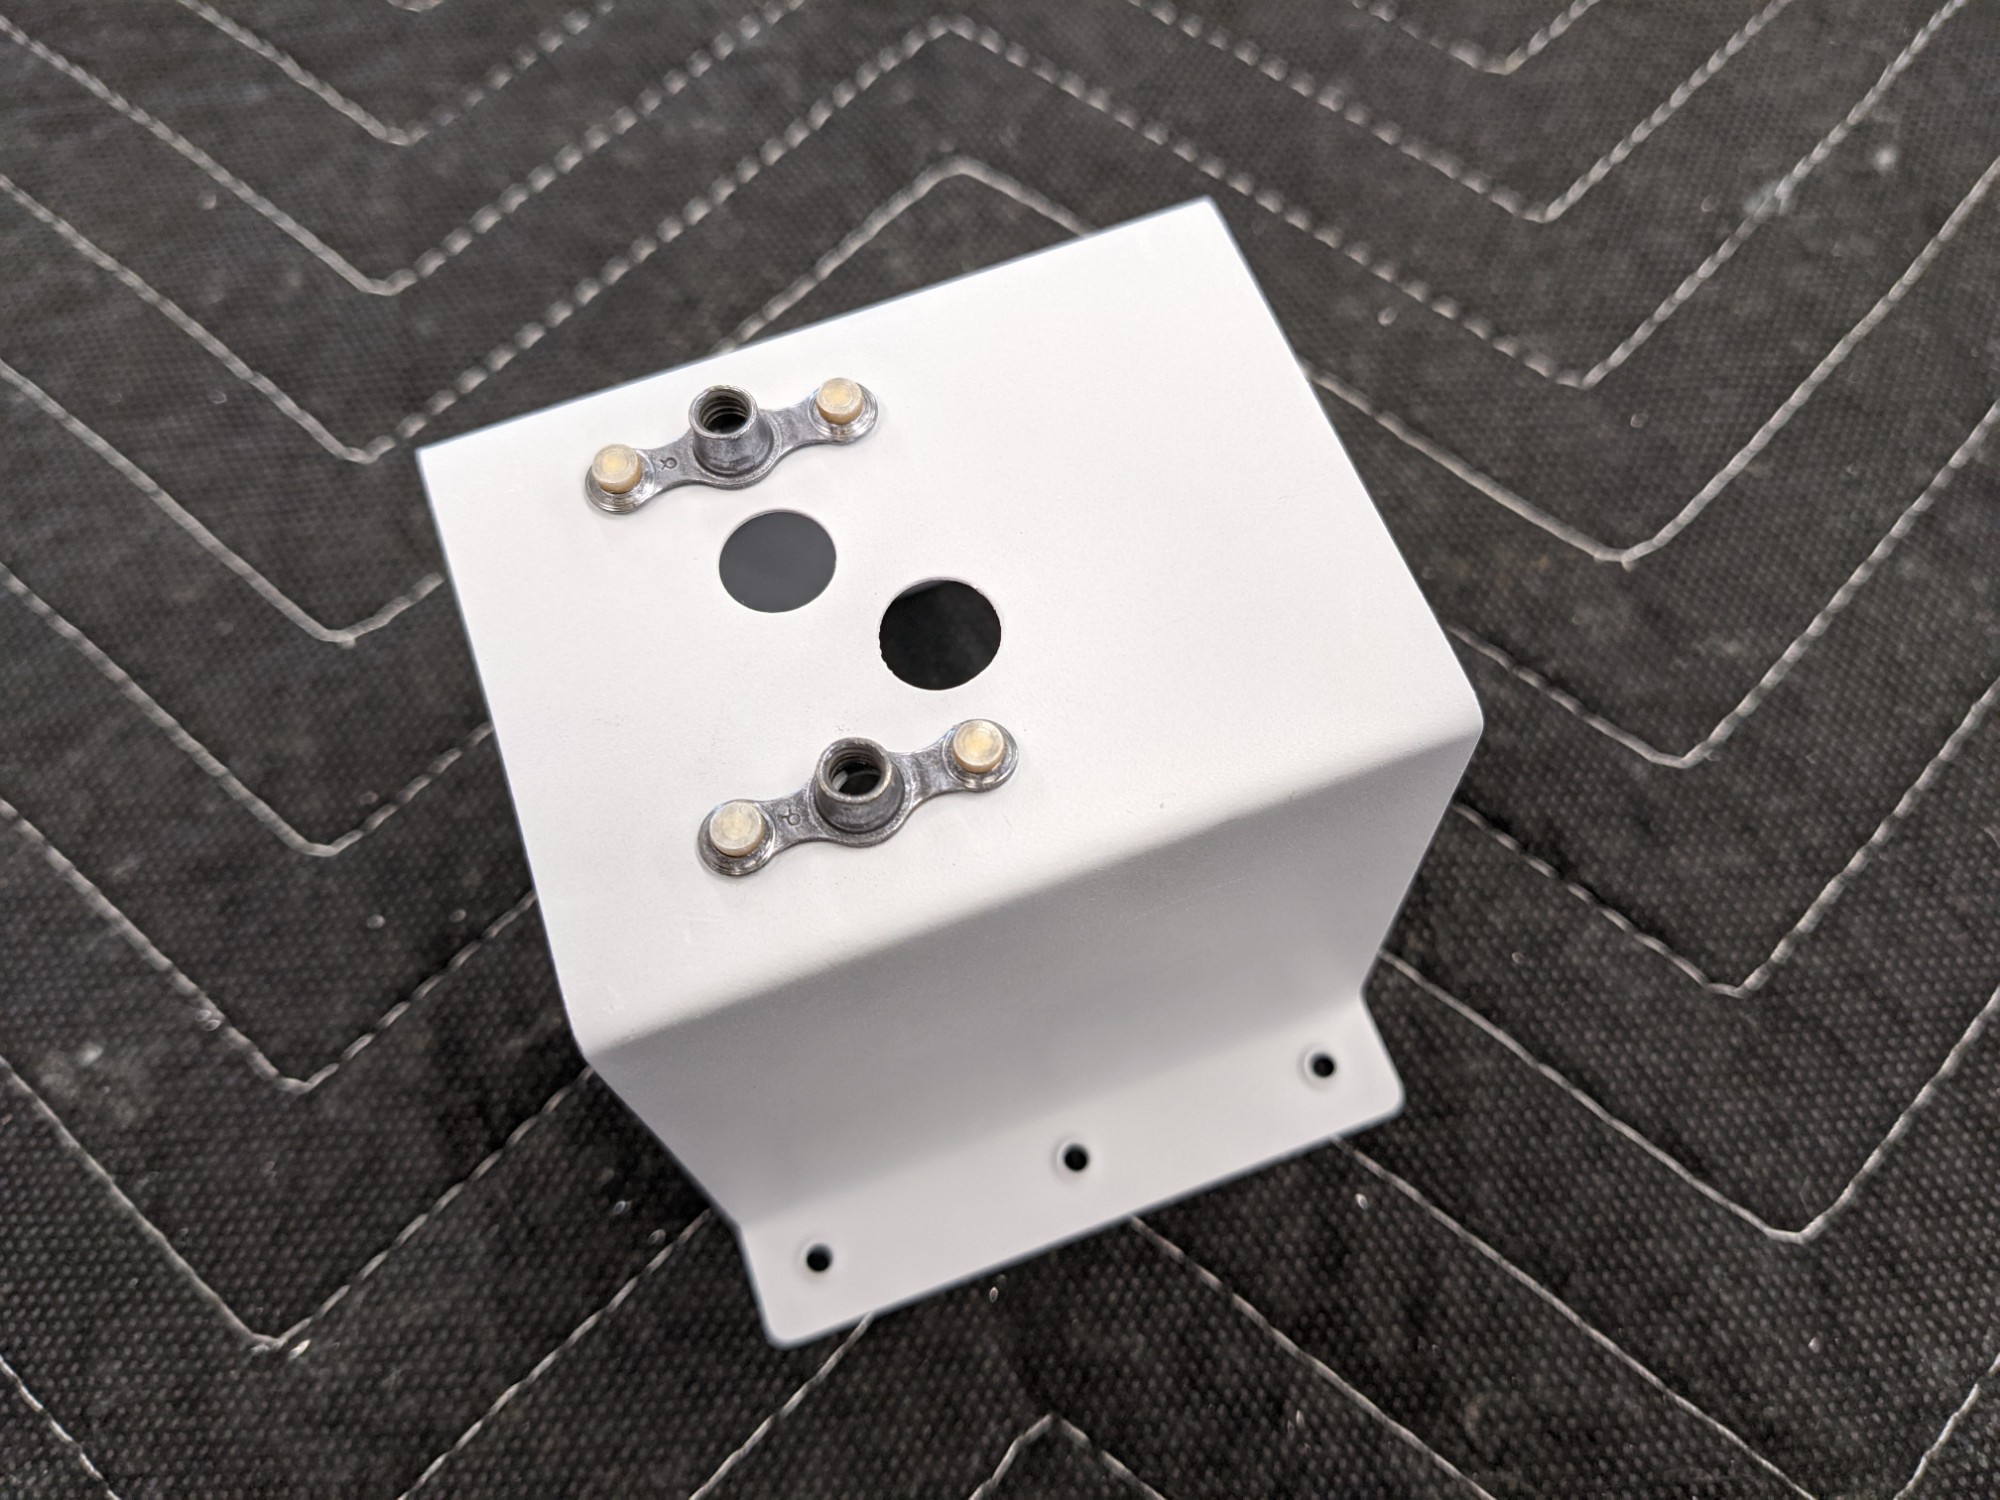
I made a plate that is attached to the 10-32 threaded holes on the bottom of the fill port (not shown in the model above). This allows me to install the fill port into the mount later via two nutplates riveted to the underside of the bracket. This also keeps everything serviceable in the future.
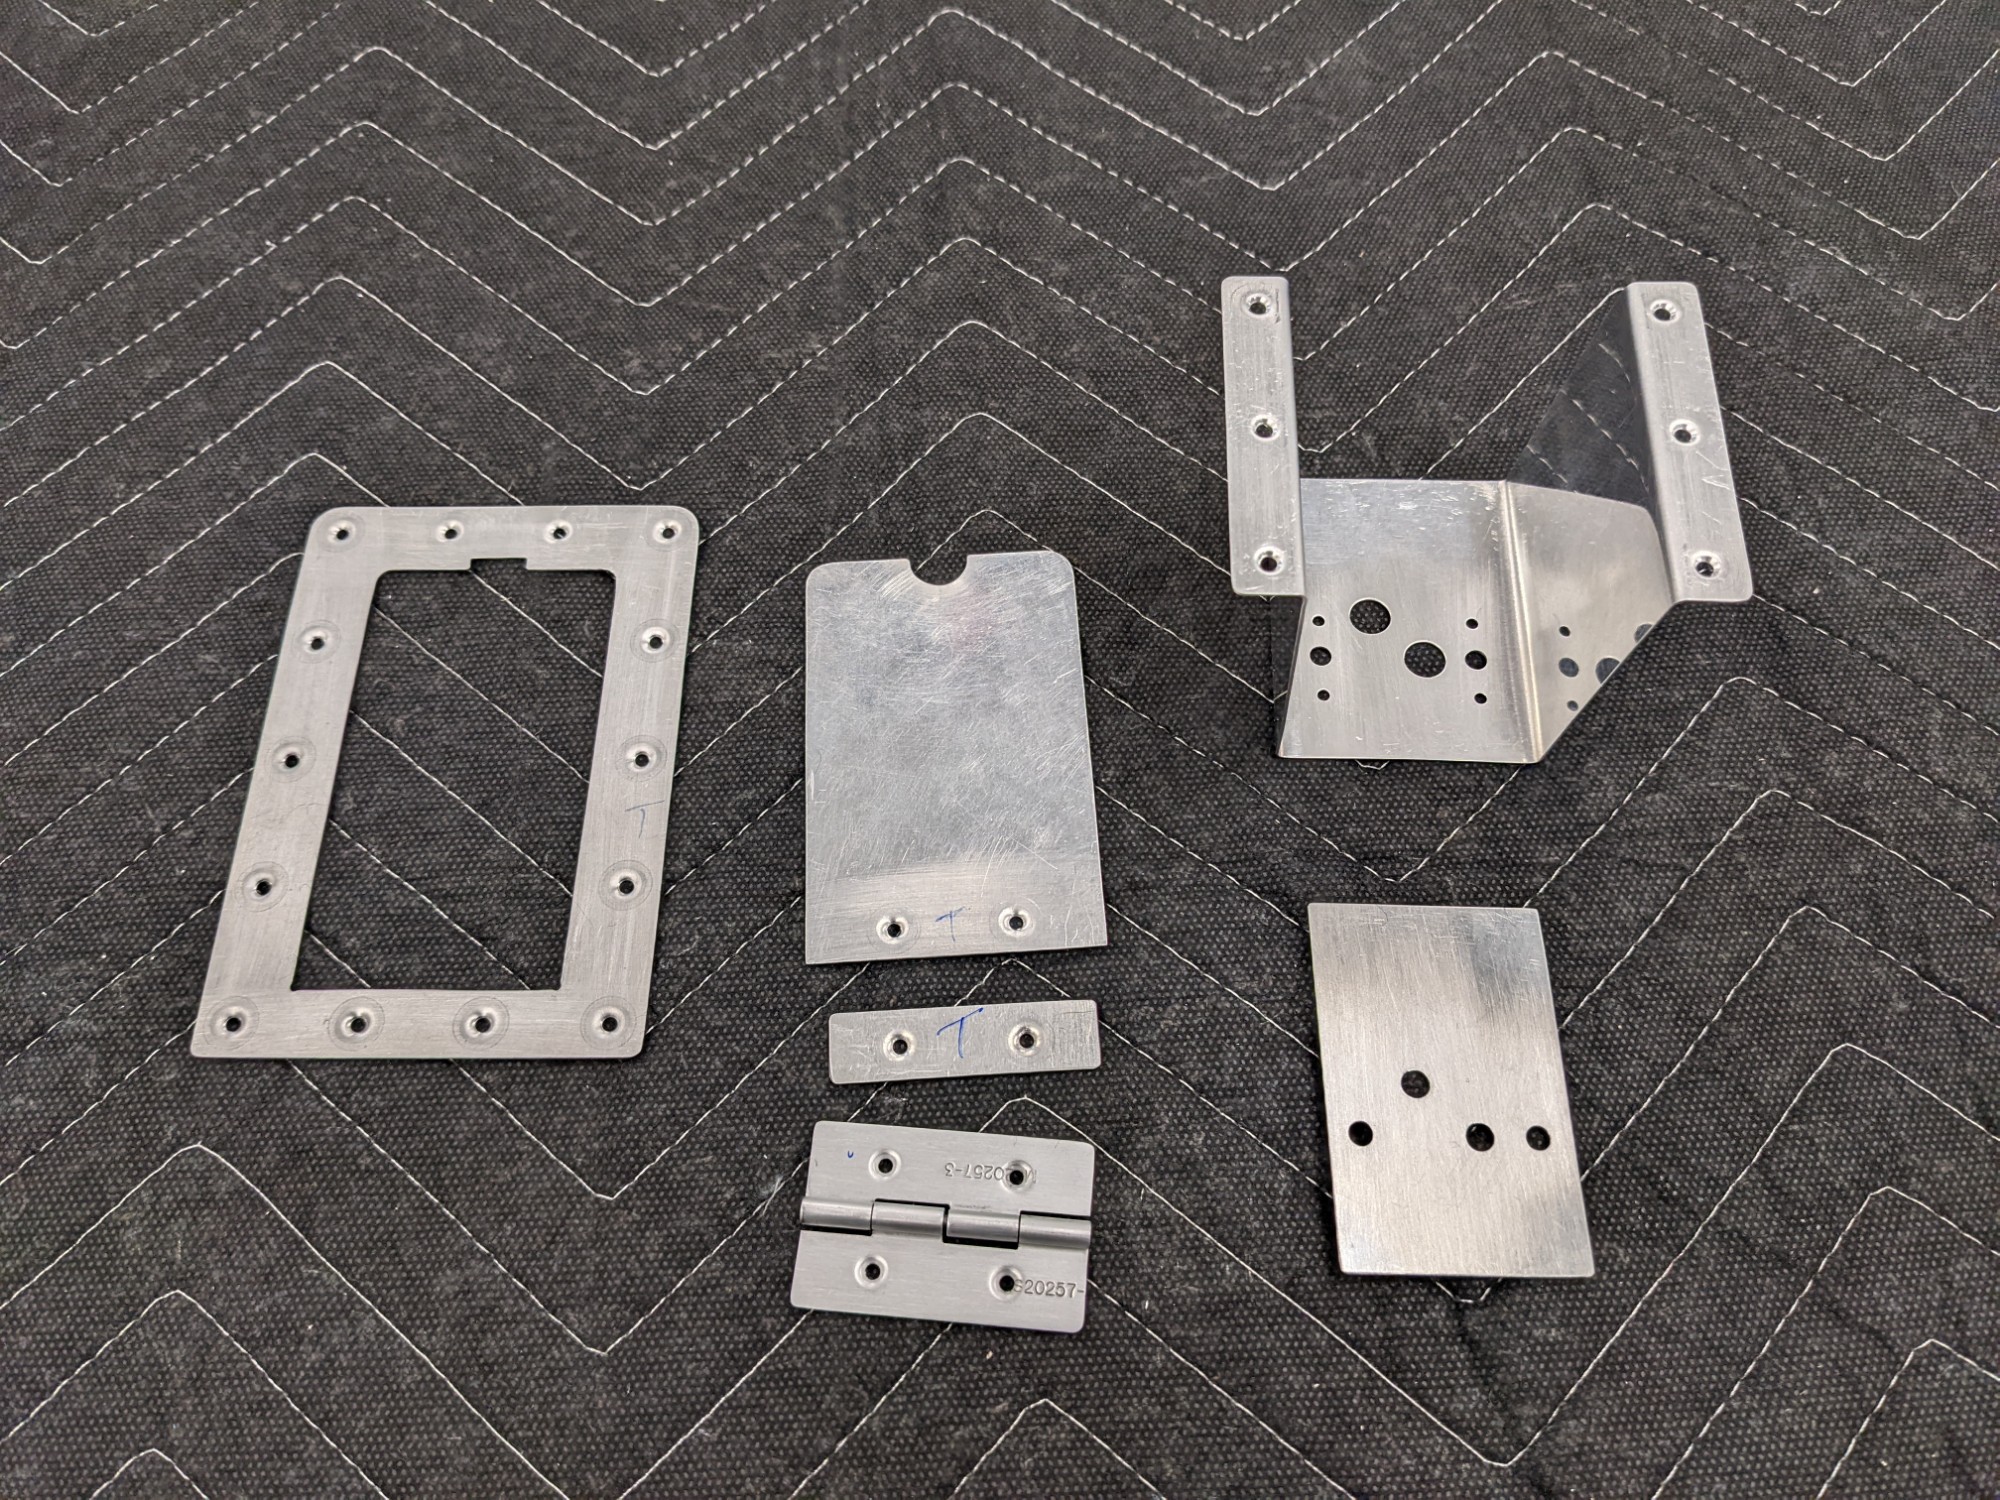
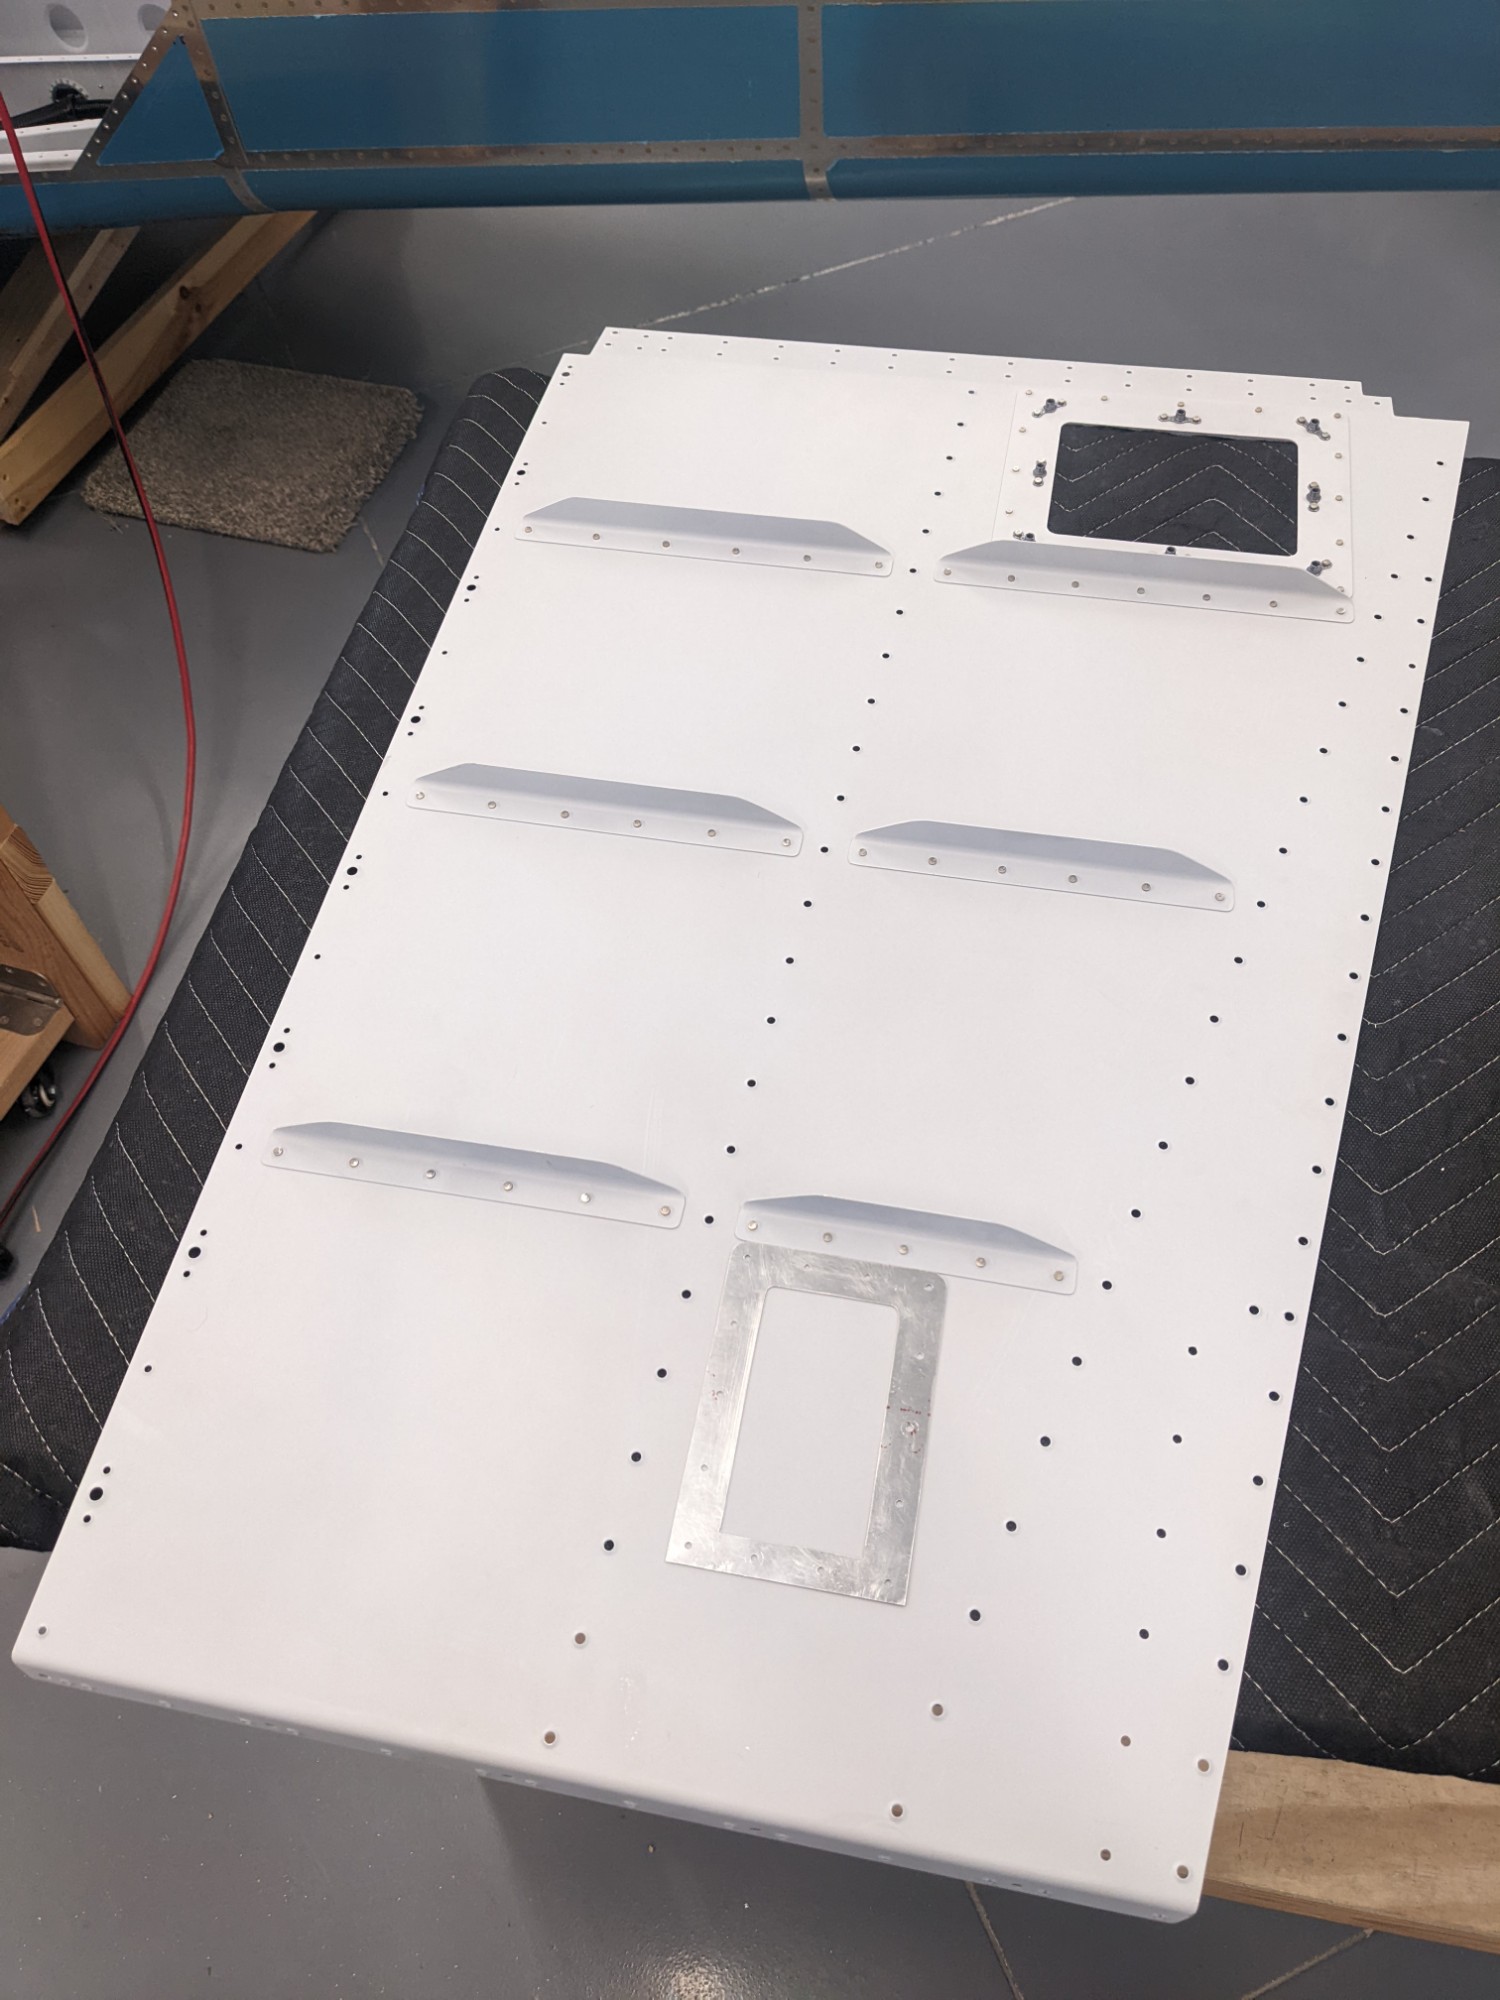
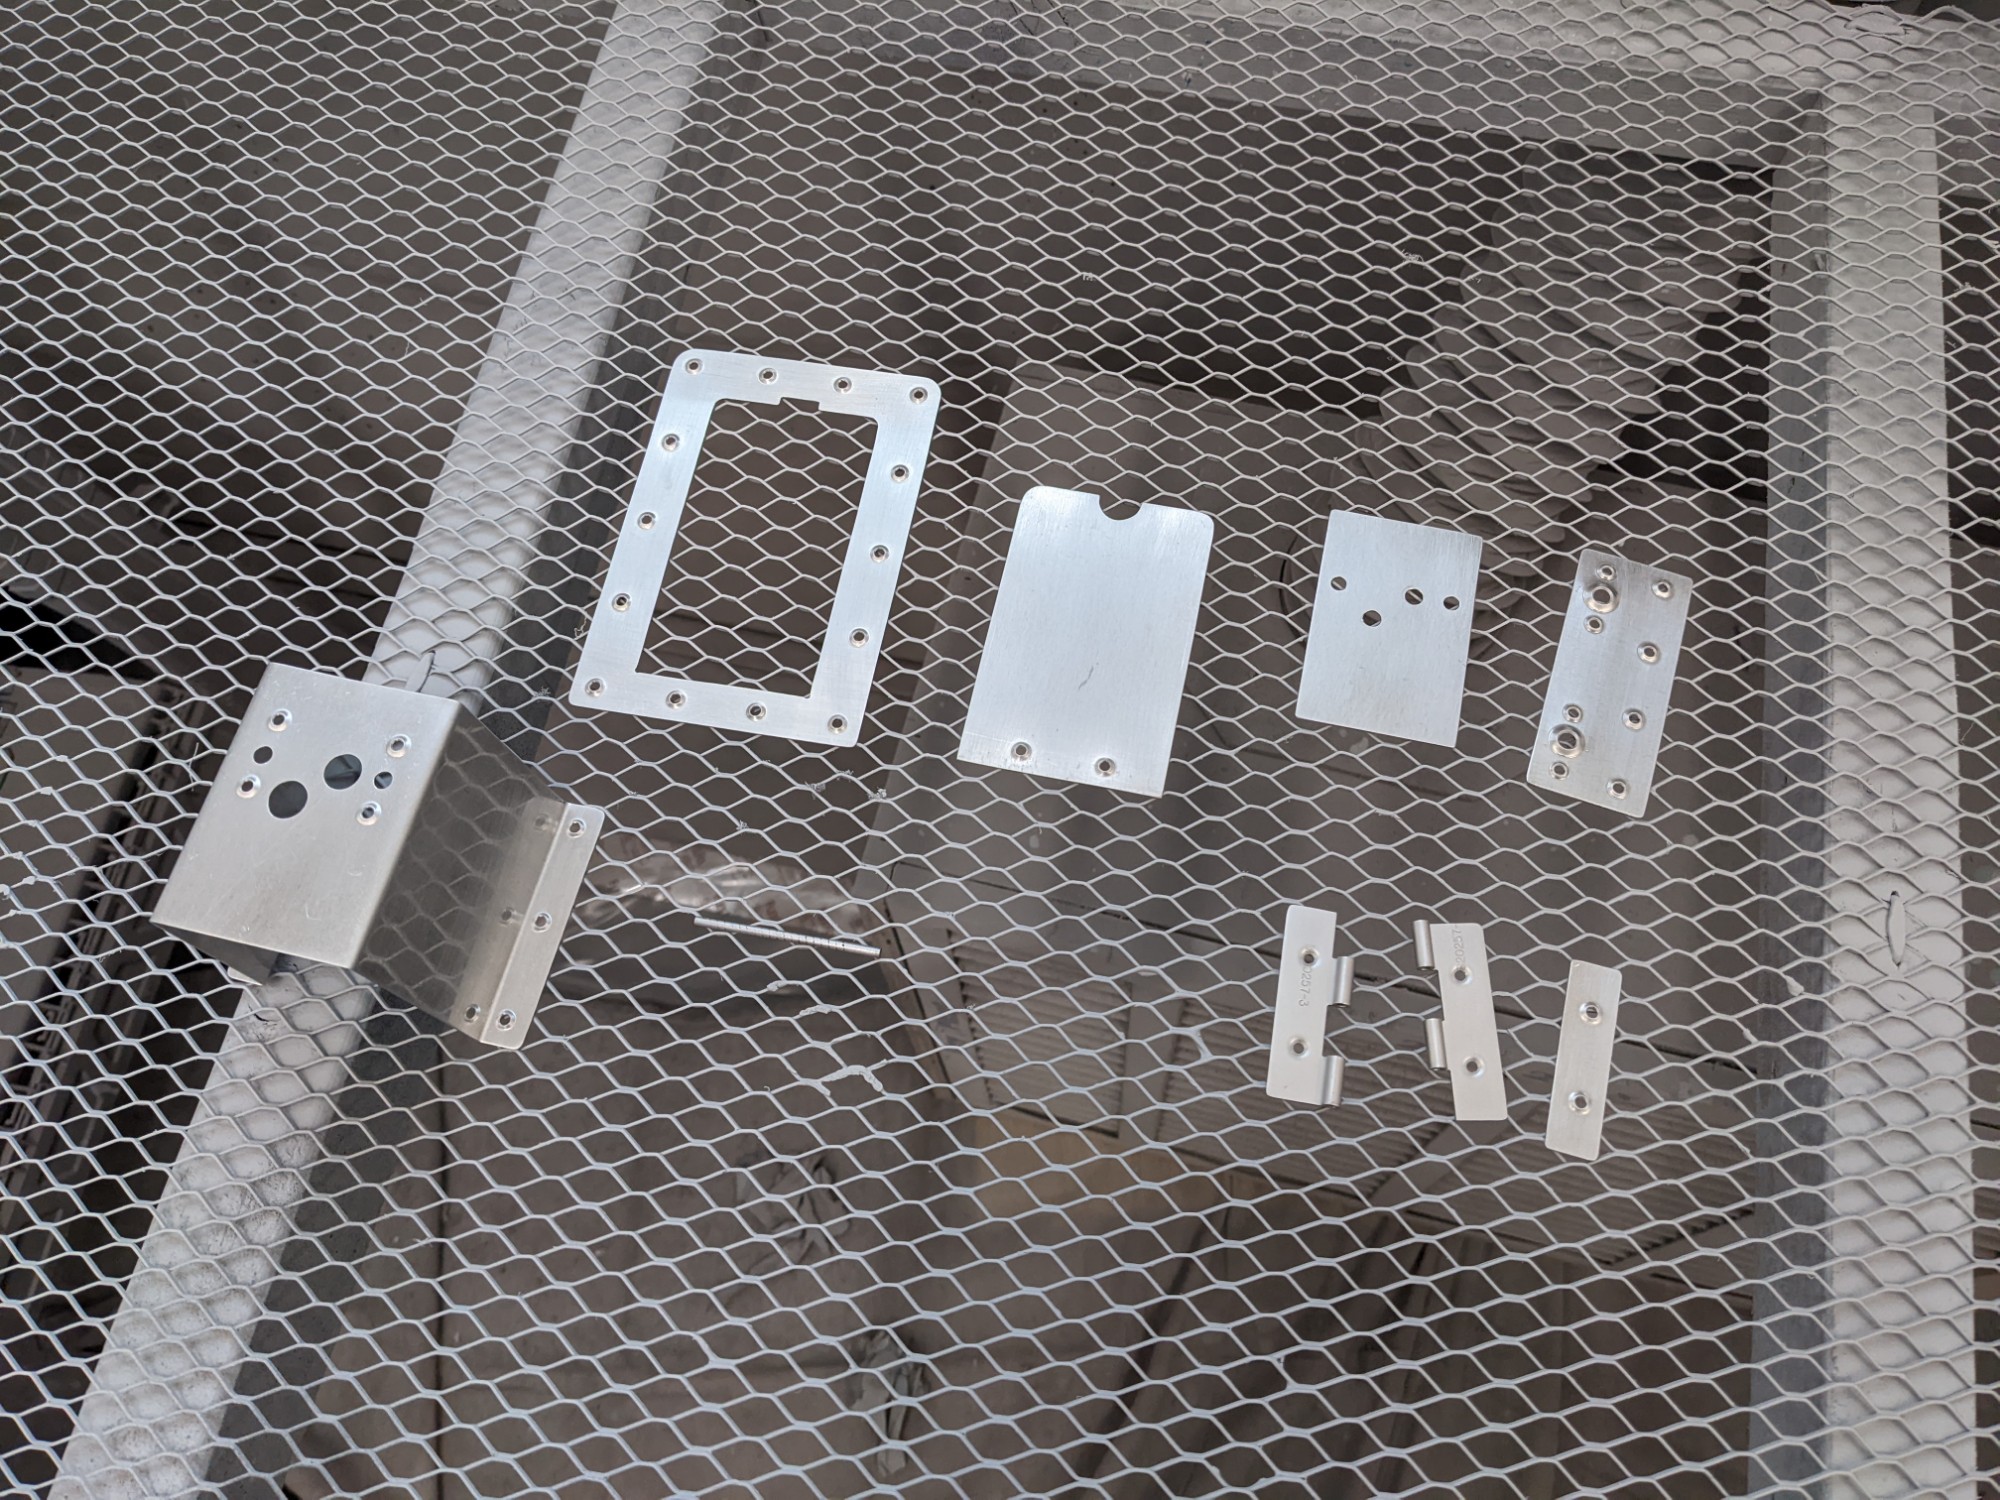
A small door with a simple hinge is used for access. I plan on a thin carpet in the baggage area which I’ll lift to access the fill port. Here are the various parts after fabrication.
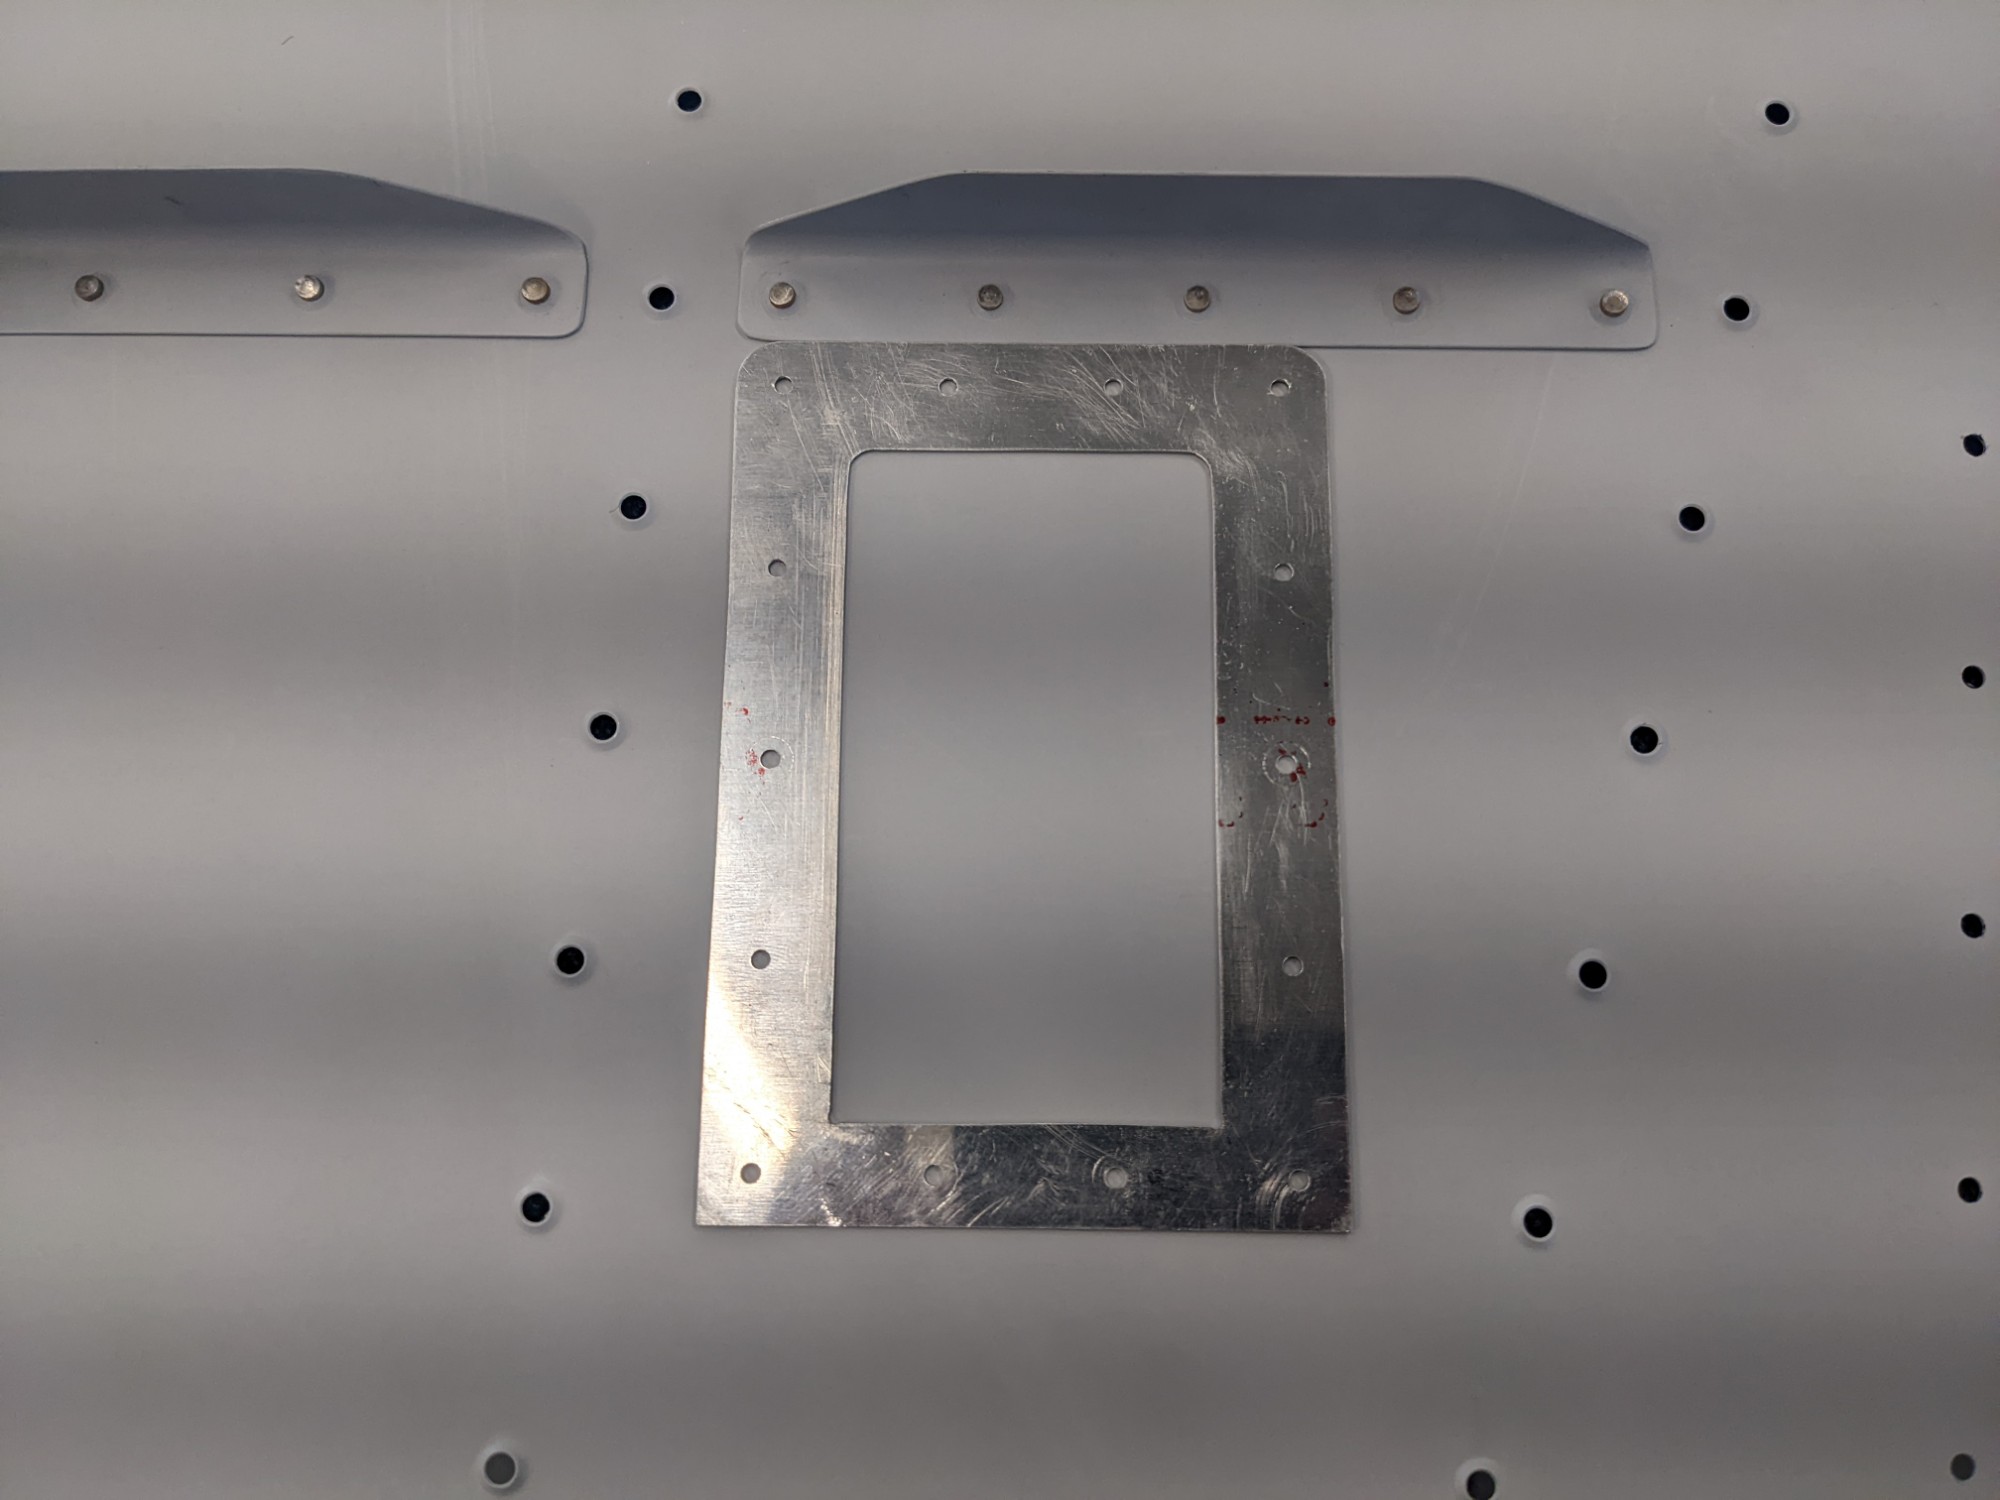
The approximate location of the doubler on the underside of the baggage floor. I kept it as small as I could to provide sufficient access but maximize clearance from conduit and the main battery cable.
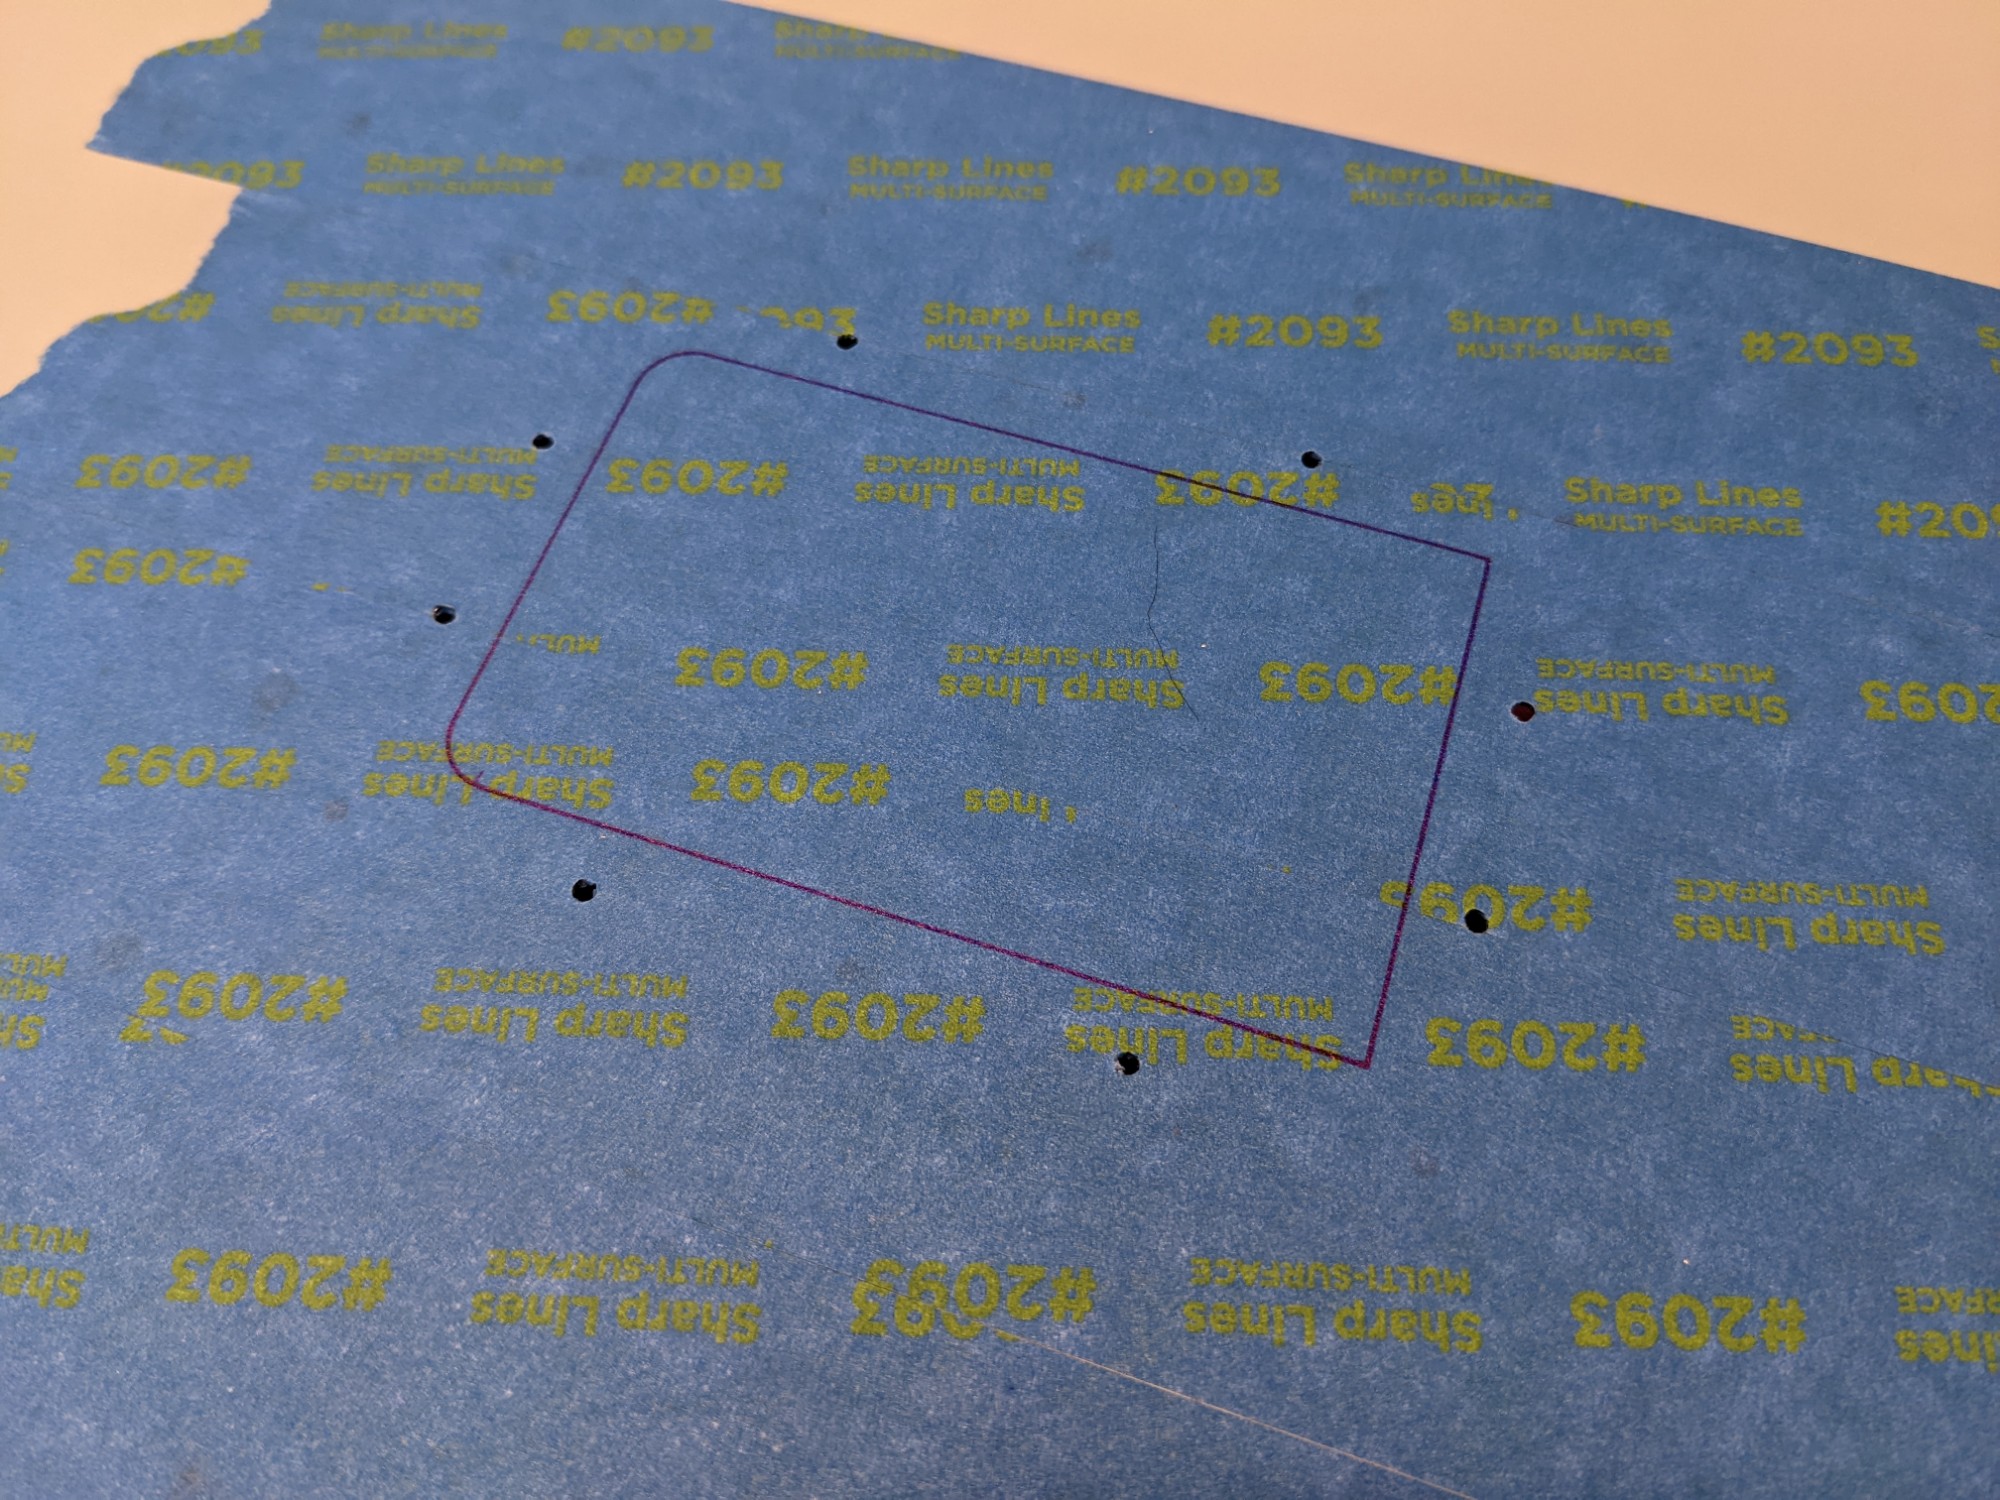
I then match-drilled the holes, covered the area with masking tape, and marked the outline of the cutout. I 3d printed a template as a guide.

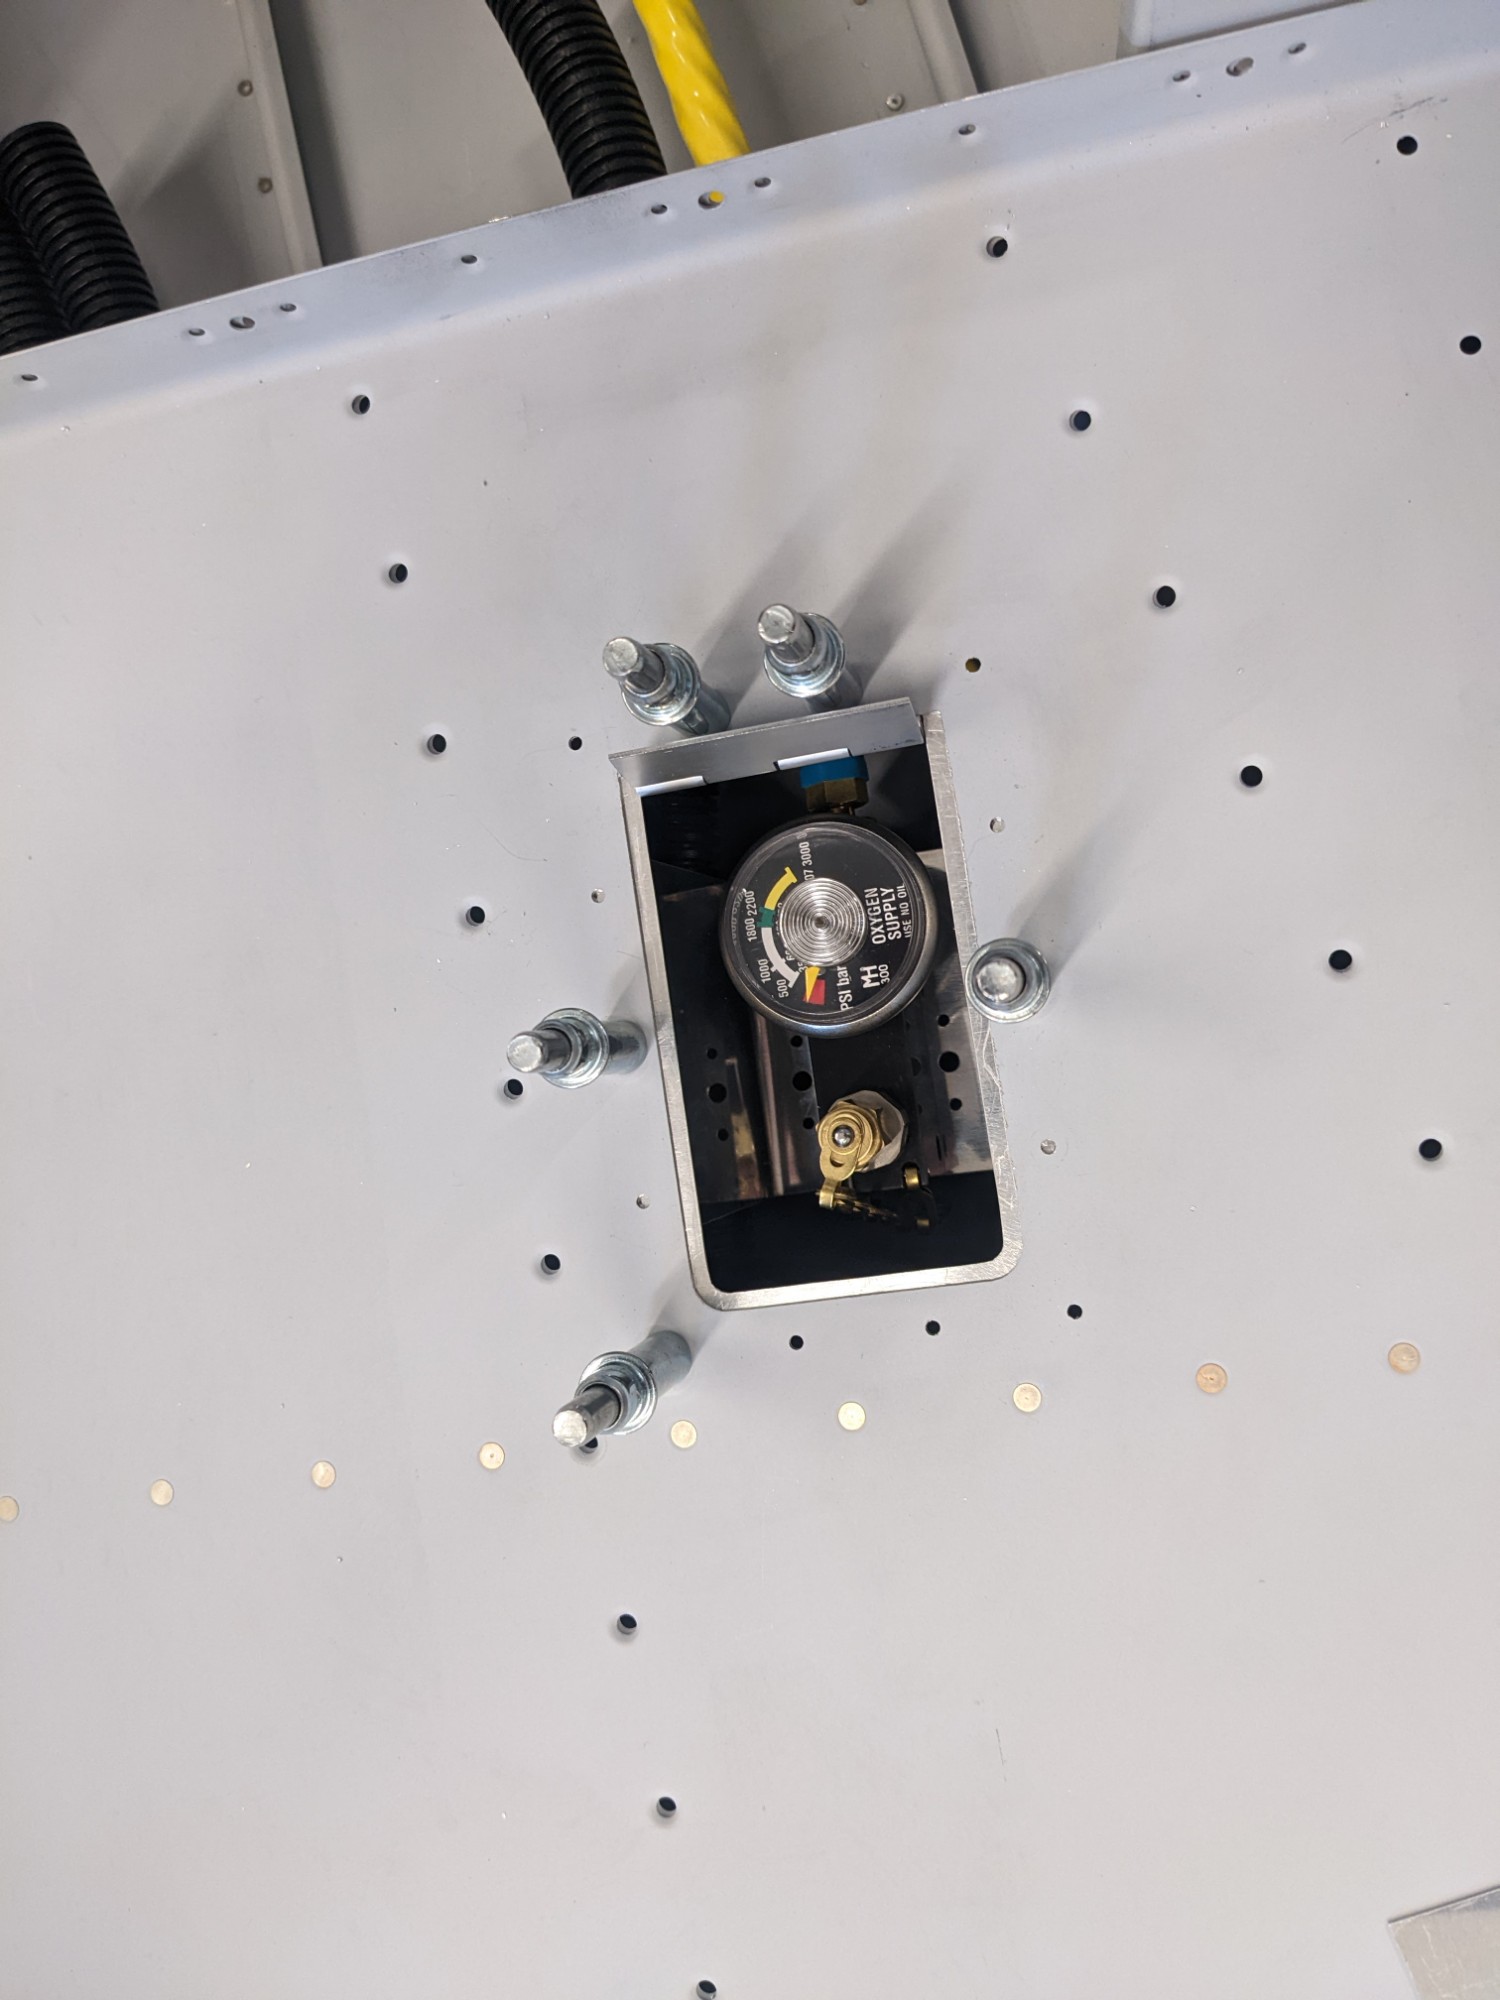
Everything fit nicely after getting the hole cut, filed, and cleaned up,
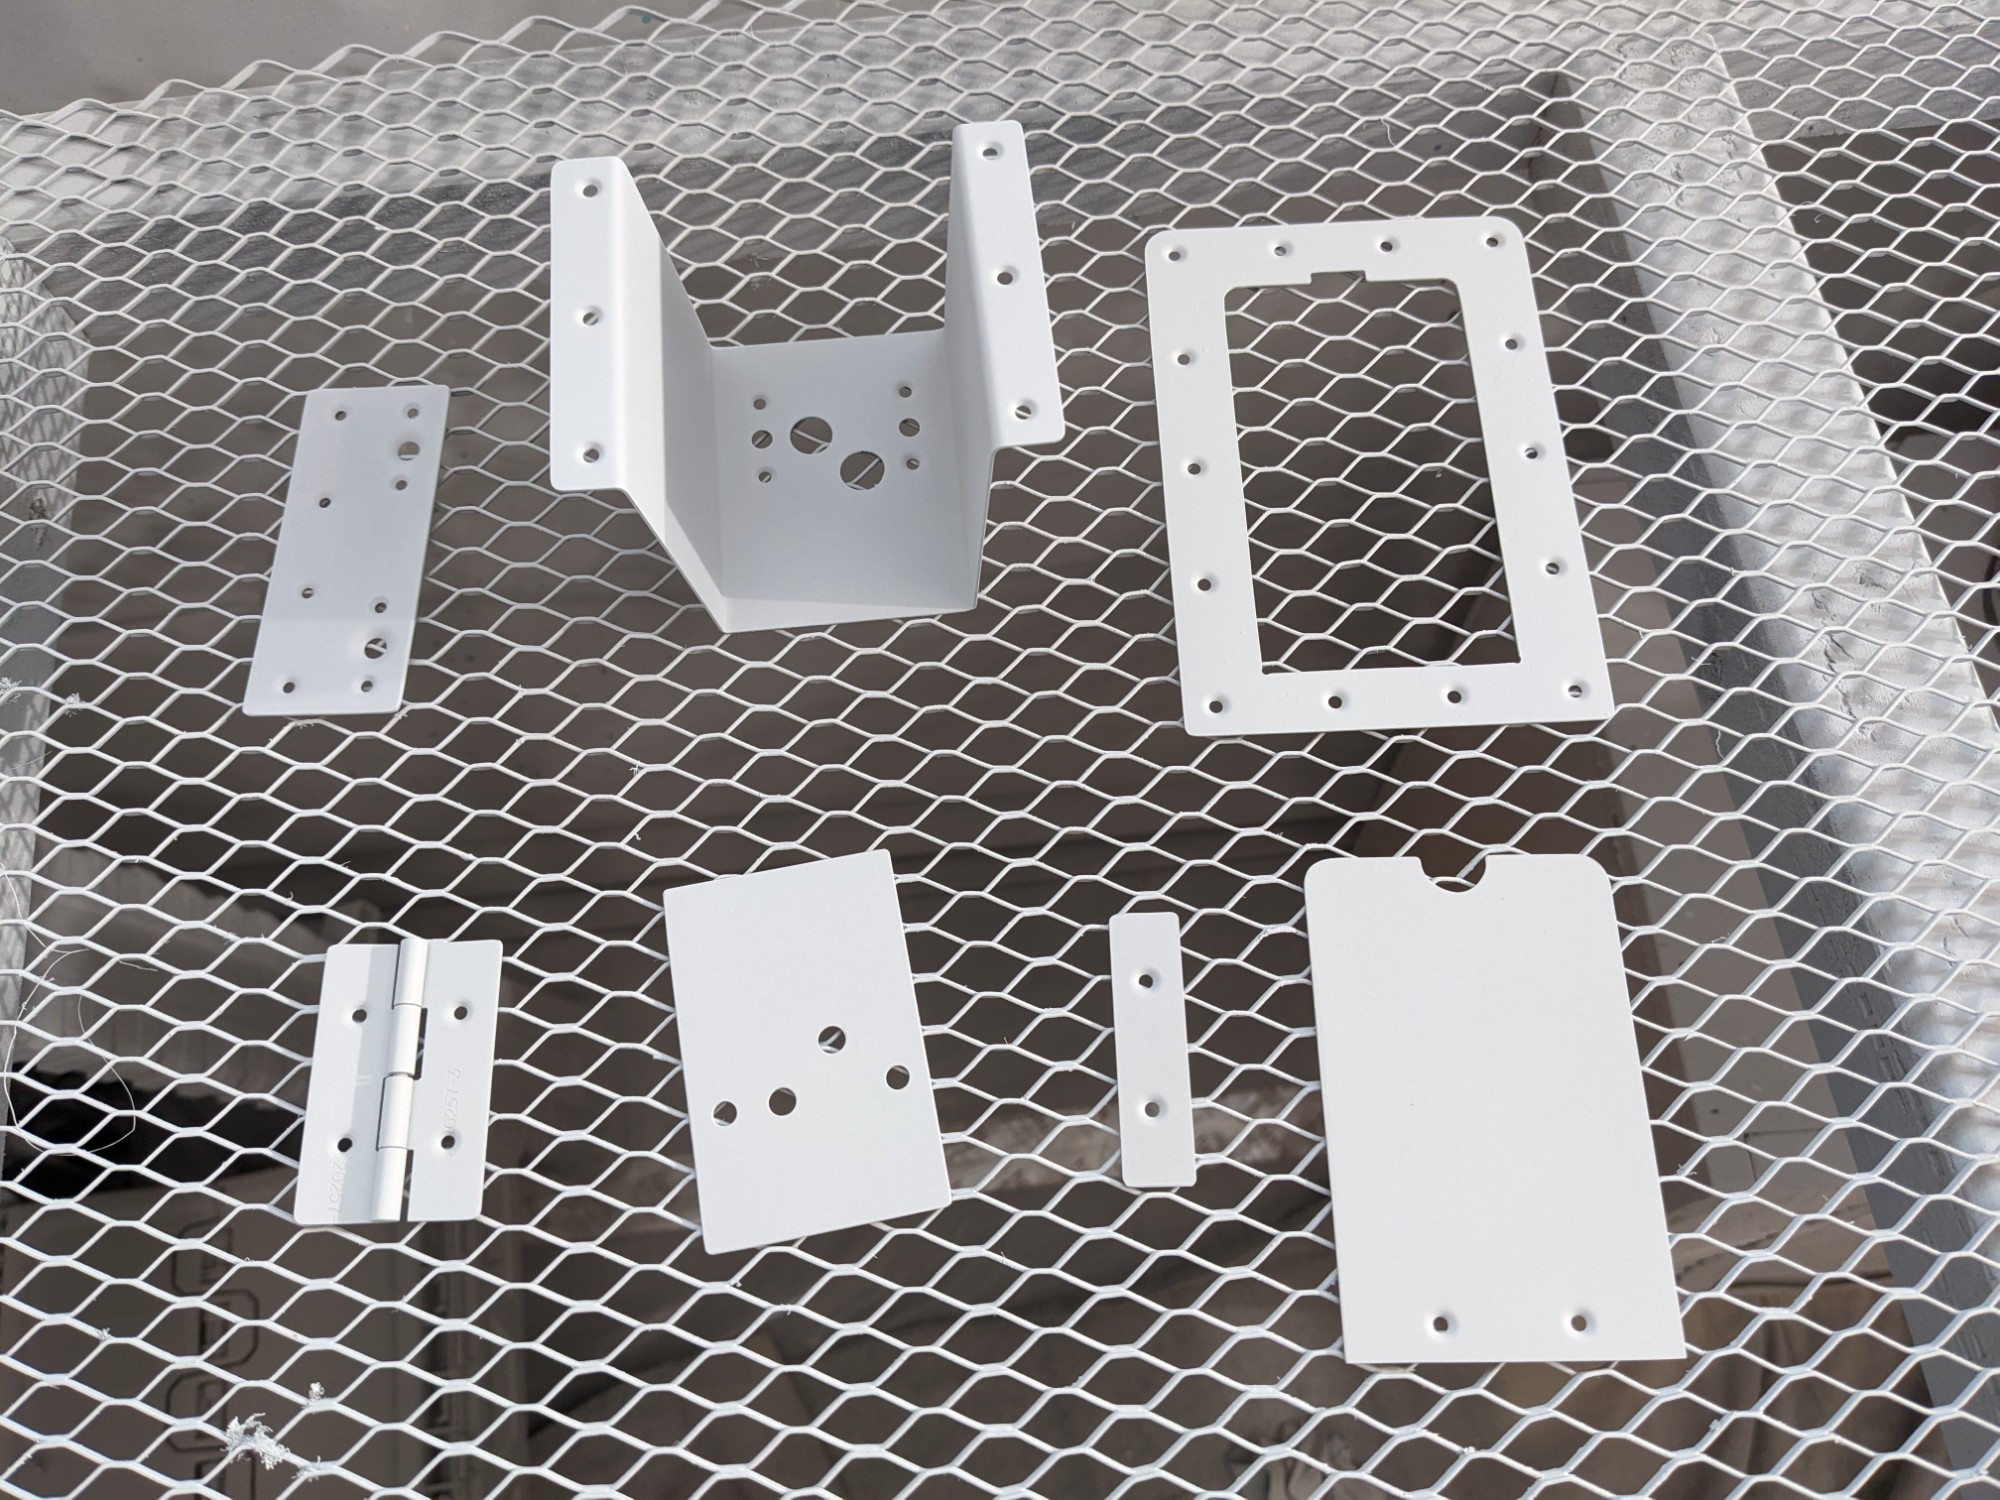
Once everything was deburred, I etched and primed the parts.
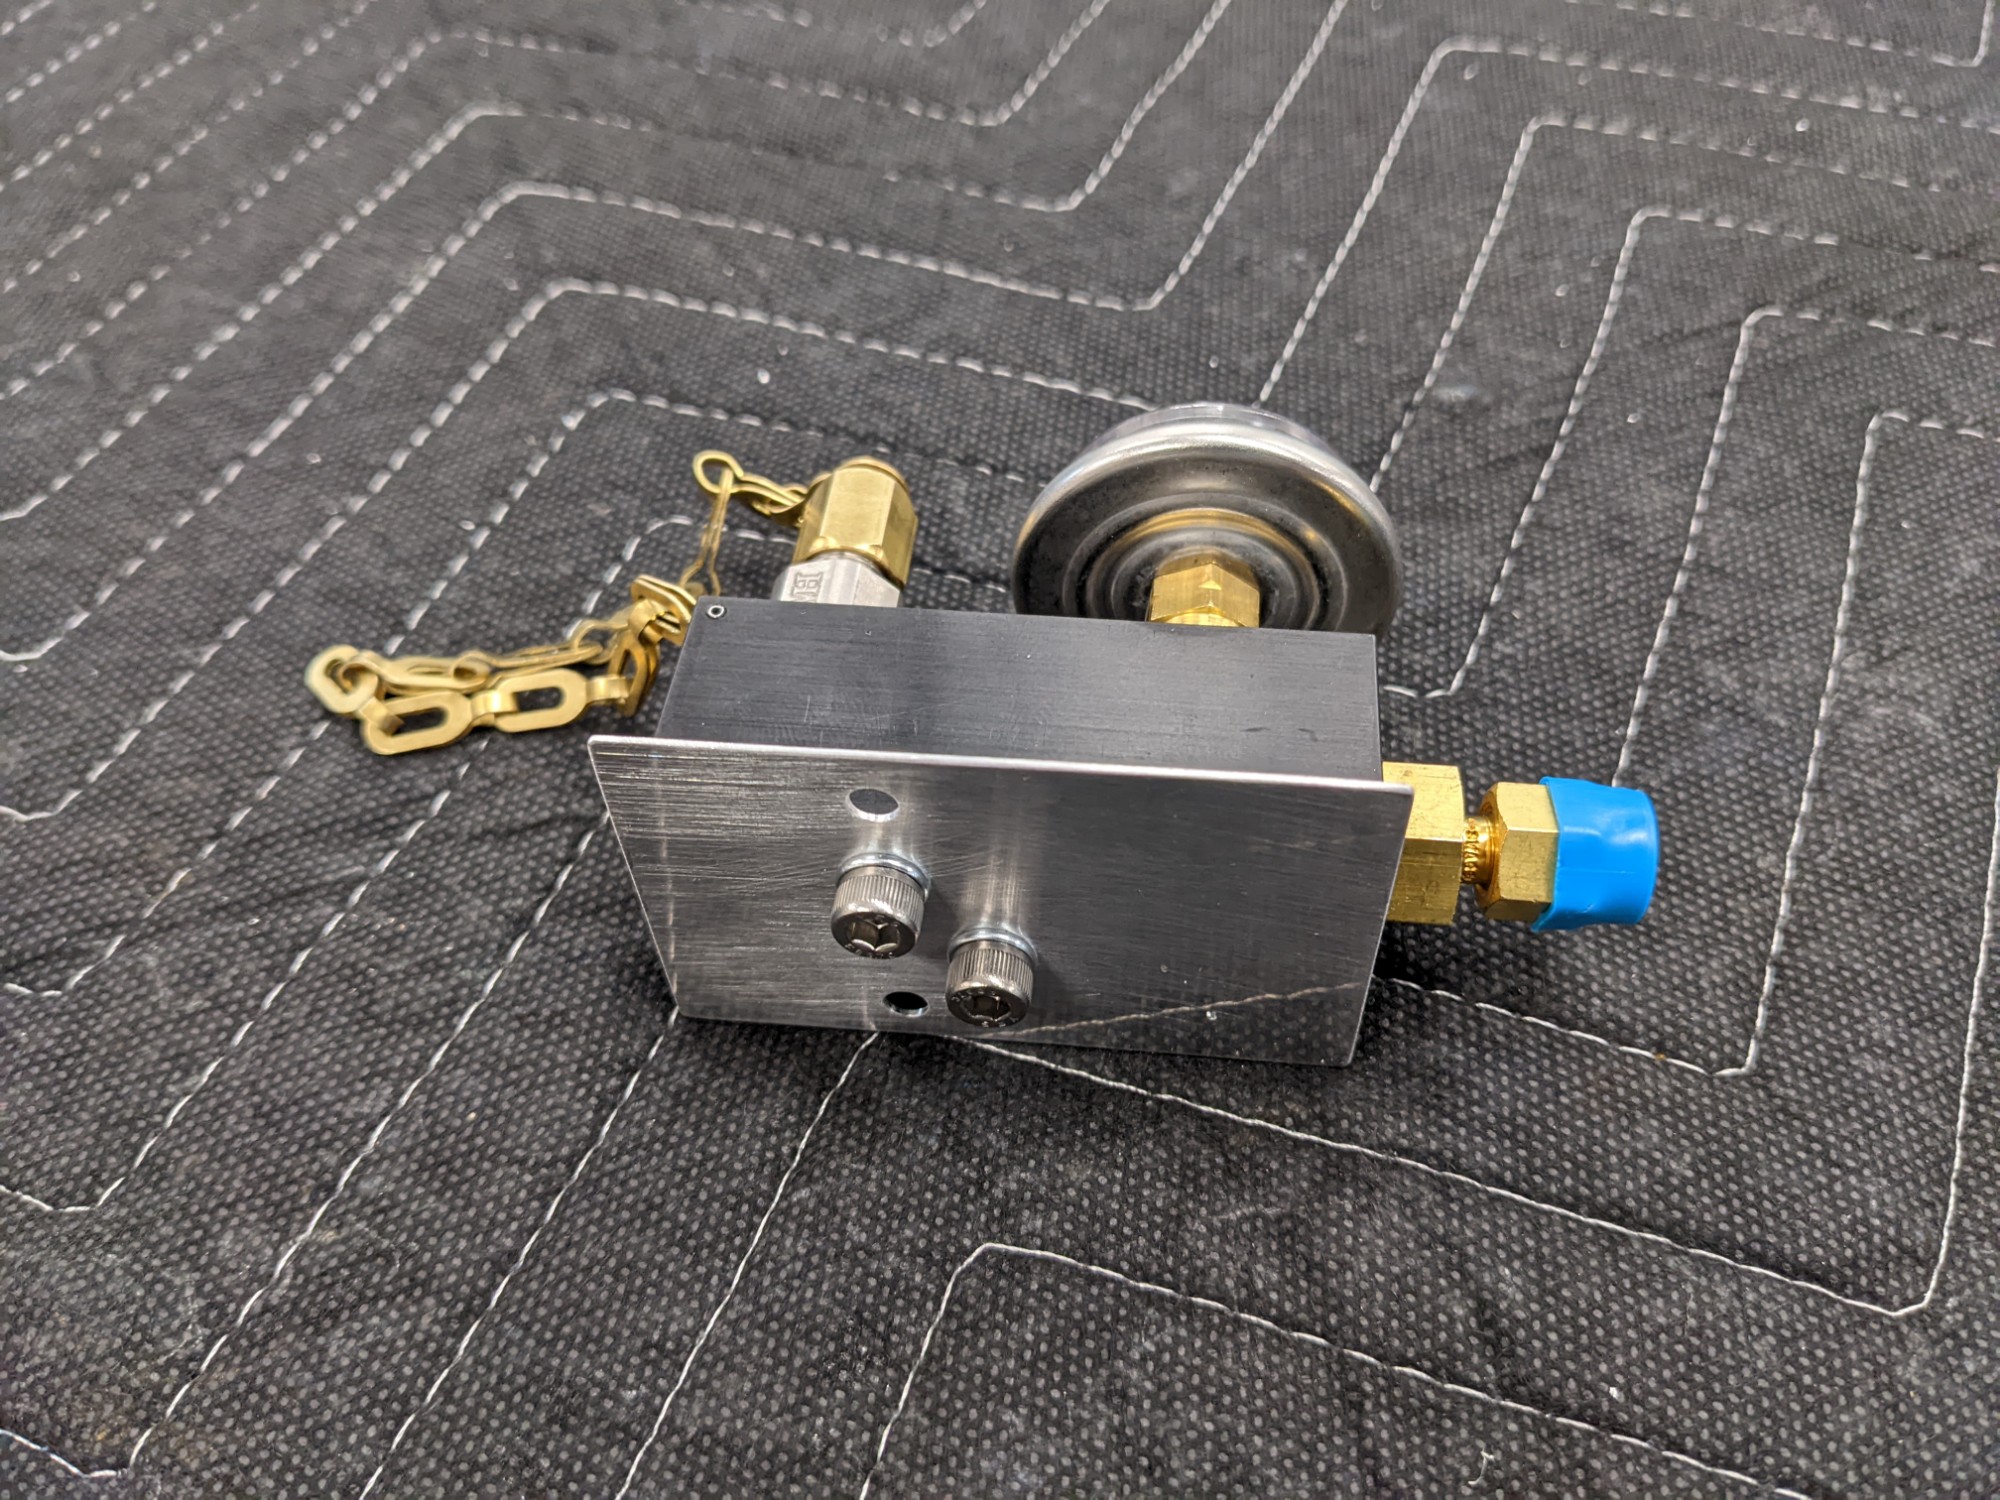
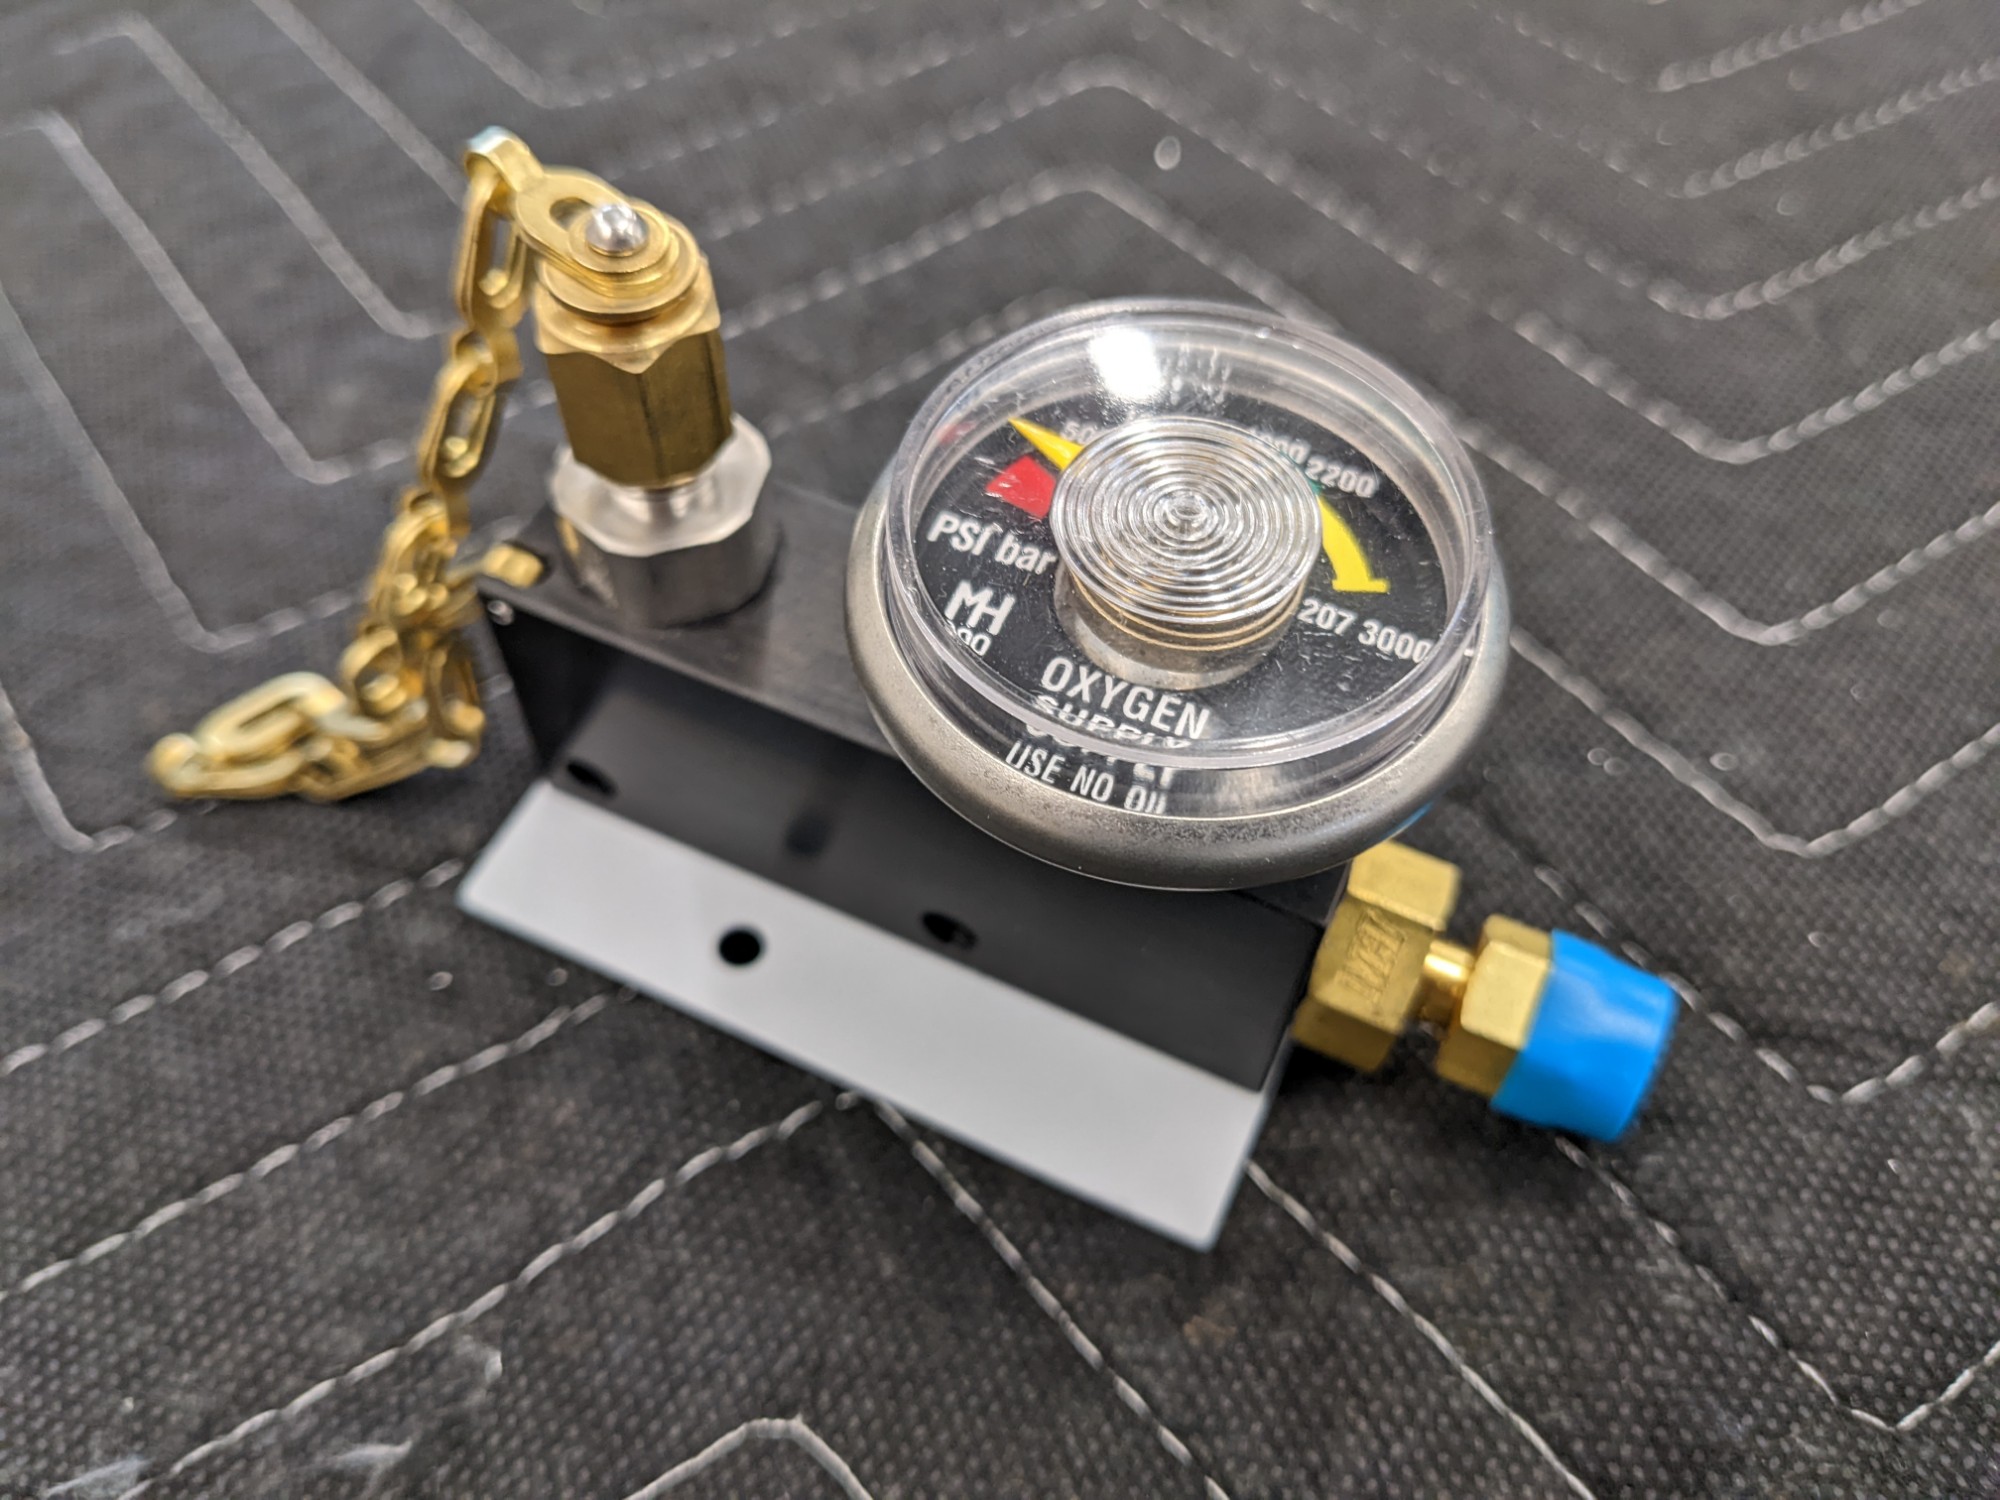
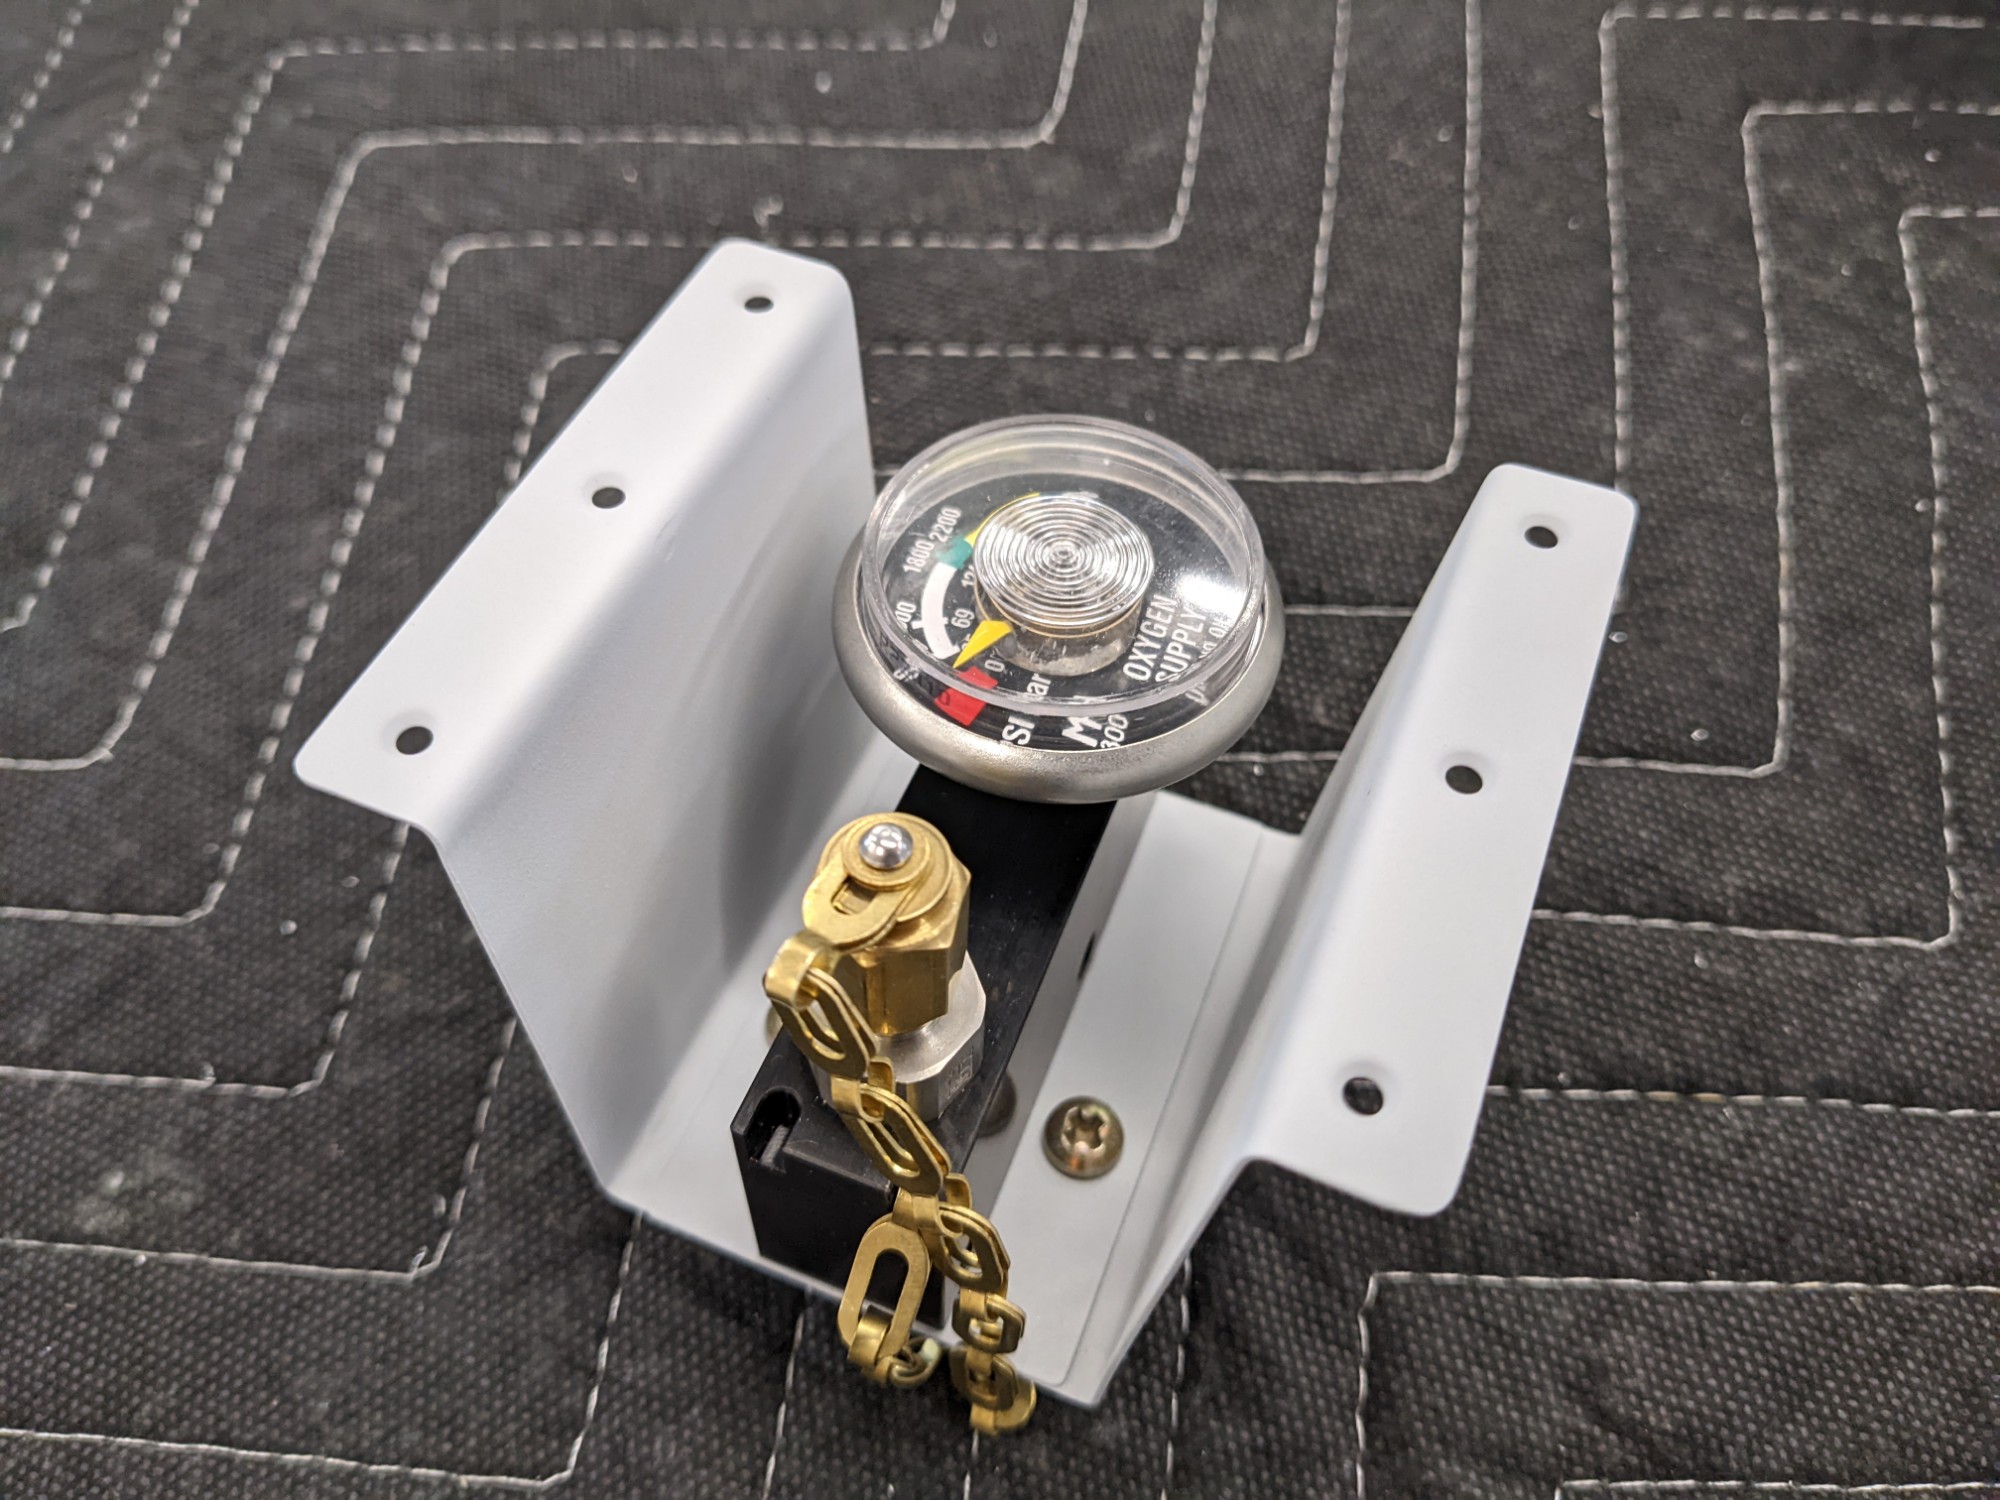
The fill port manifold attached to the mounting plate.
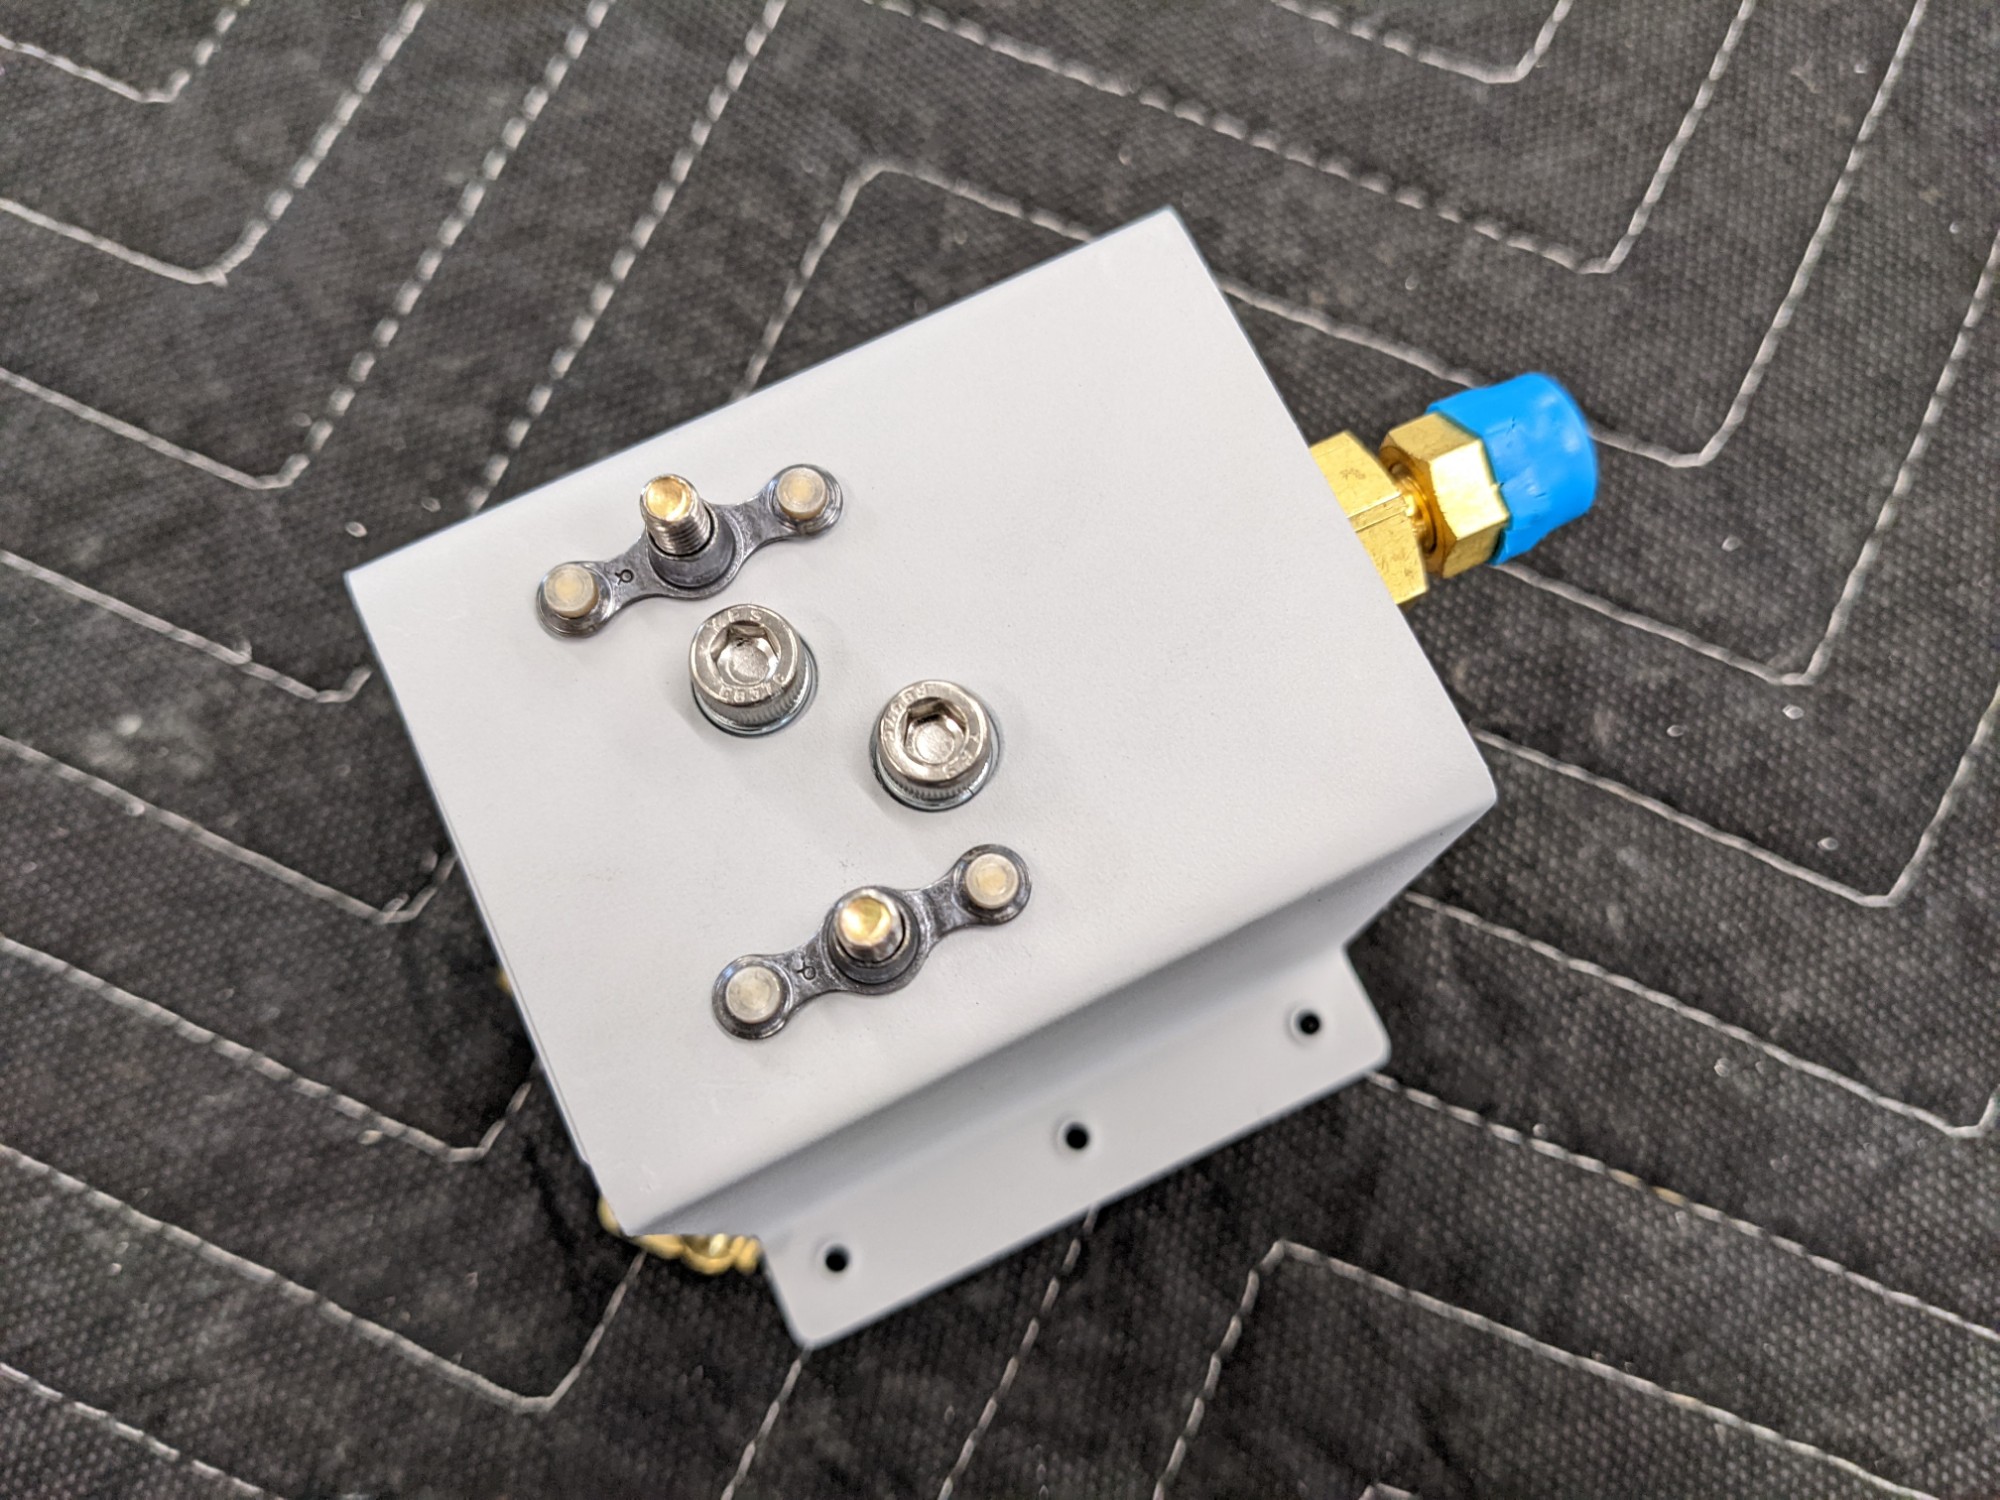
The mounting plate attached to the bracket as a test.
I then riveted the parts to the baggage floor.
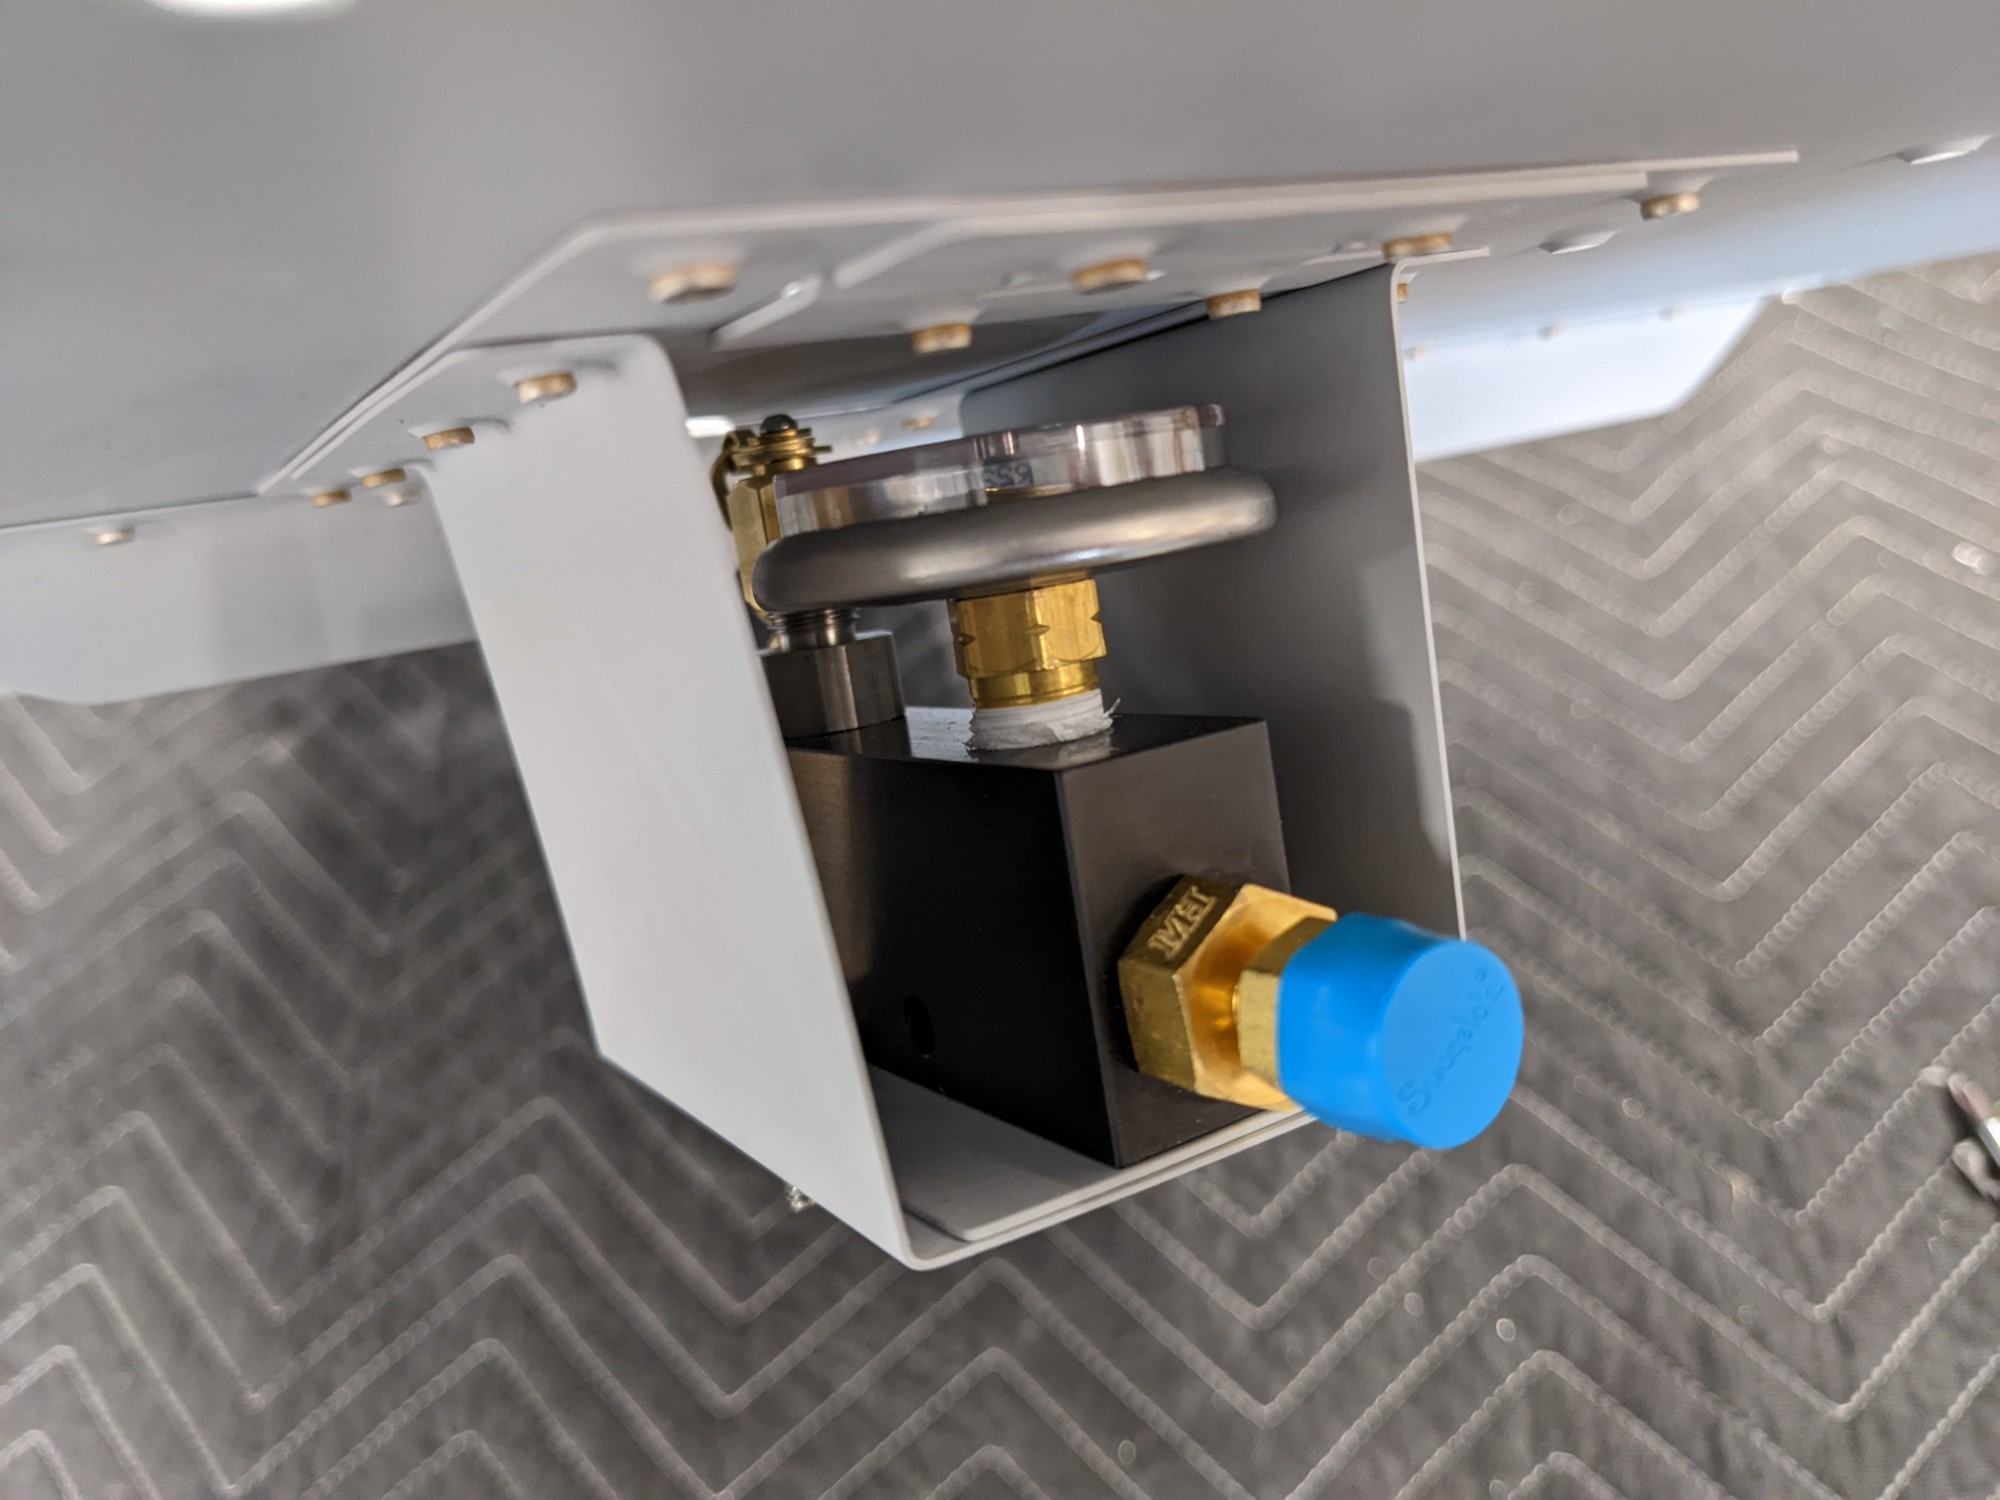
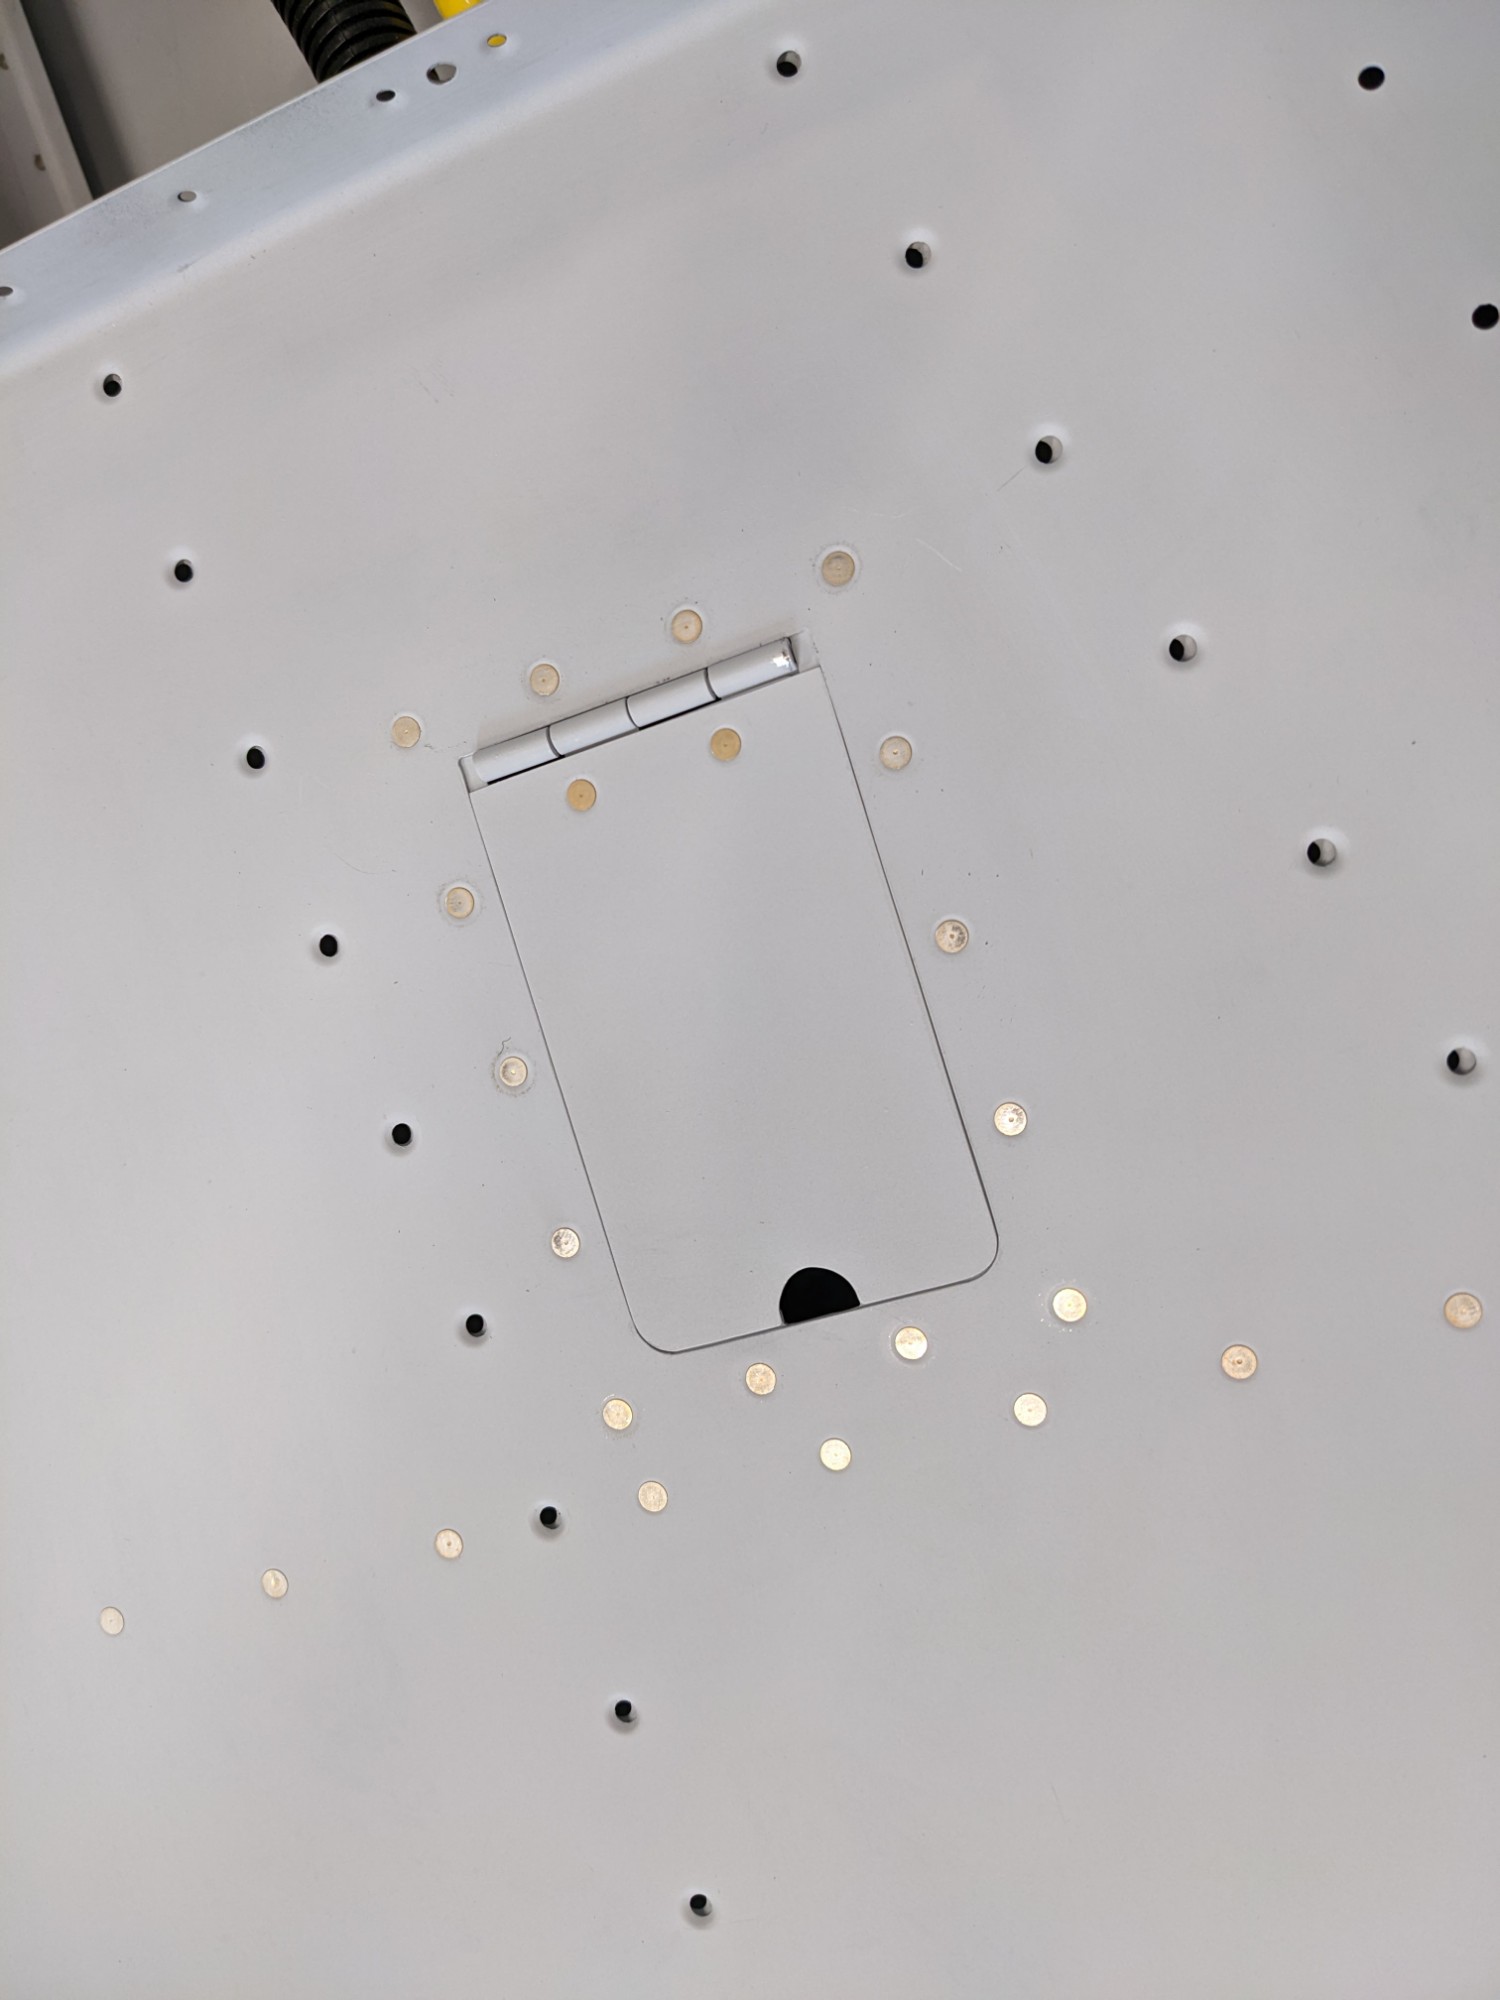
For the final install, I plan to attach the fill line to the fill port, then thread the line under the baggage floor while inserting the fill port into the bracket.
One more task complete. I’m ready to start riveting the seat and baggage floors into place (finally!).