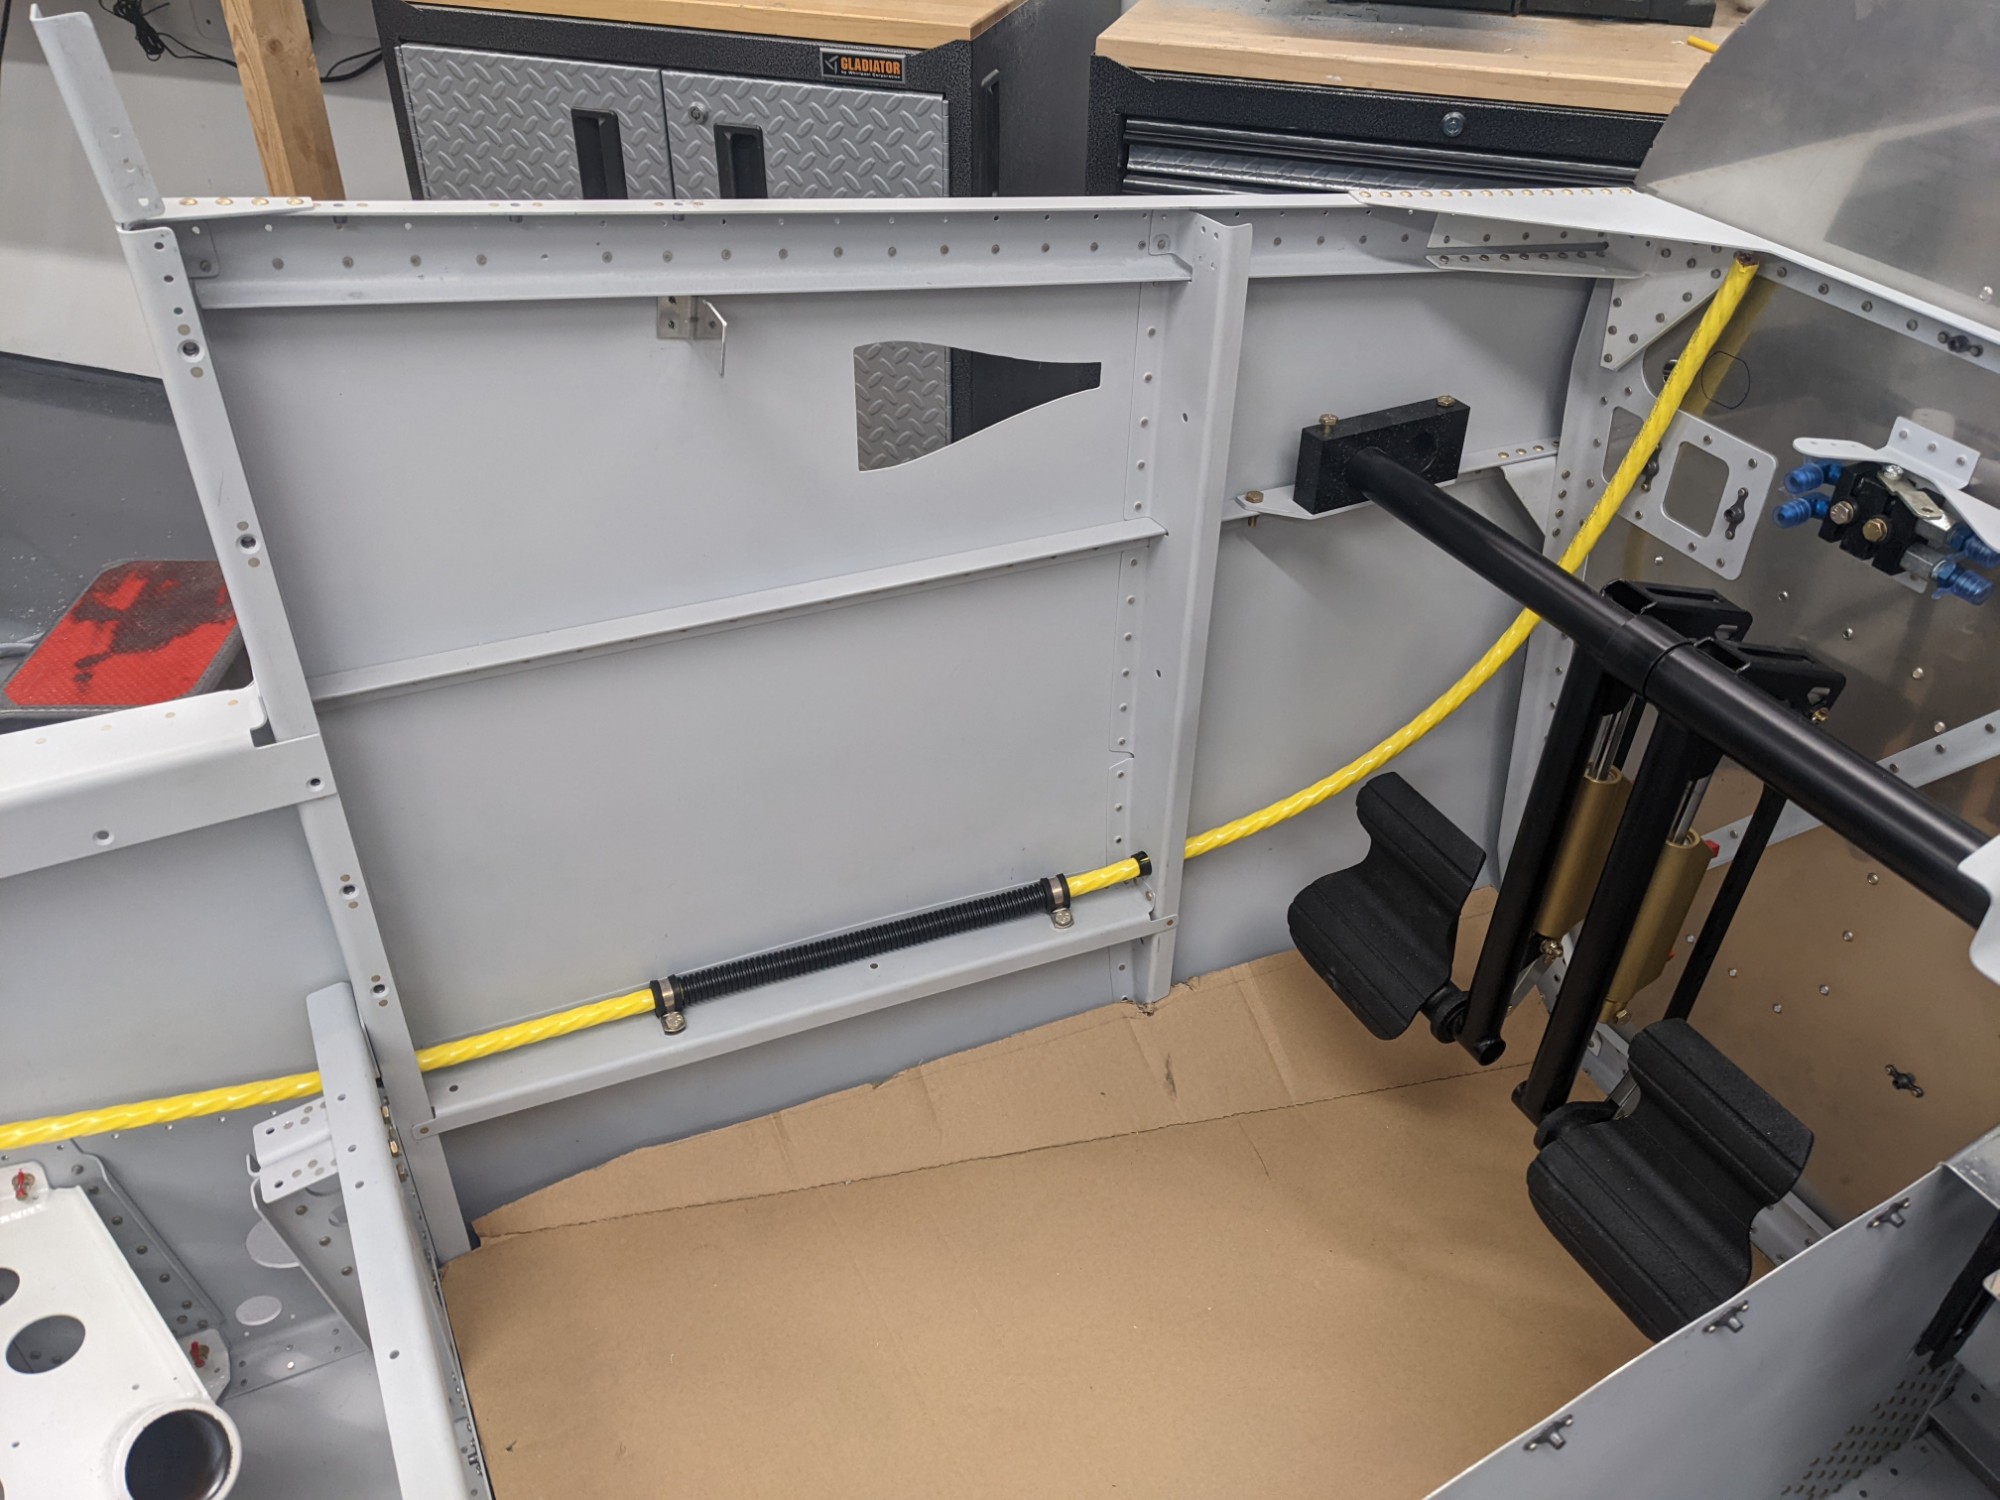
I have been working on a lot of different items prior to closing up the rear seat bases and baggage floors. All of the systems that run through this area were worked on together but I have chosen to split up the log entries to make it easier to document each system.
Based on a recommendation from a local RV-10 builder that has been flying for many years, I decided to use Perihelion Design SuperCCA-2 Fatwire for my battery and ground wire runs. I also decided to run a dedicated ground and will ground everything at a single location. The Perihelion wire is a little pricey but it supports the equivalent current of a 2 gauge wire while reducing the total weight by more than 2 pounds. That’s not a huge overall difference but it all adds up.
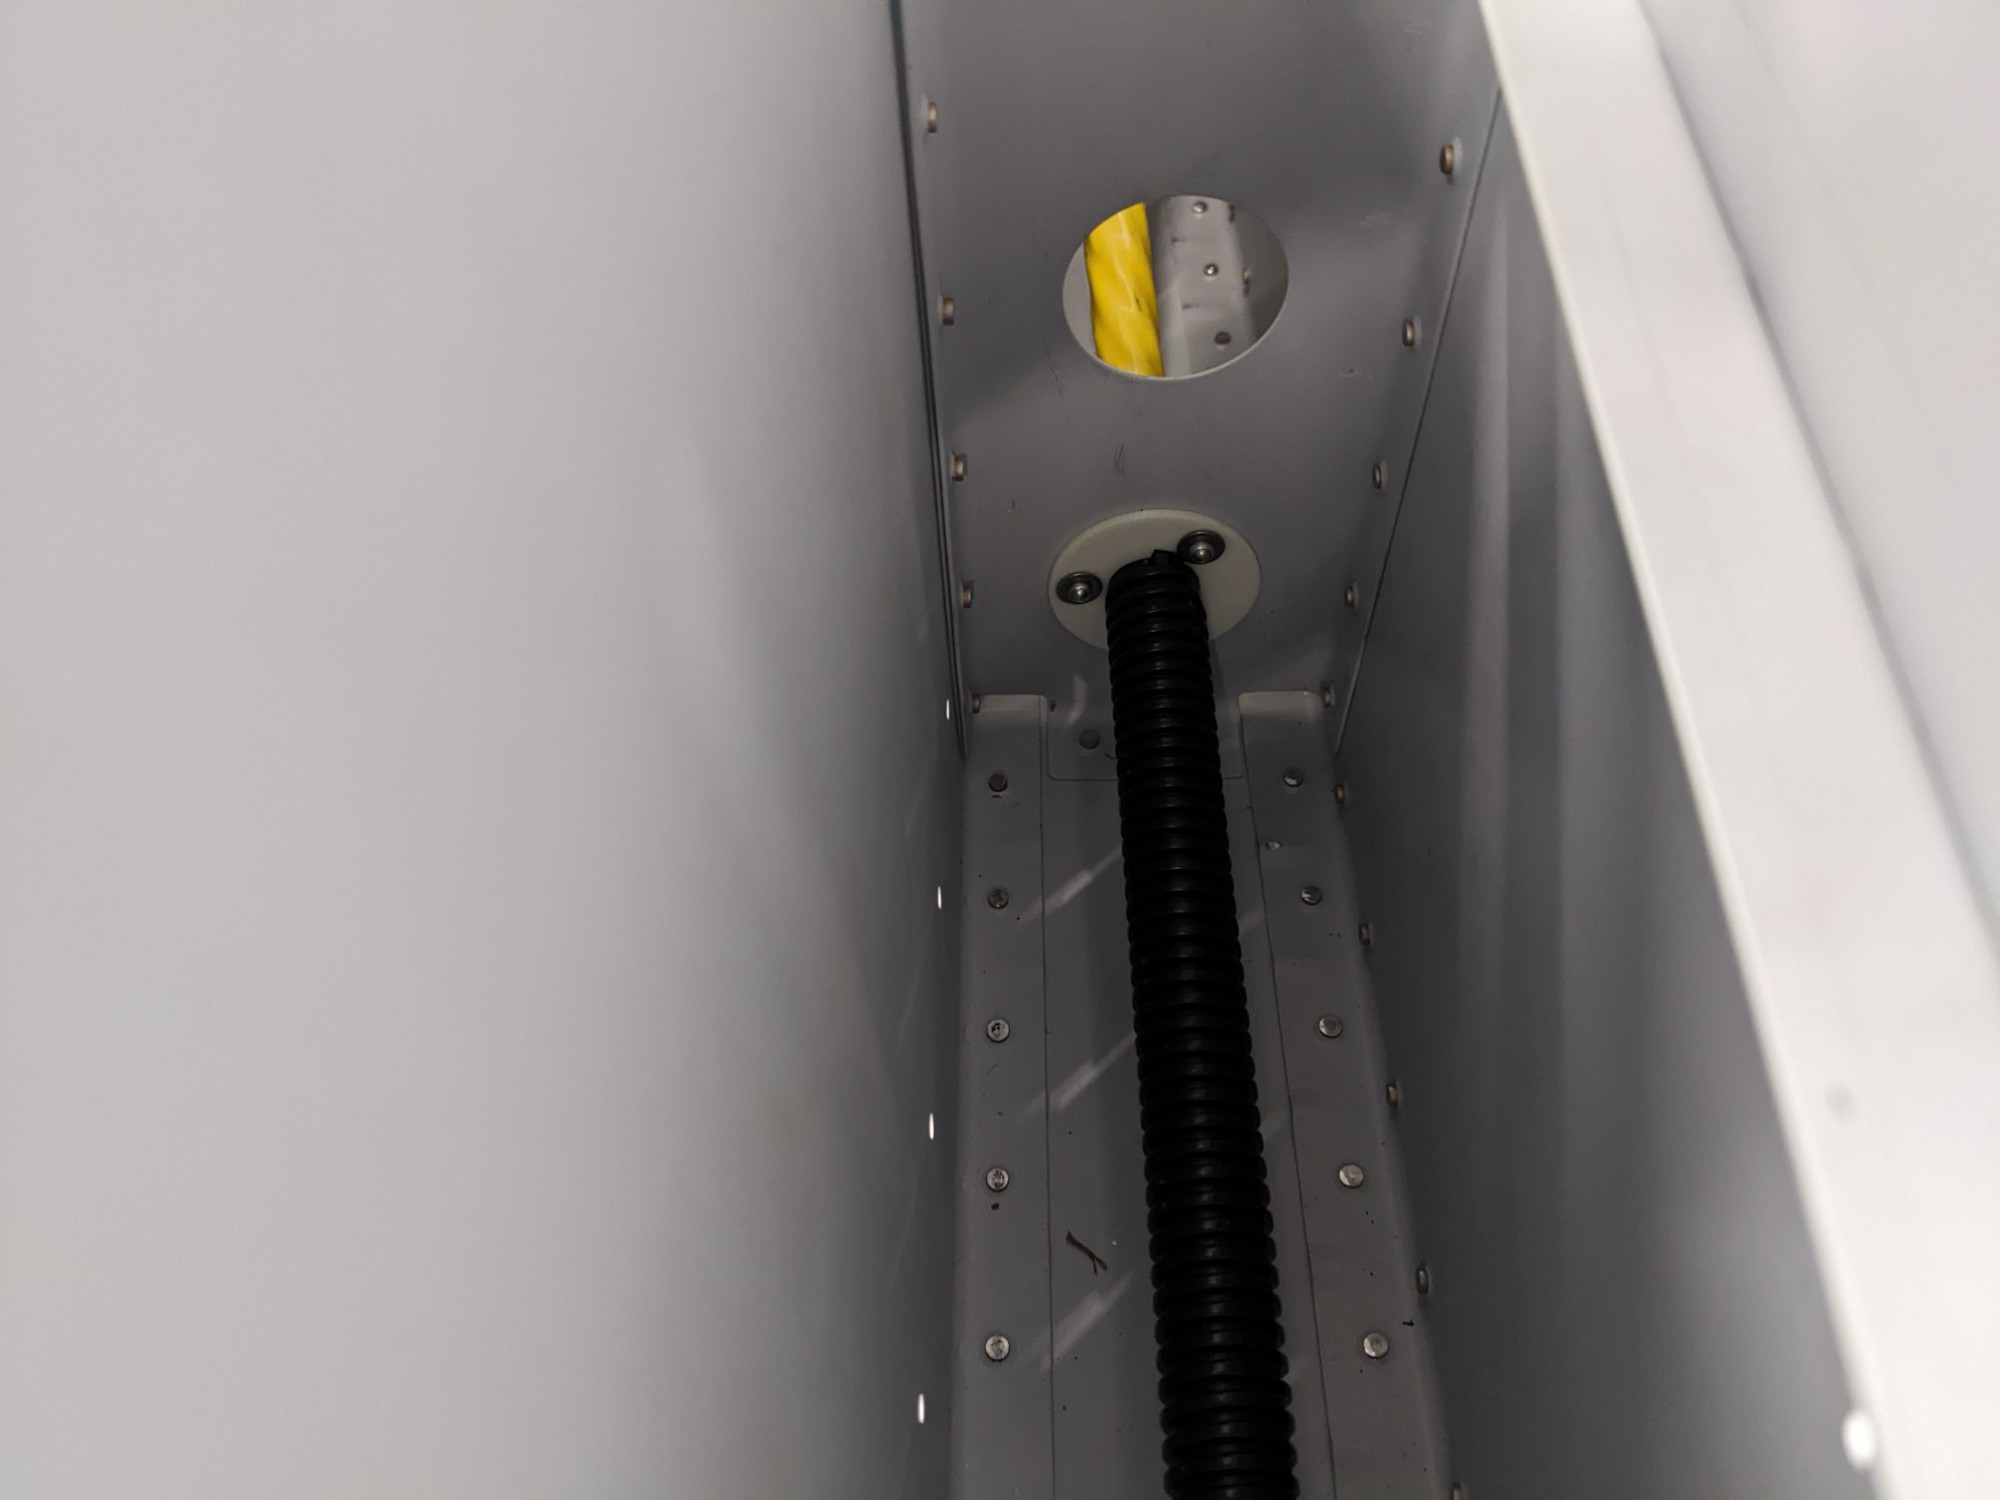
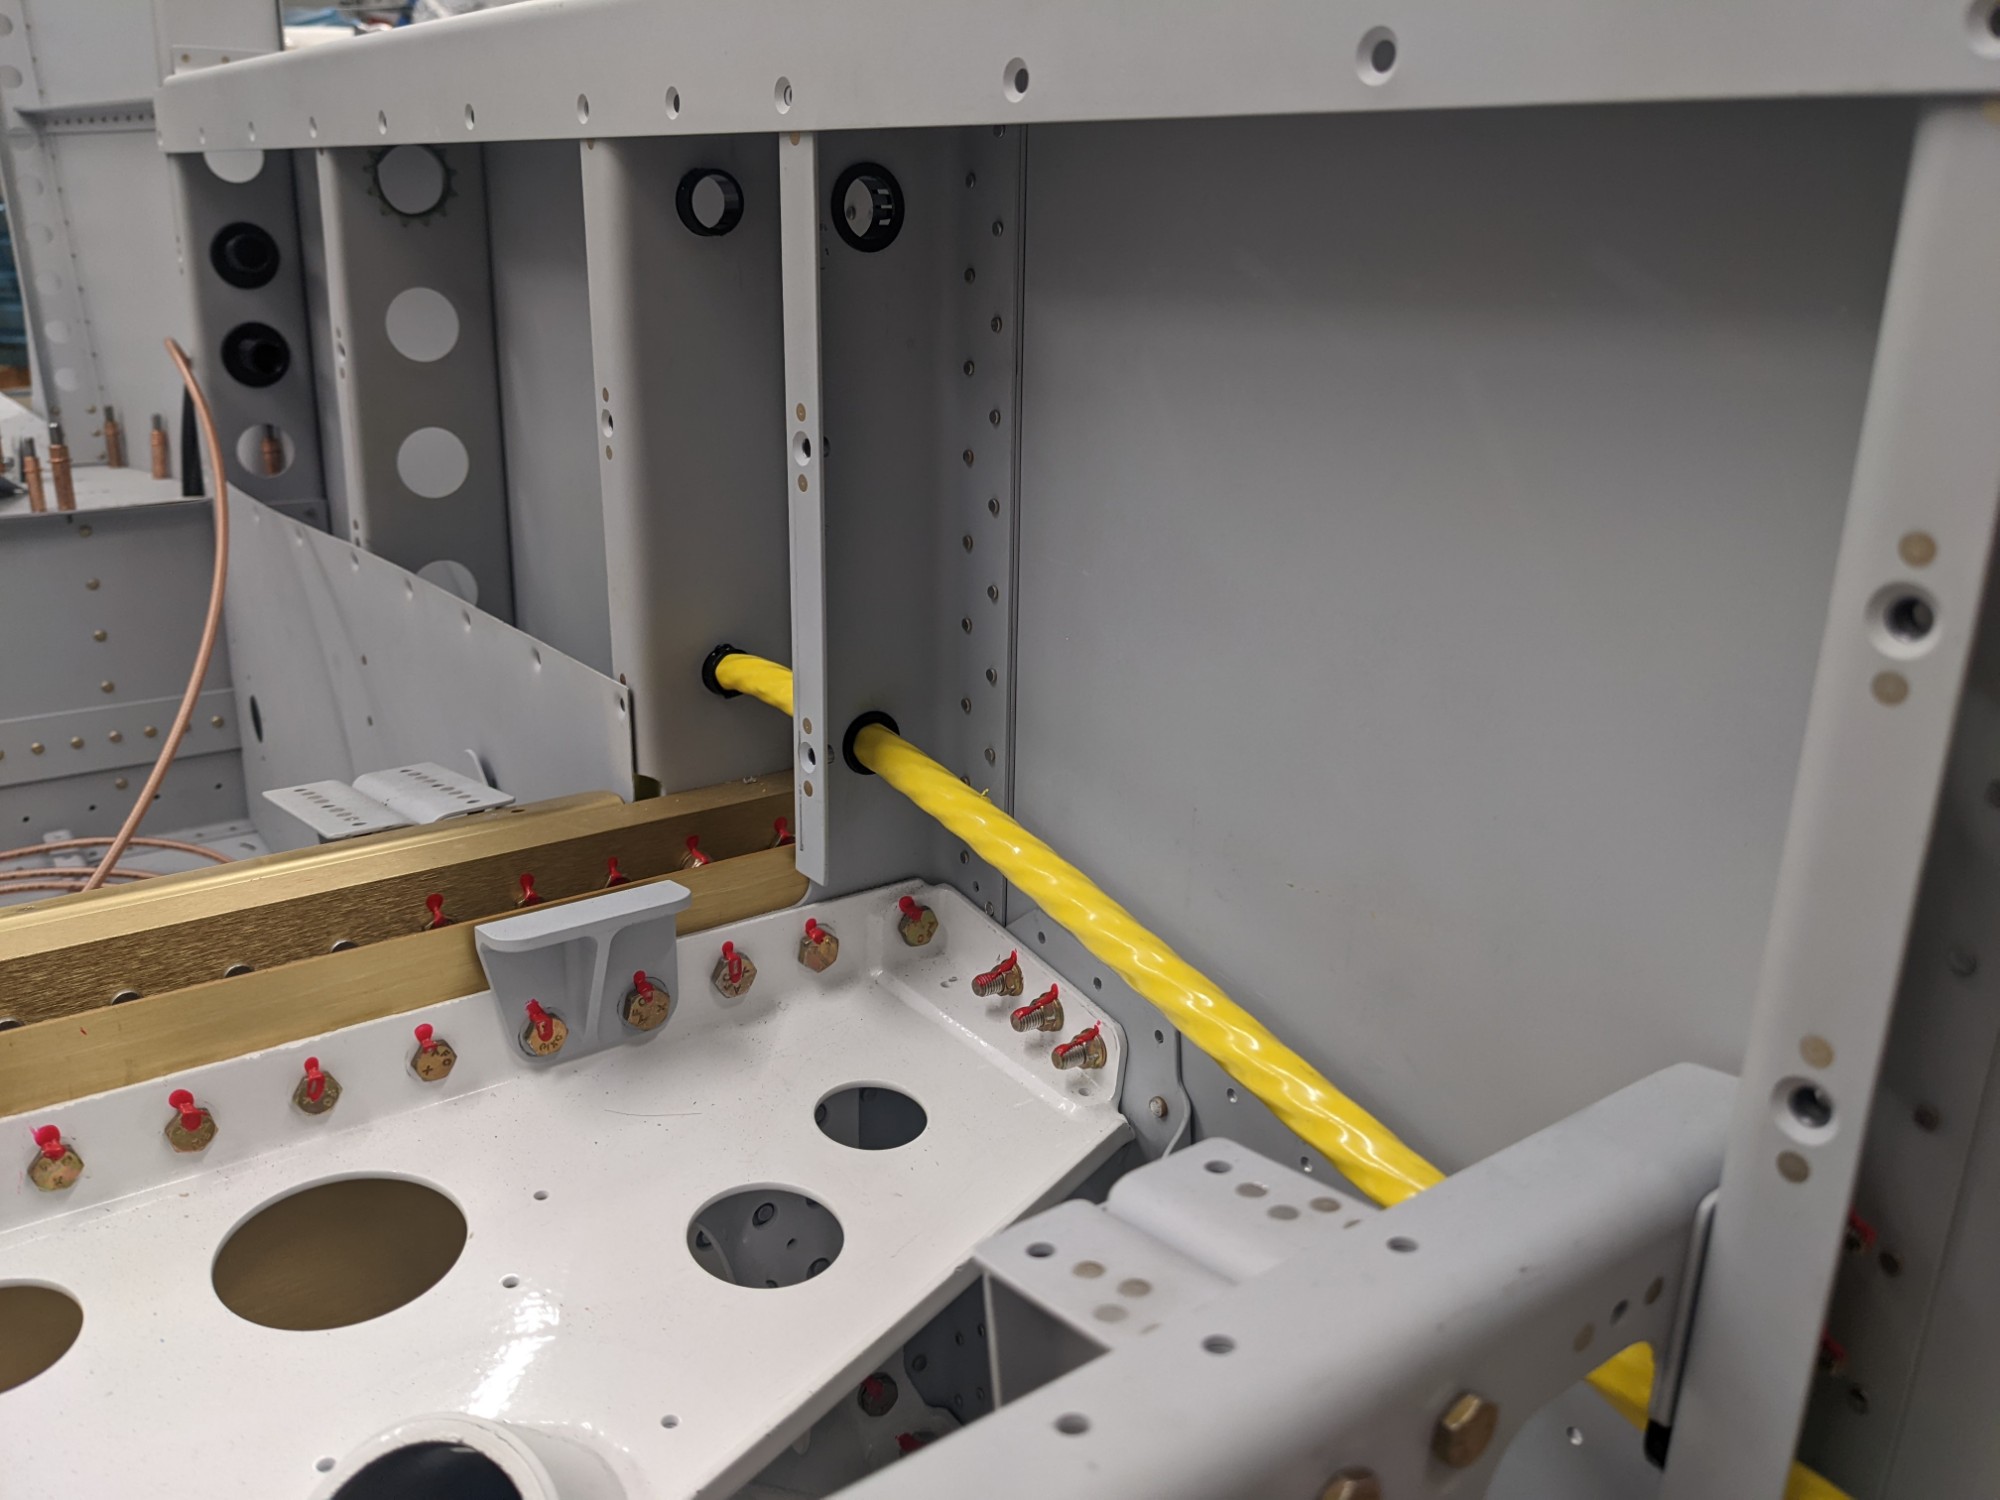
I ran the power wire down the left side of the aircraft and the ground wire down the right. The wire is just over half an inch thick and it fits snugly in the snap bushing that fits the hole near the steps. This allowed me to pass the wire through the intended hole with no modifications. I wrapped the wire in some split loom at the step and additionally wrapped that with some self-fusing silicon tape.
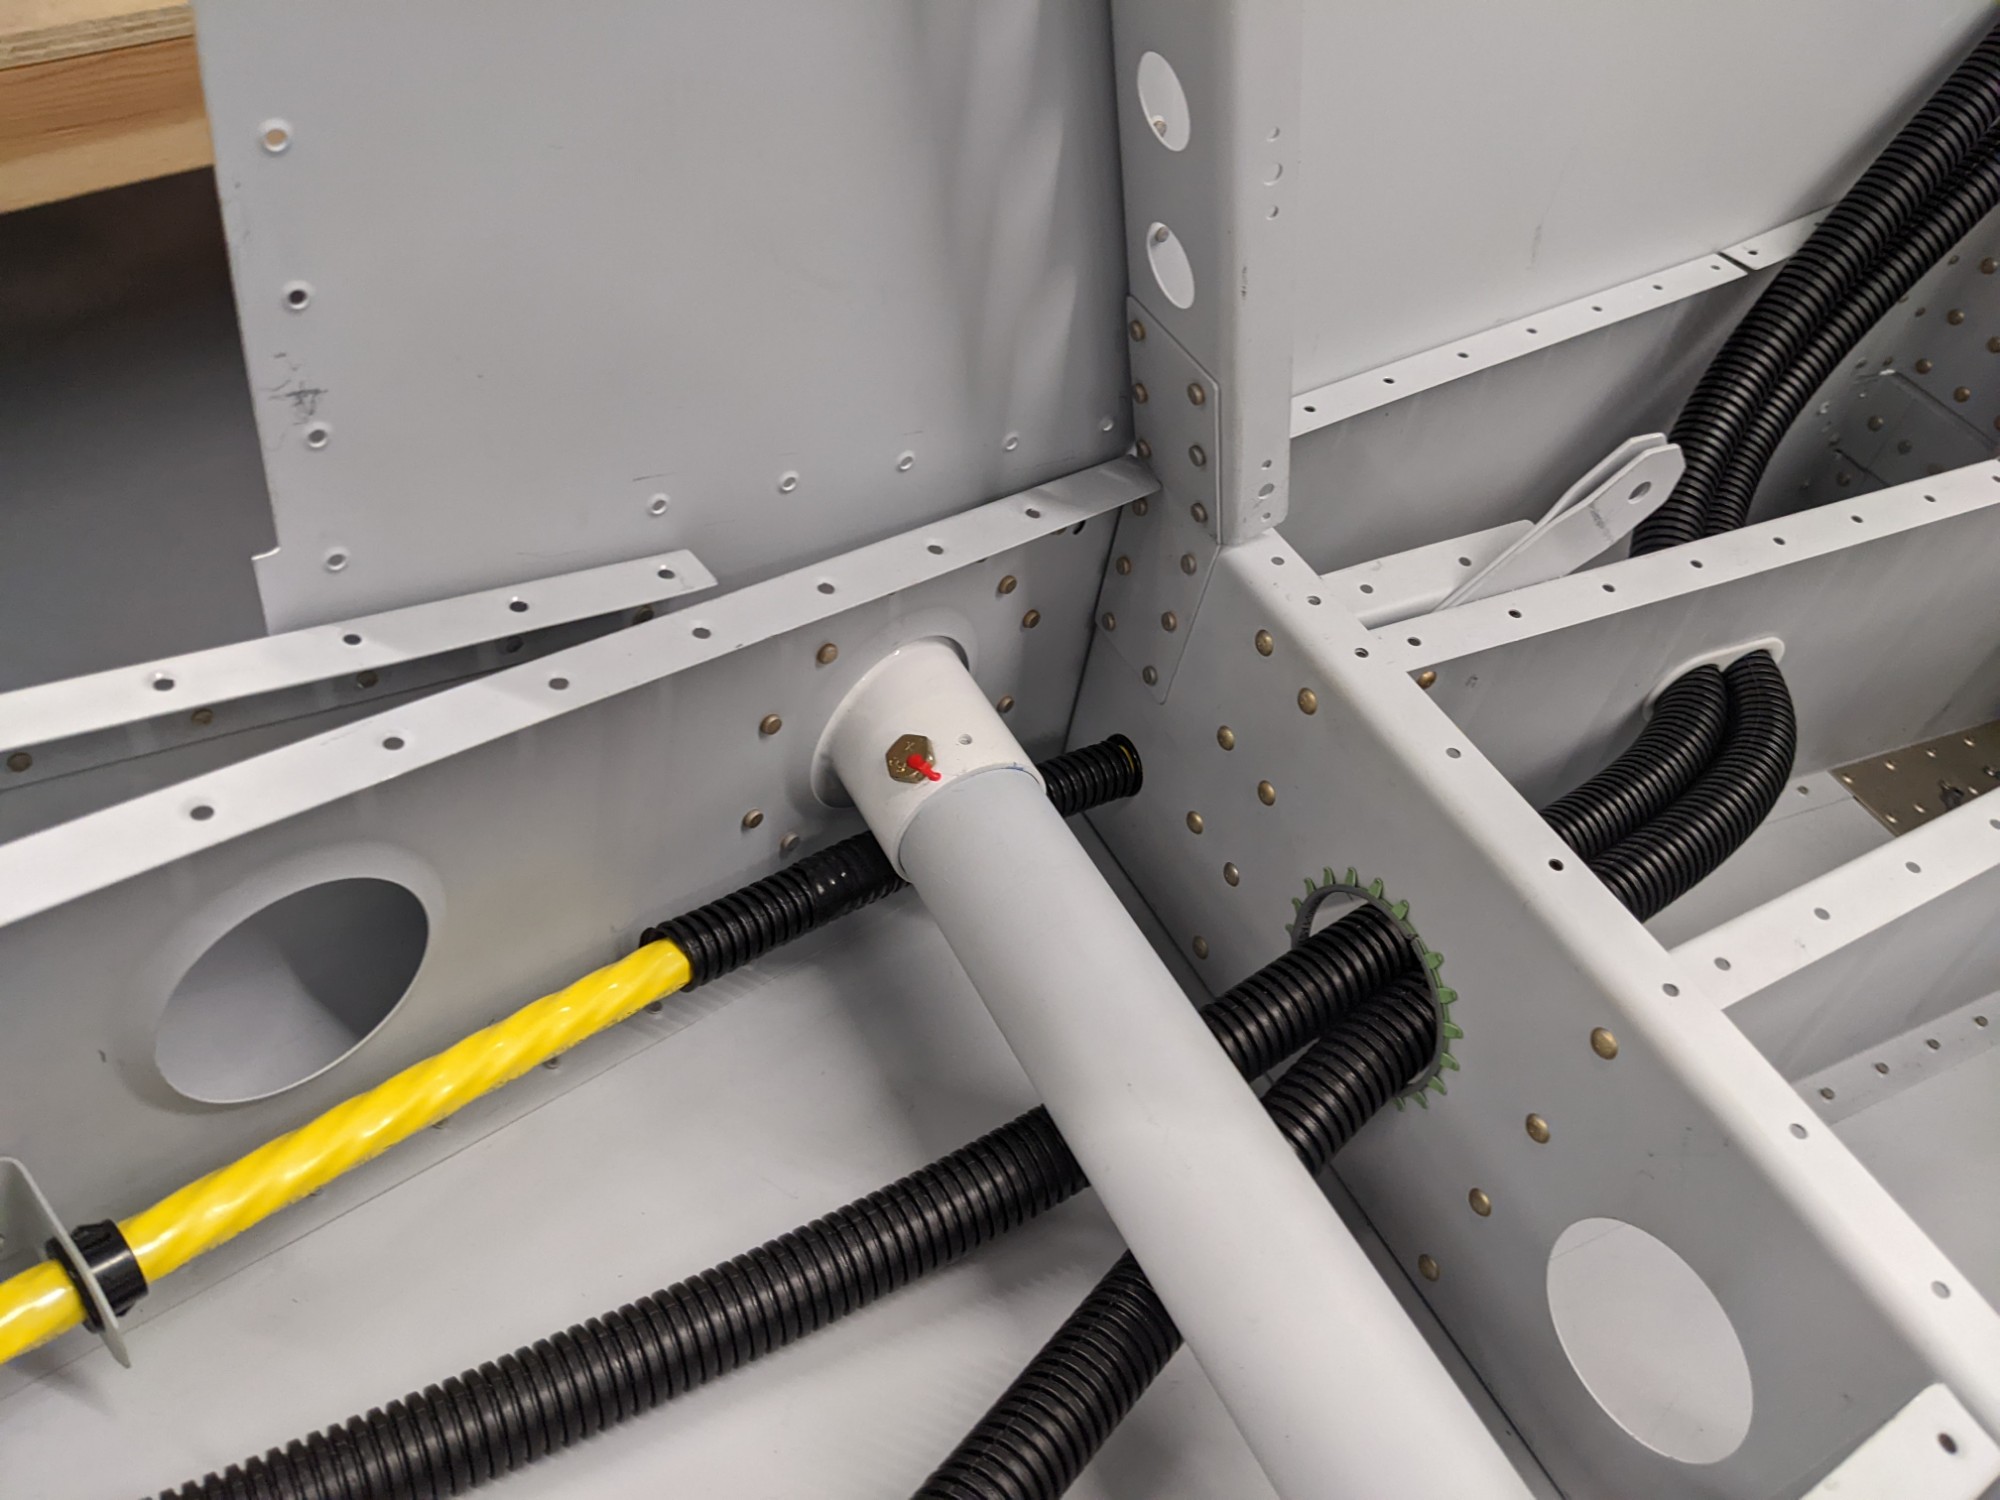
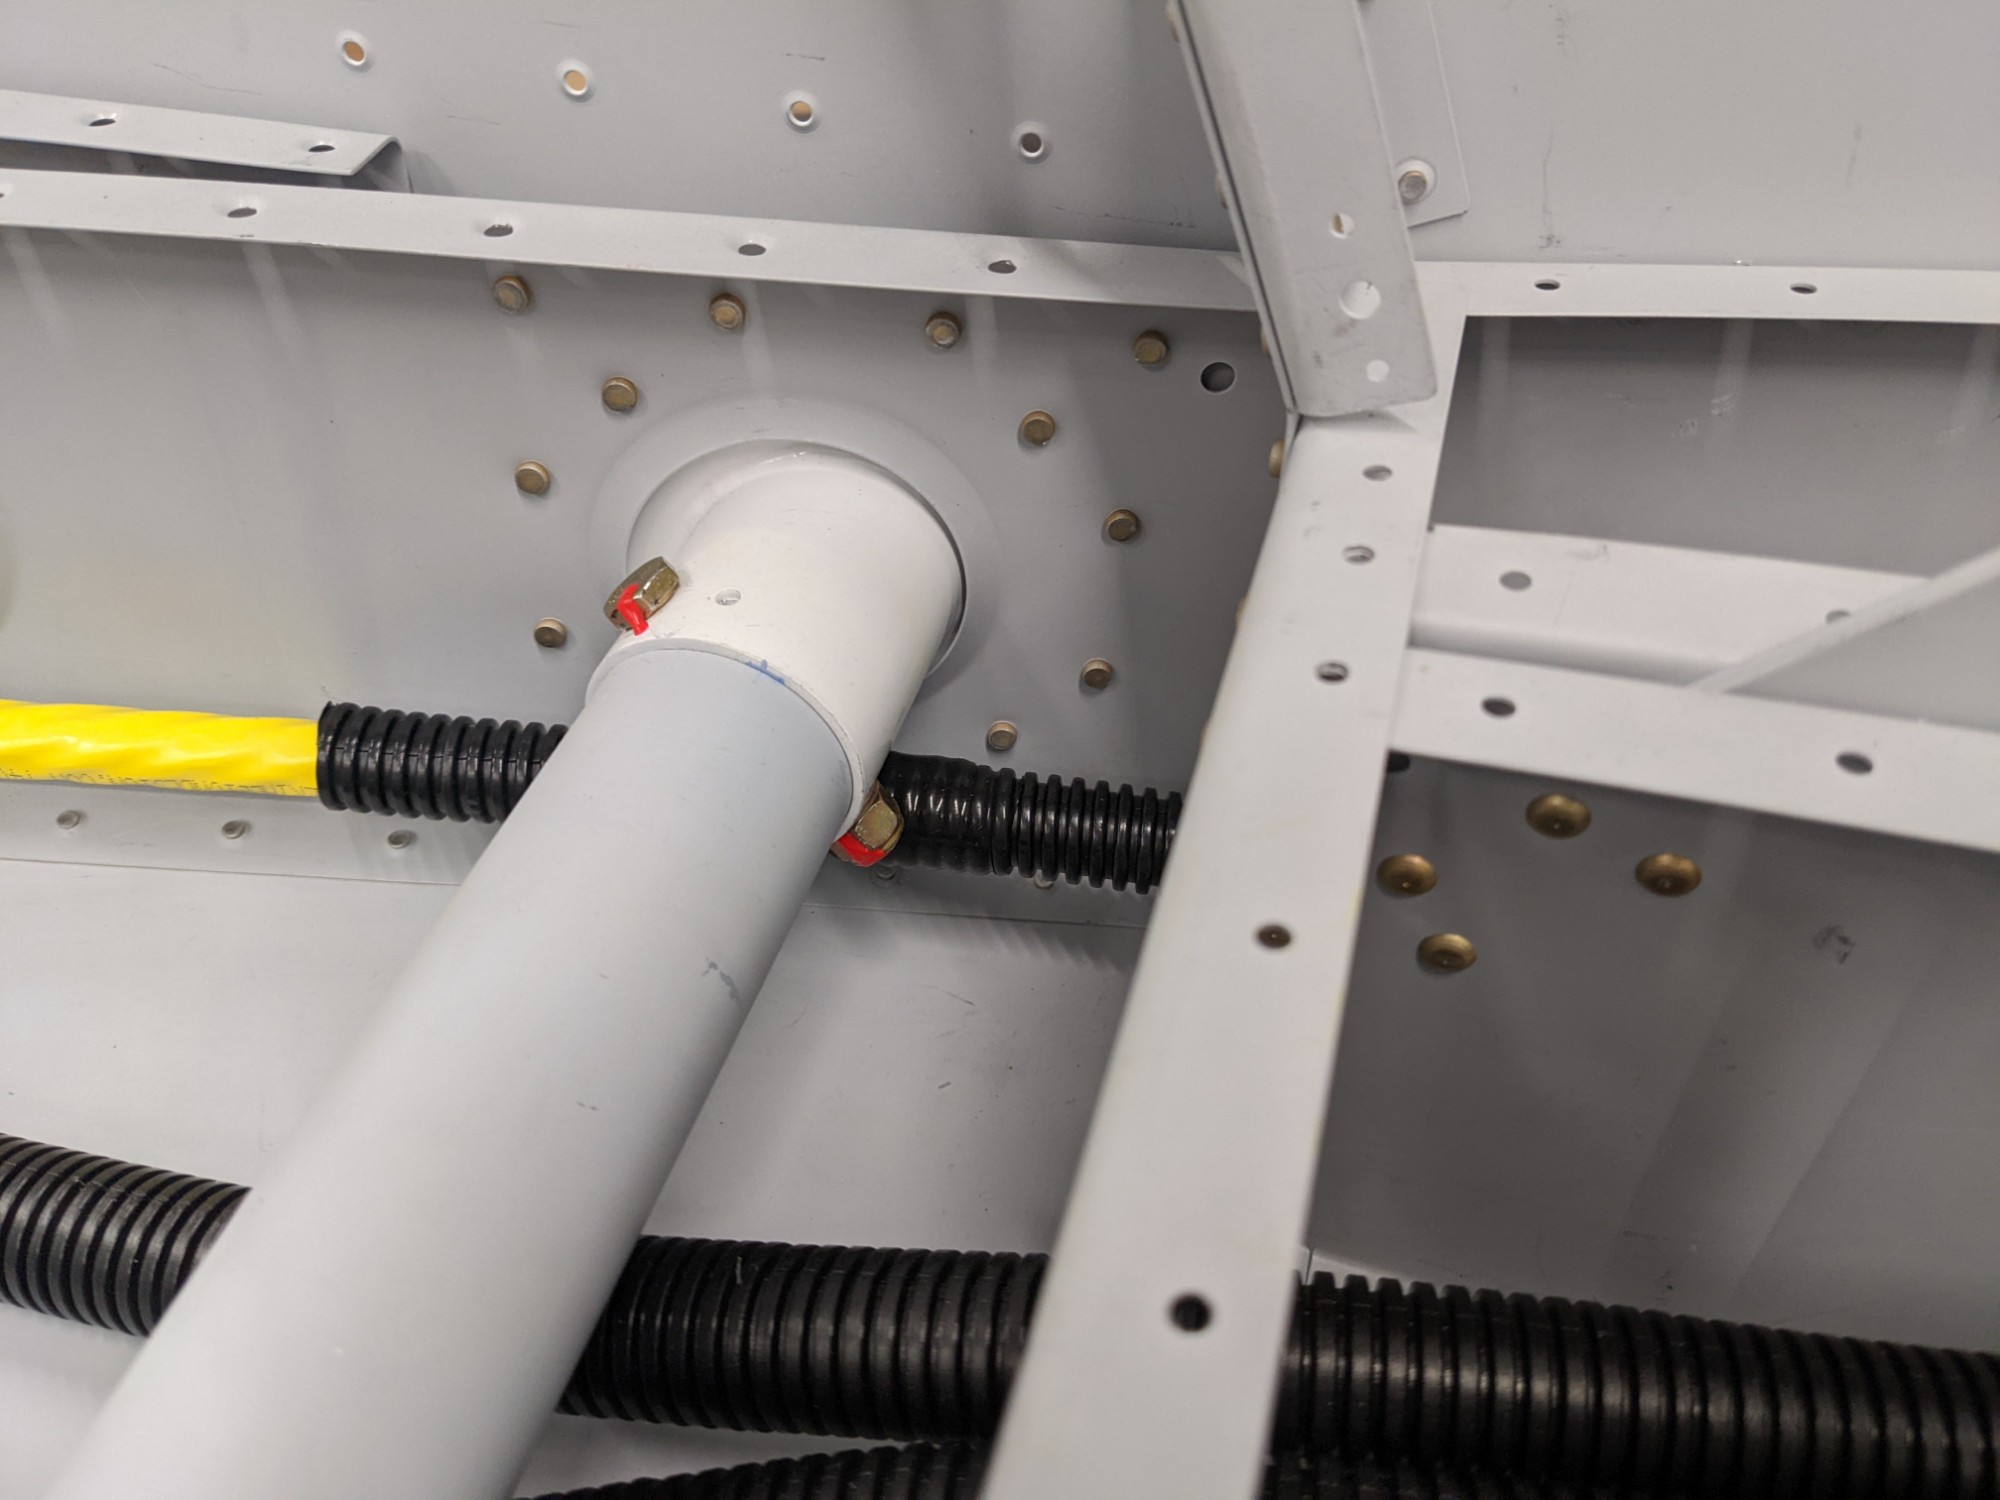
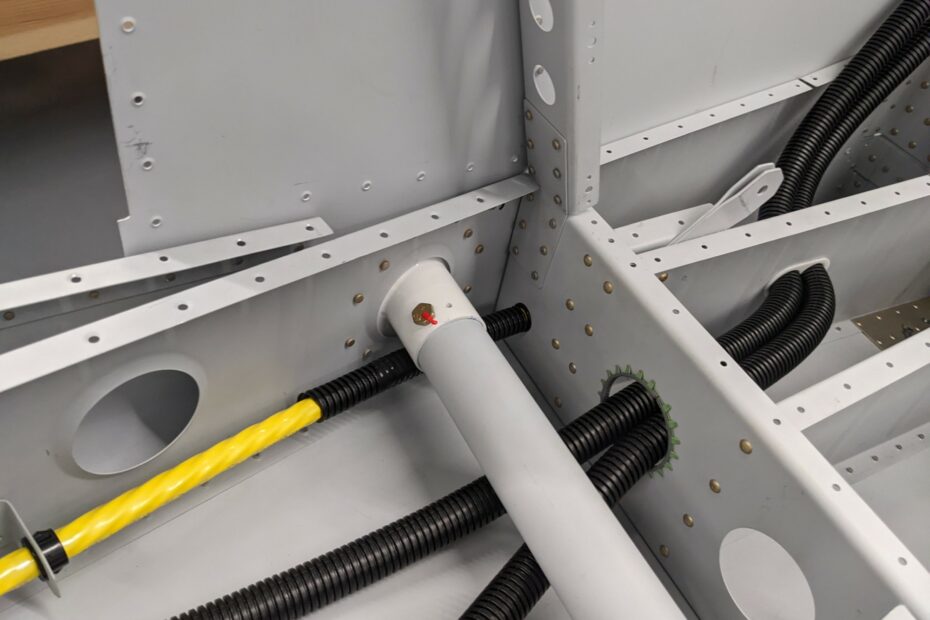
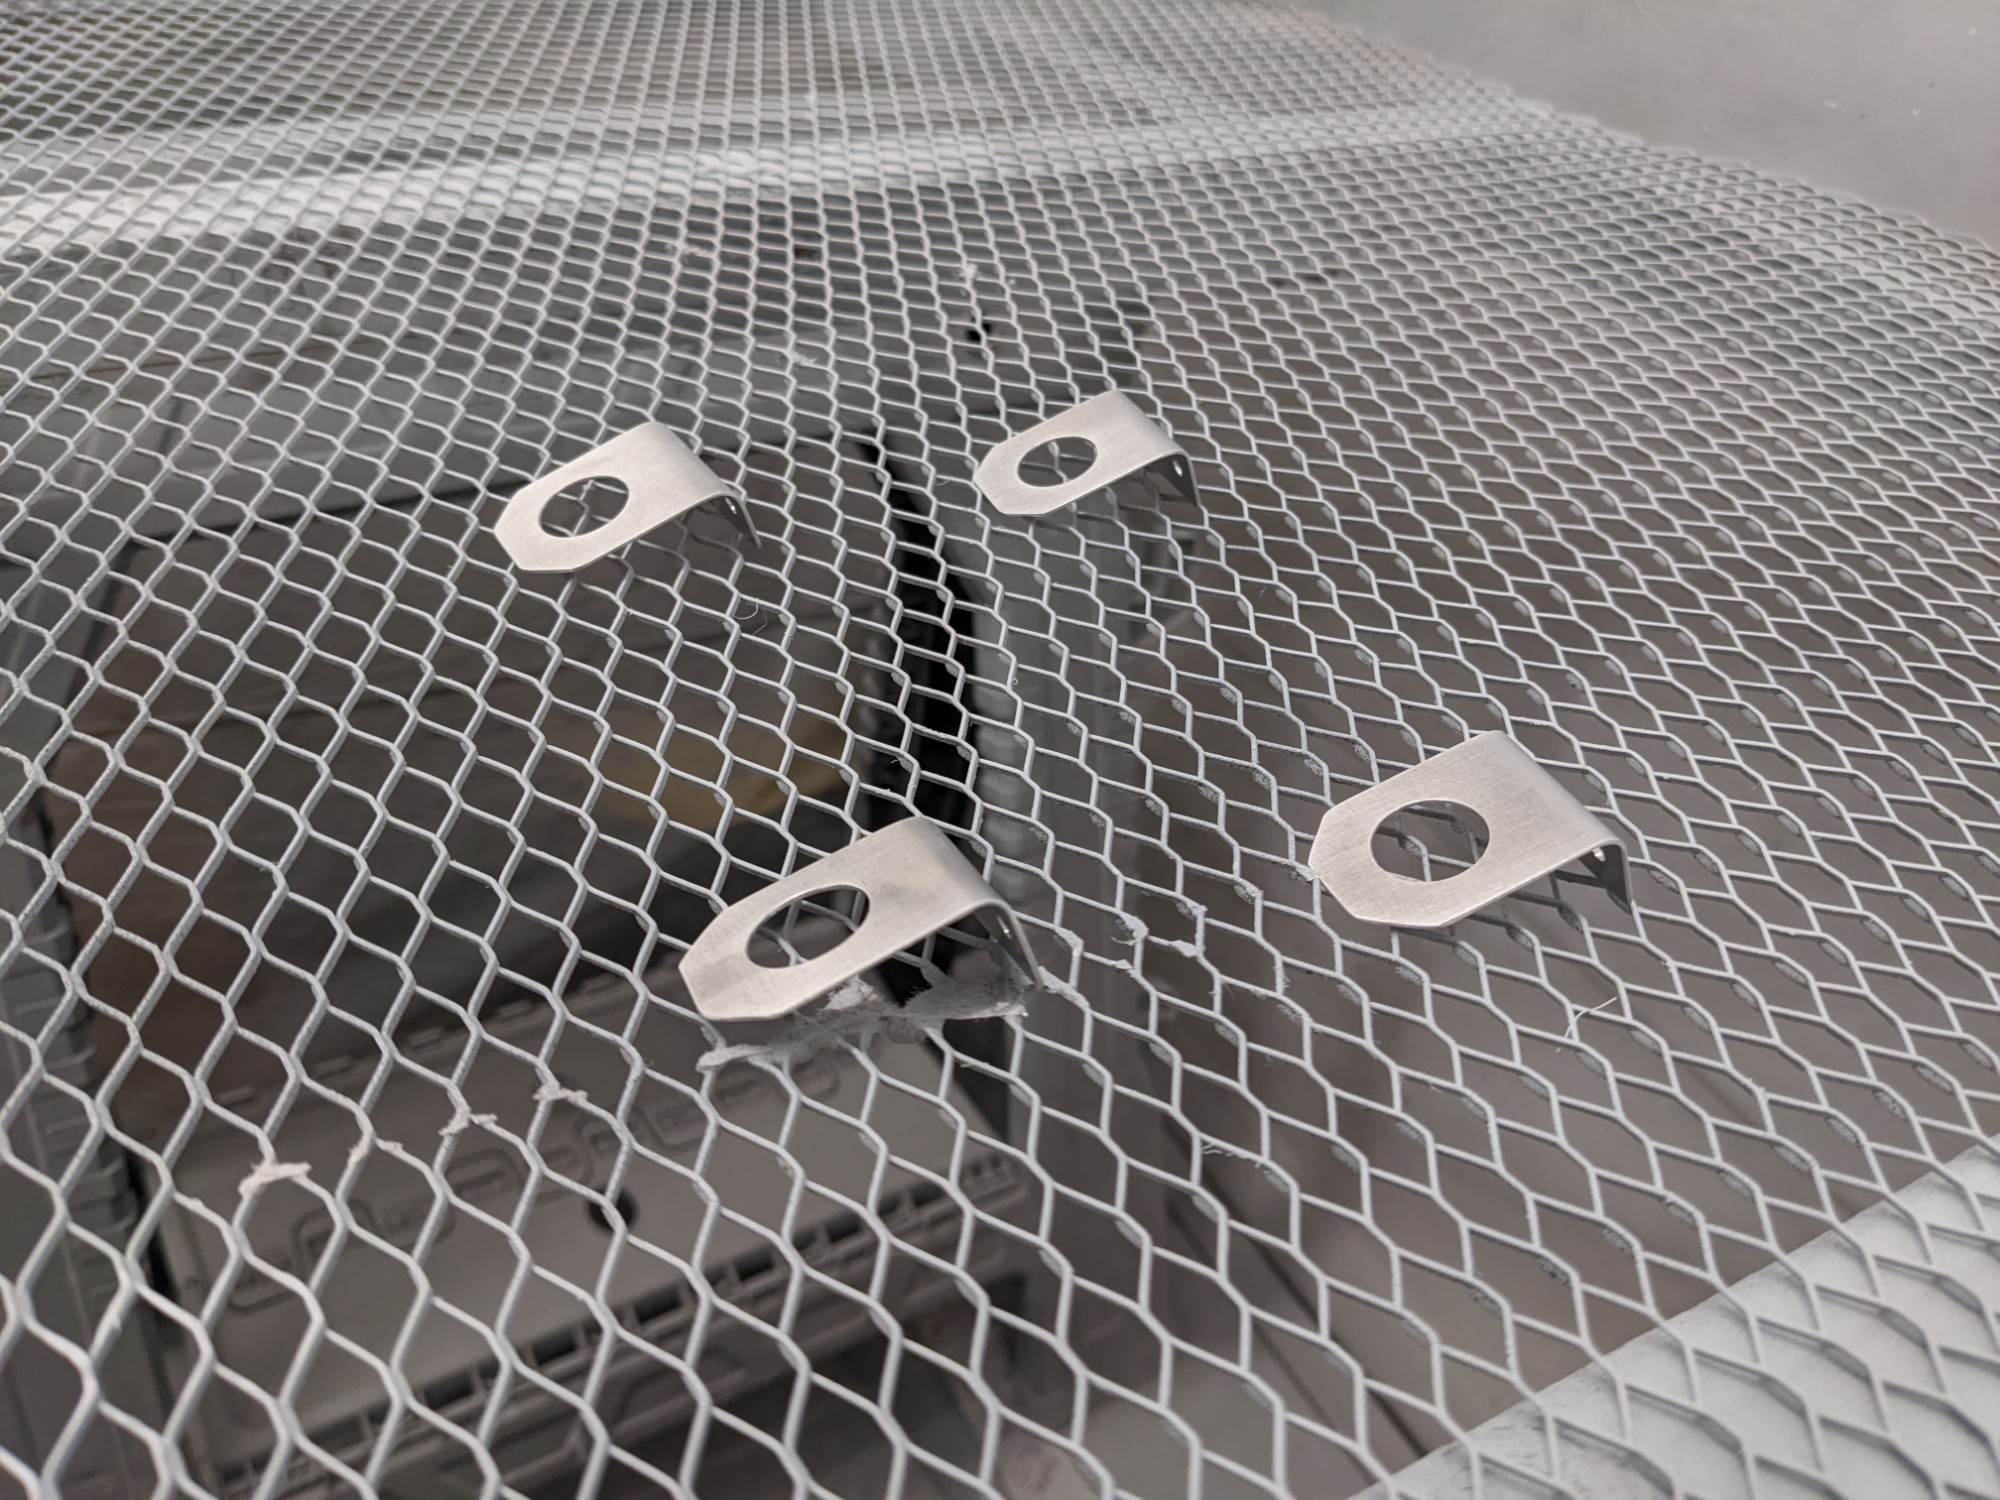
I fabricated some additional supports for bushings for the run under the baggage compartment floor.
I covered the wire in split loom for the section that will be under the rear seat floors. The wire is very stiff (I don’t see any way it could rub on the airframe) but I decided to wrap this anyway as this is an area that cannot be inspected later.
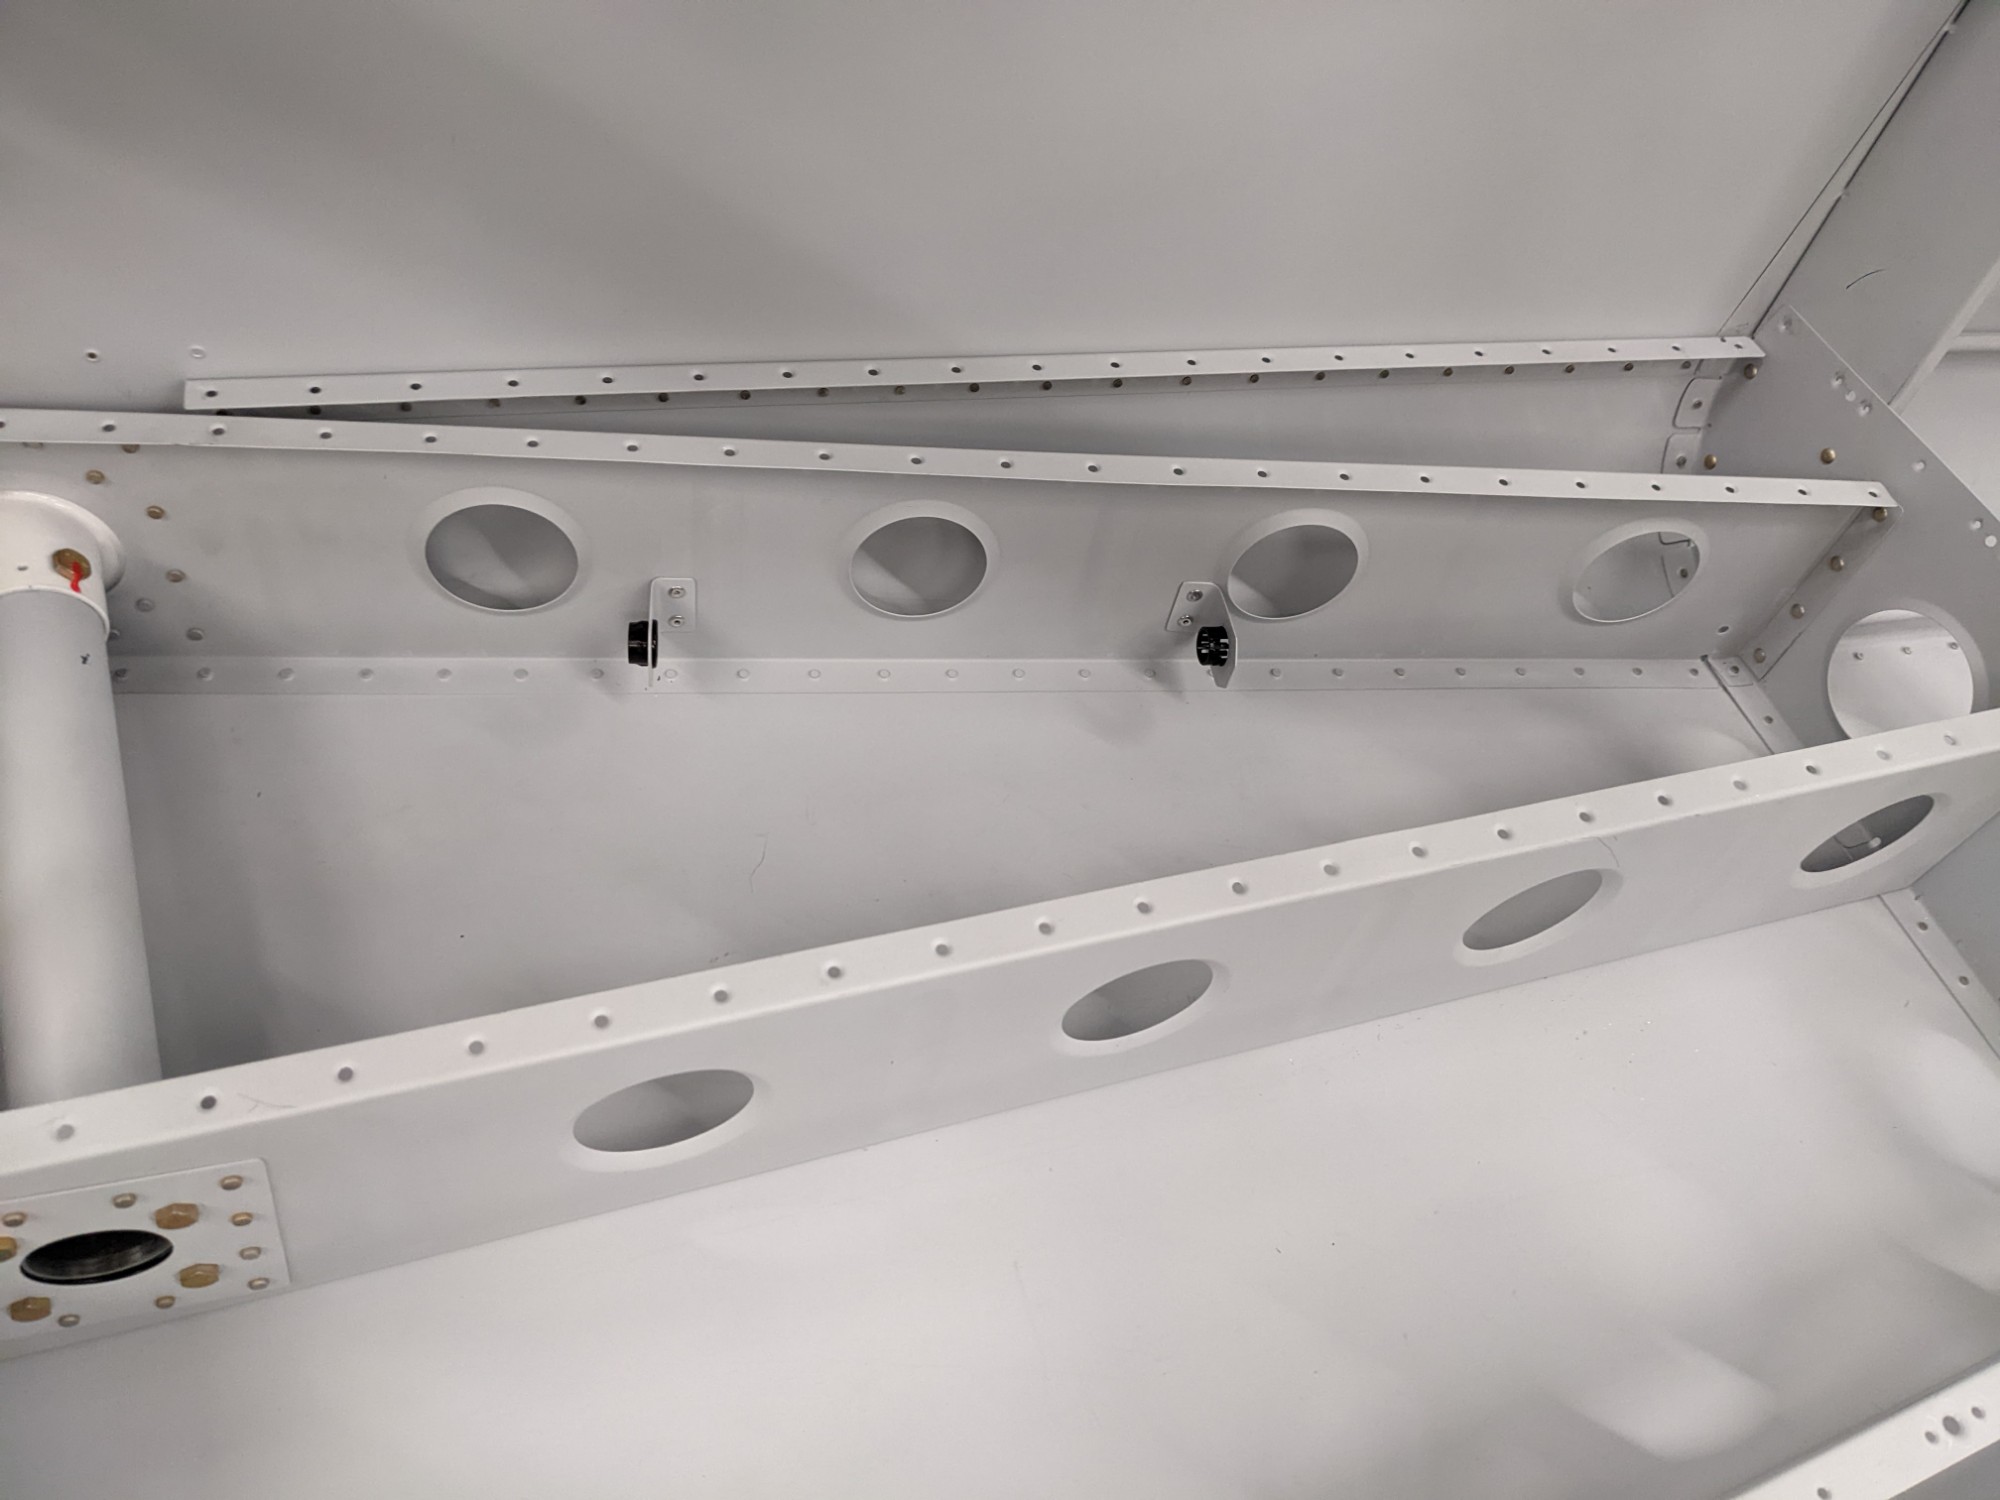
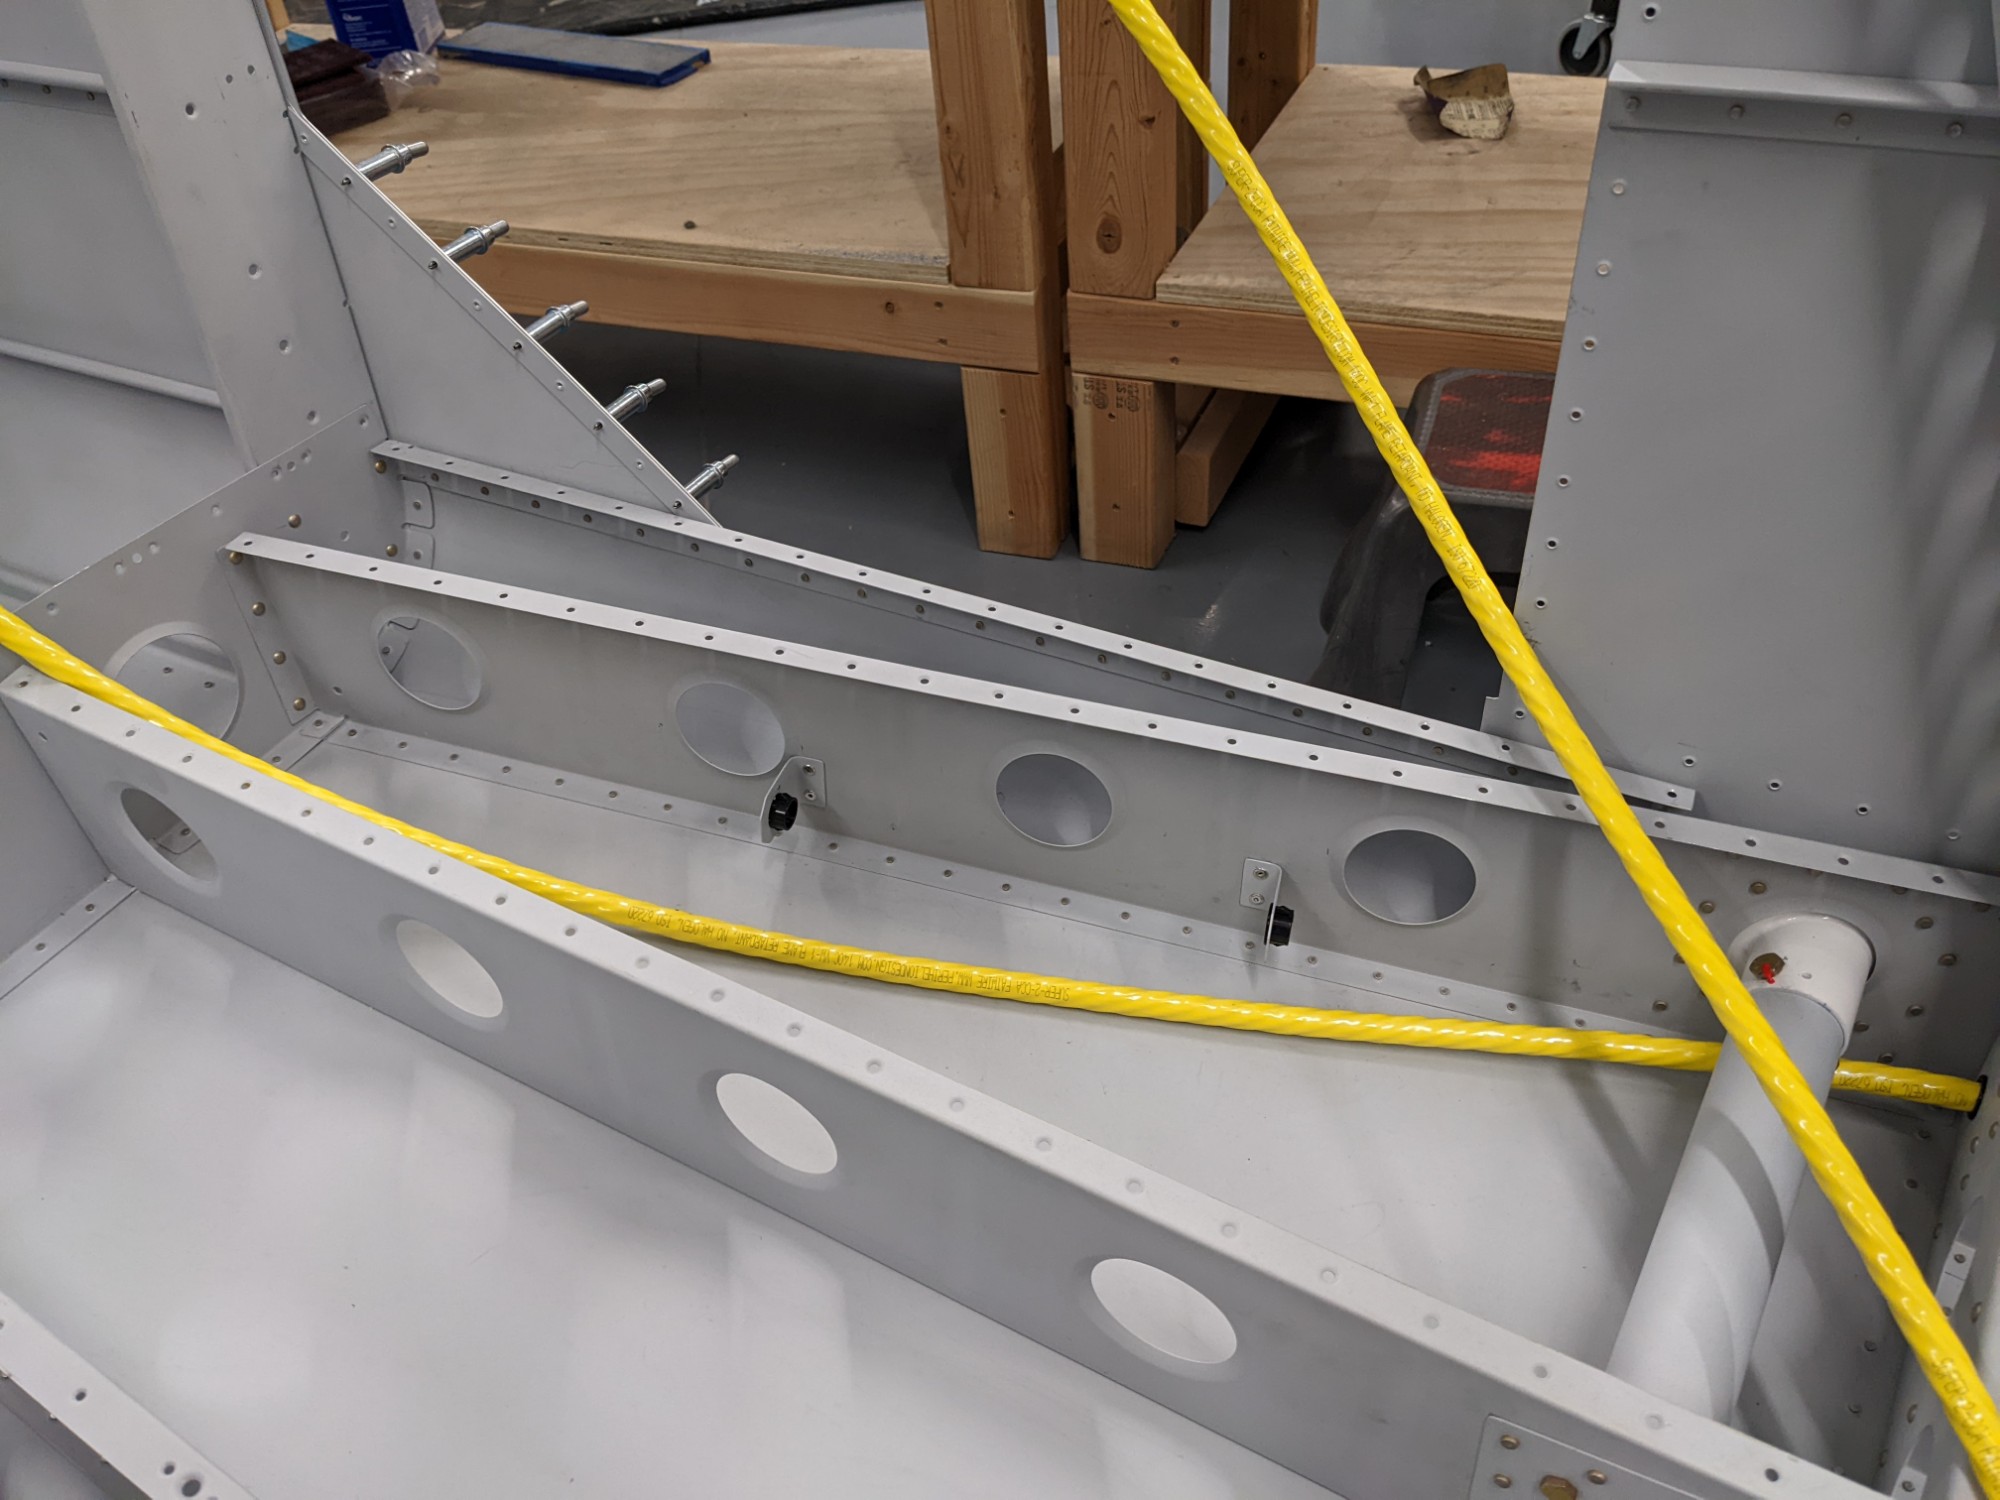
At the intercostal, I 3d-printed a polycarbonate assembly that accepts a snap bushing. I tried caterpillar grommet here but I didn’t like the amount of movement possible and went with this approach instead. I did something similar to support conduit in lightening holes as it avoided me from having to make any additional holes in the structure. More details on that in my conduit log entry.
From there I chose to go low over the spar area and low through the forward area.
I’ll be installing Aerosport panels and this location provides just enough clearance from the bottom of the panel indent. This will allow me to route everything else high (above the indent in the panel) and separate the other wiring from the power wiring.