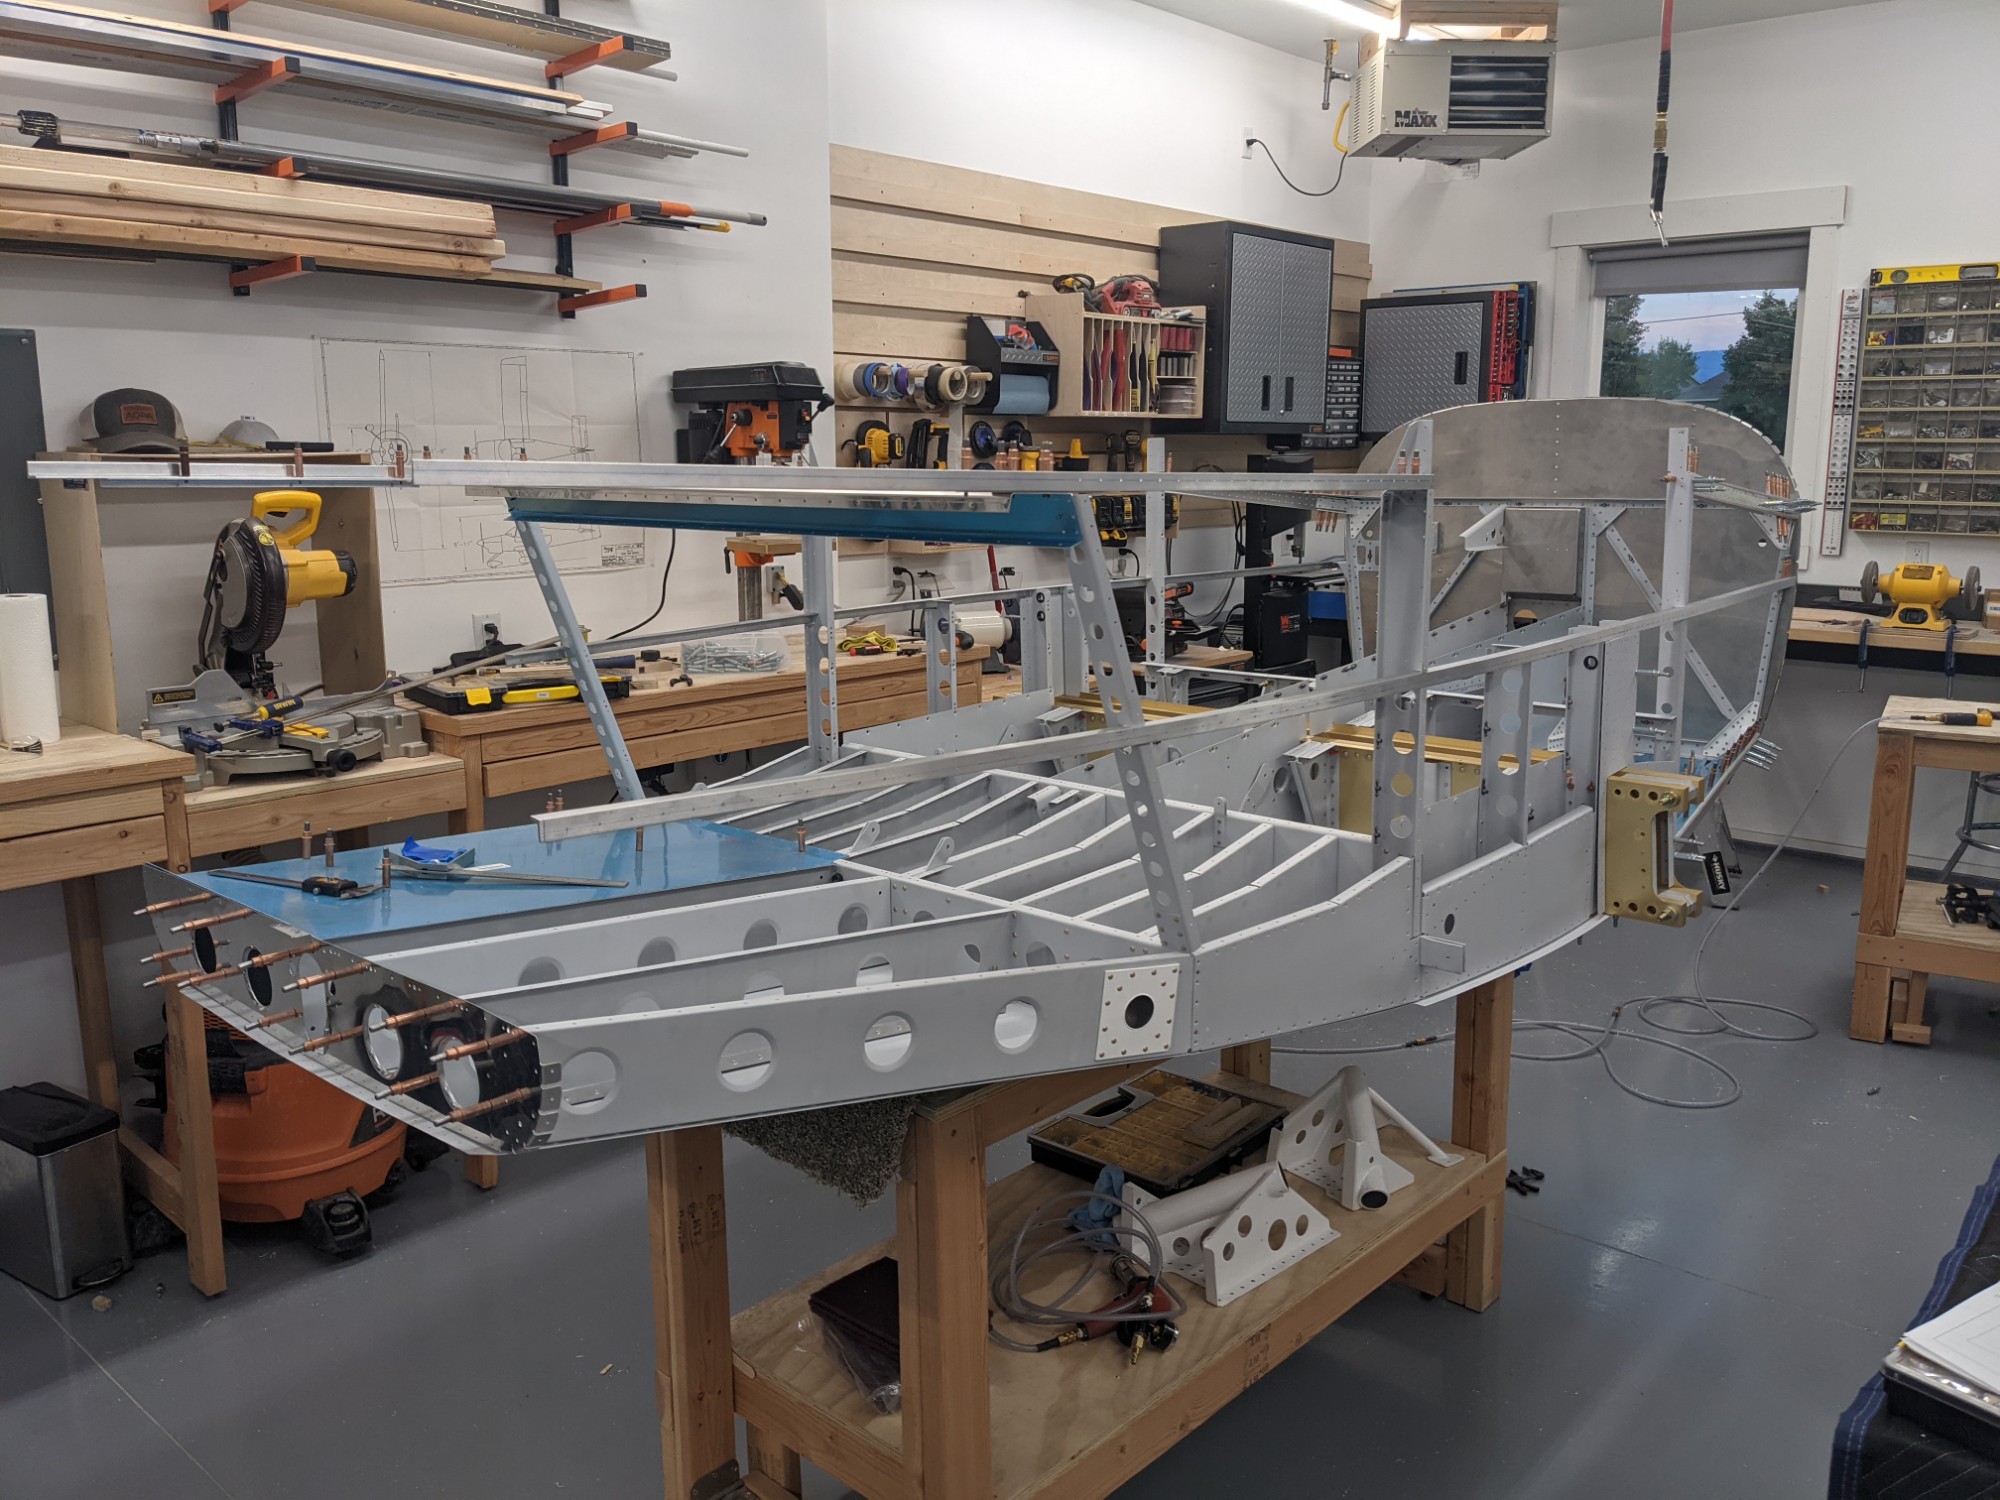
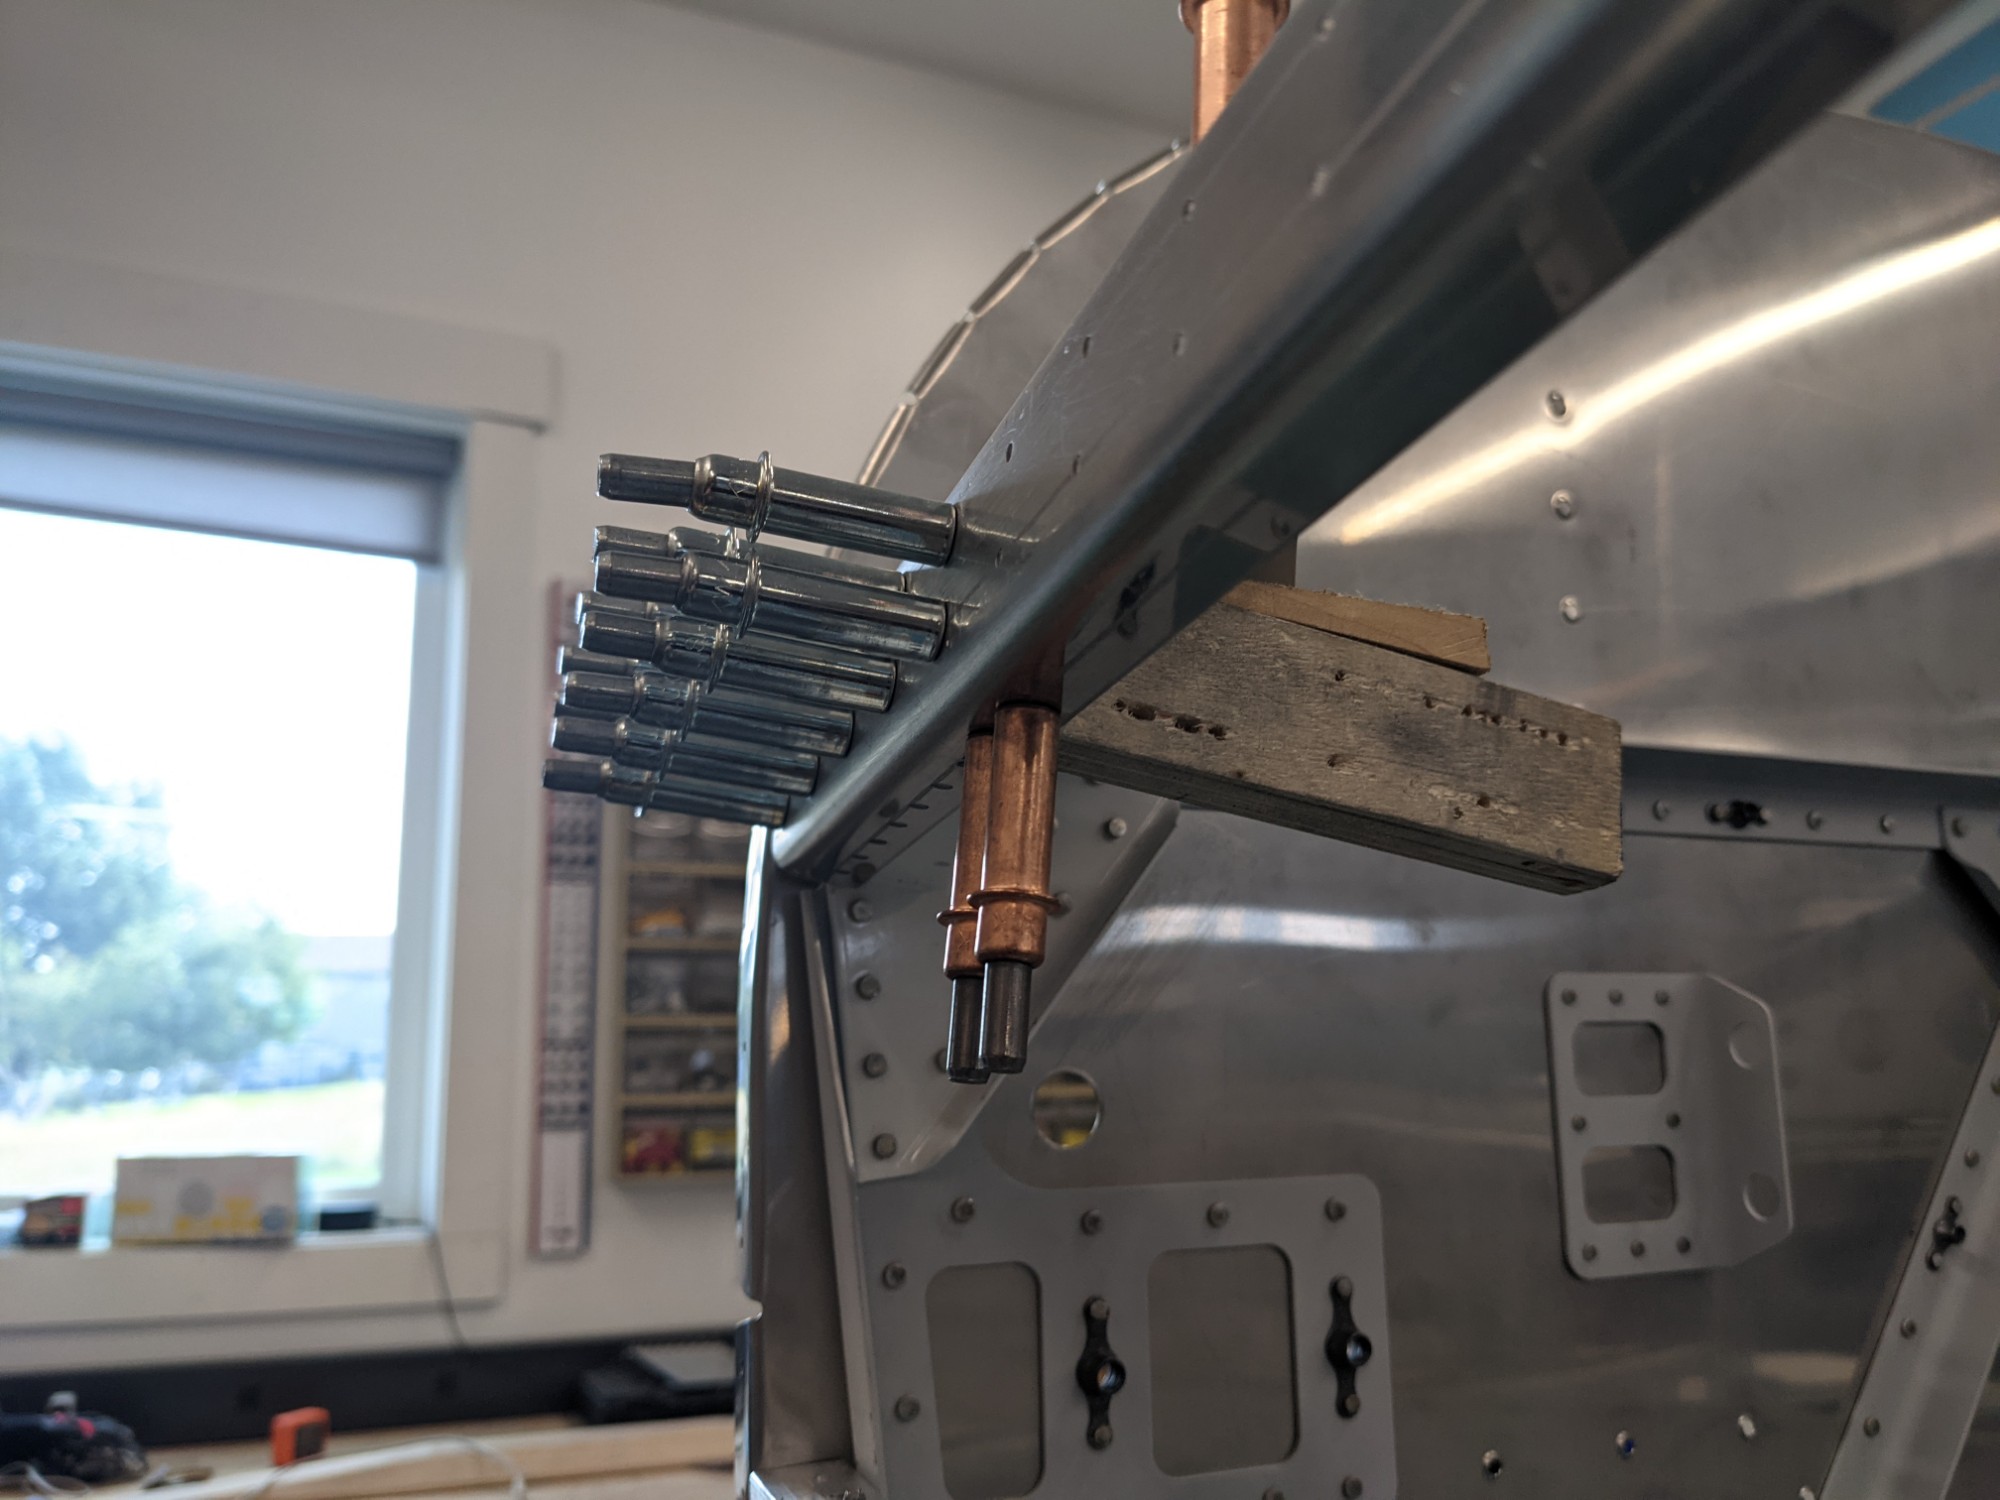
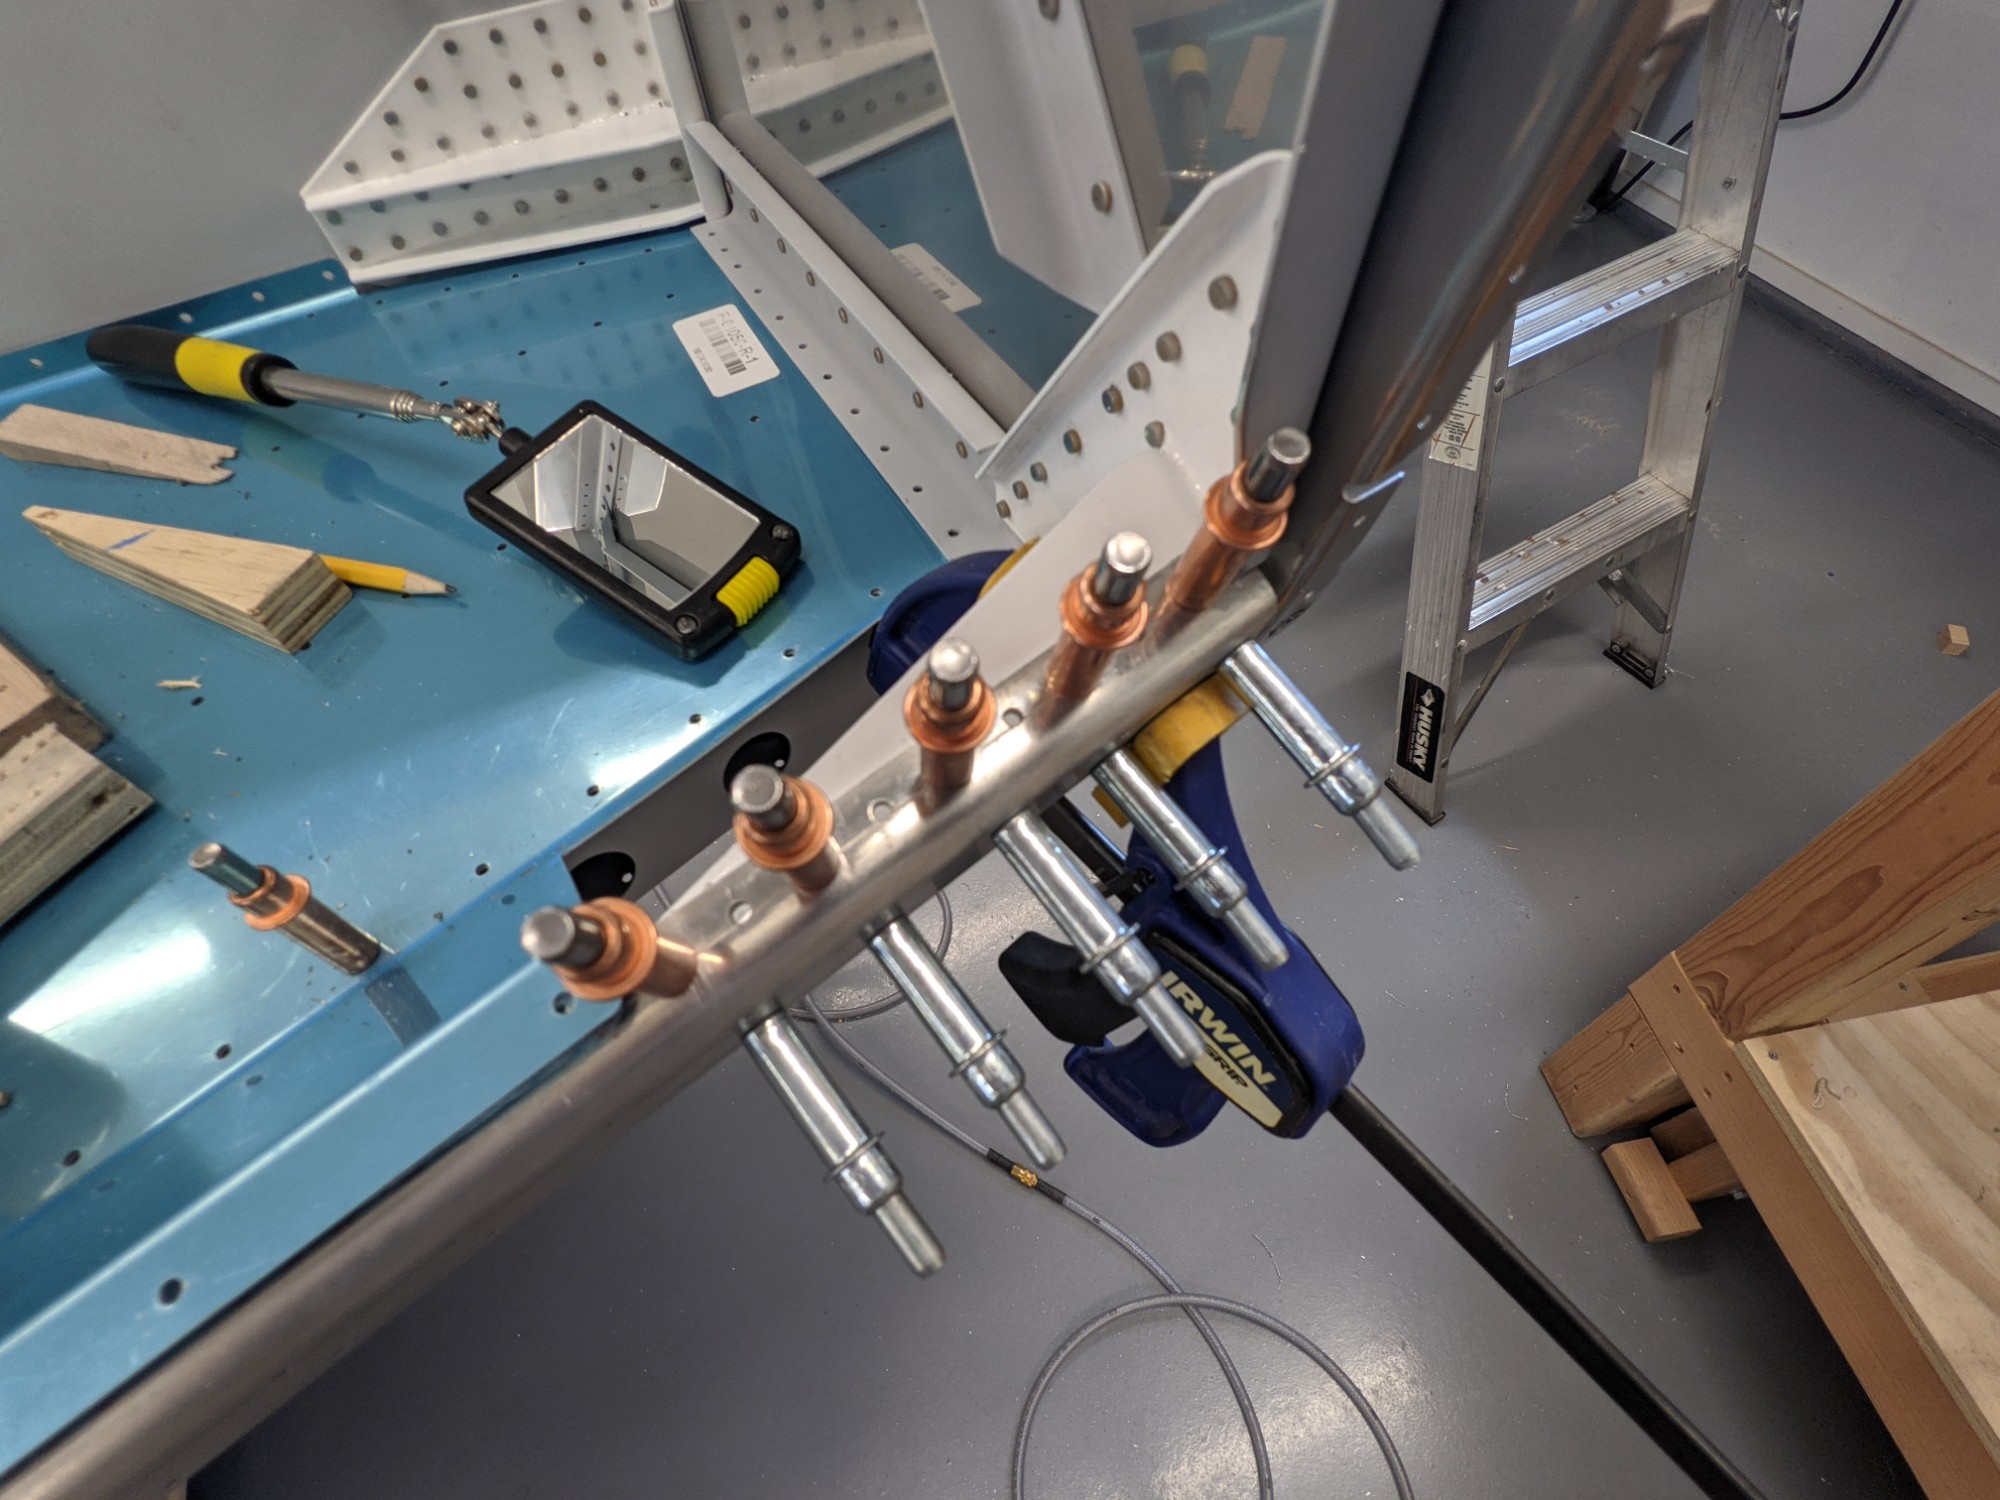
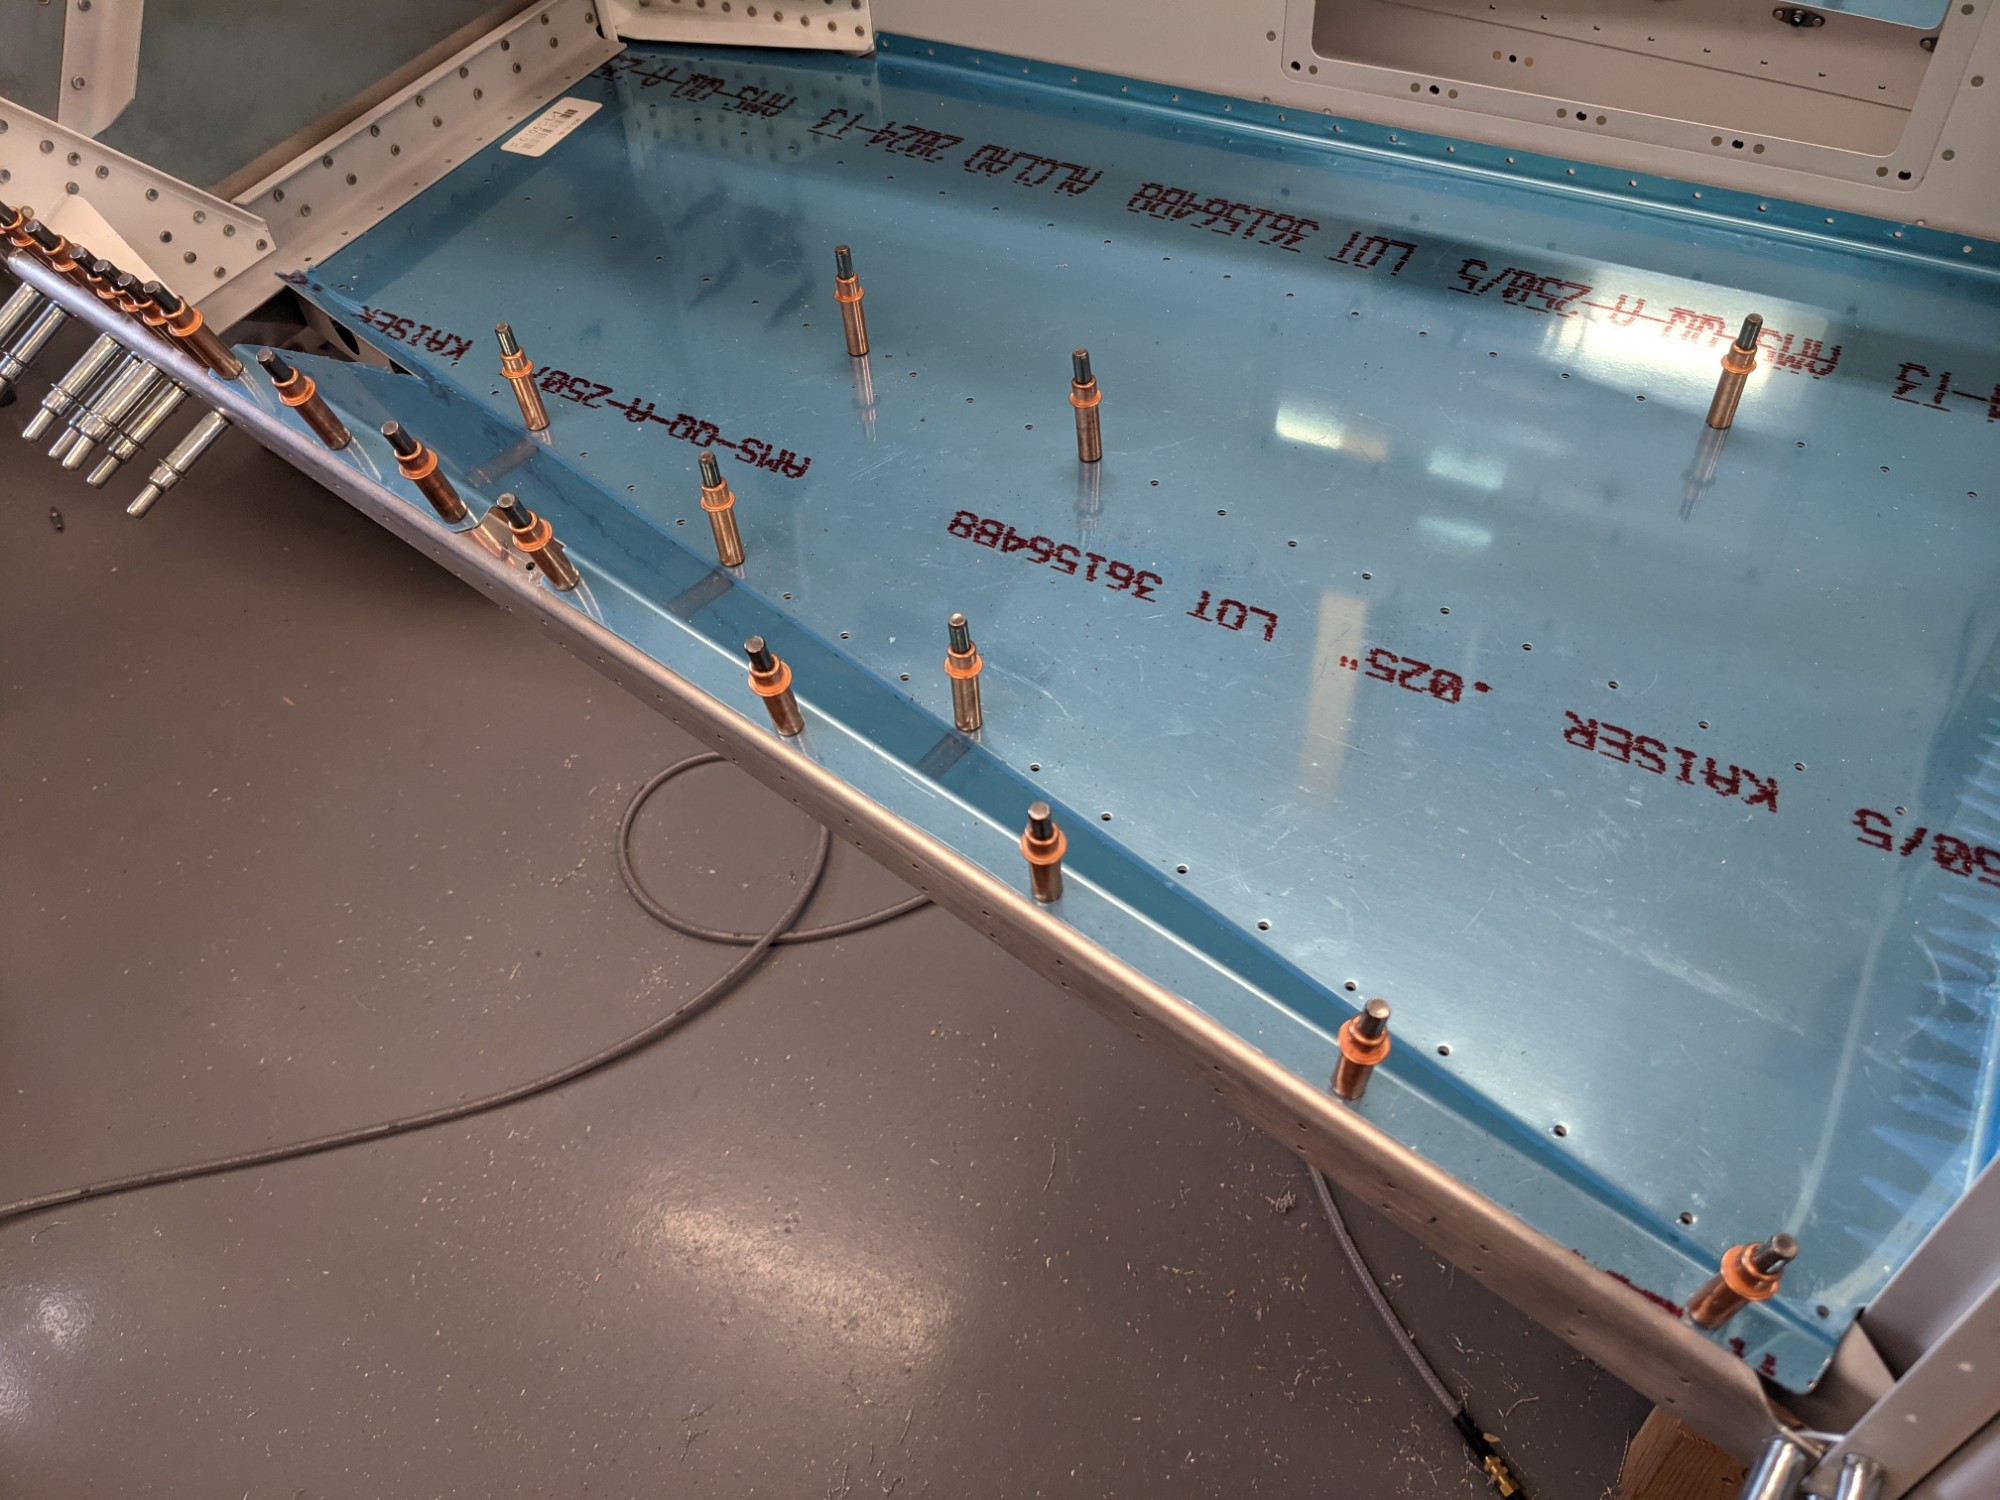
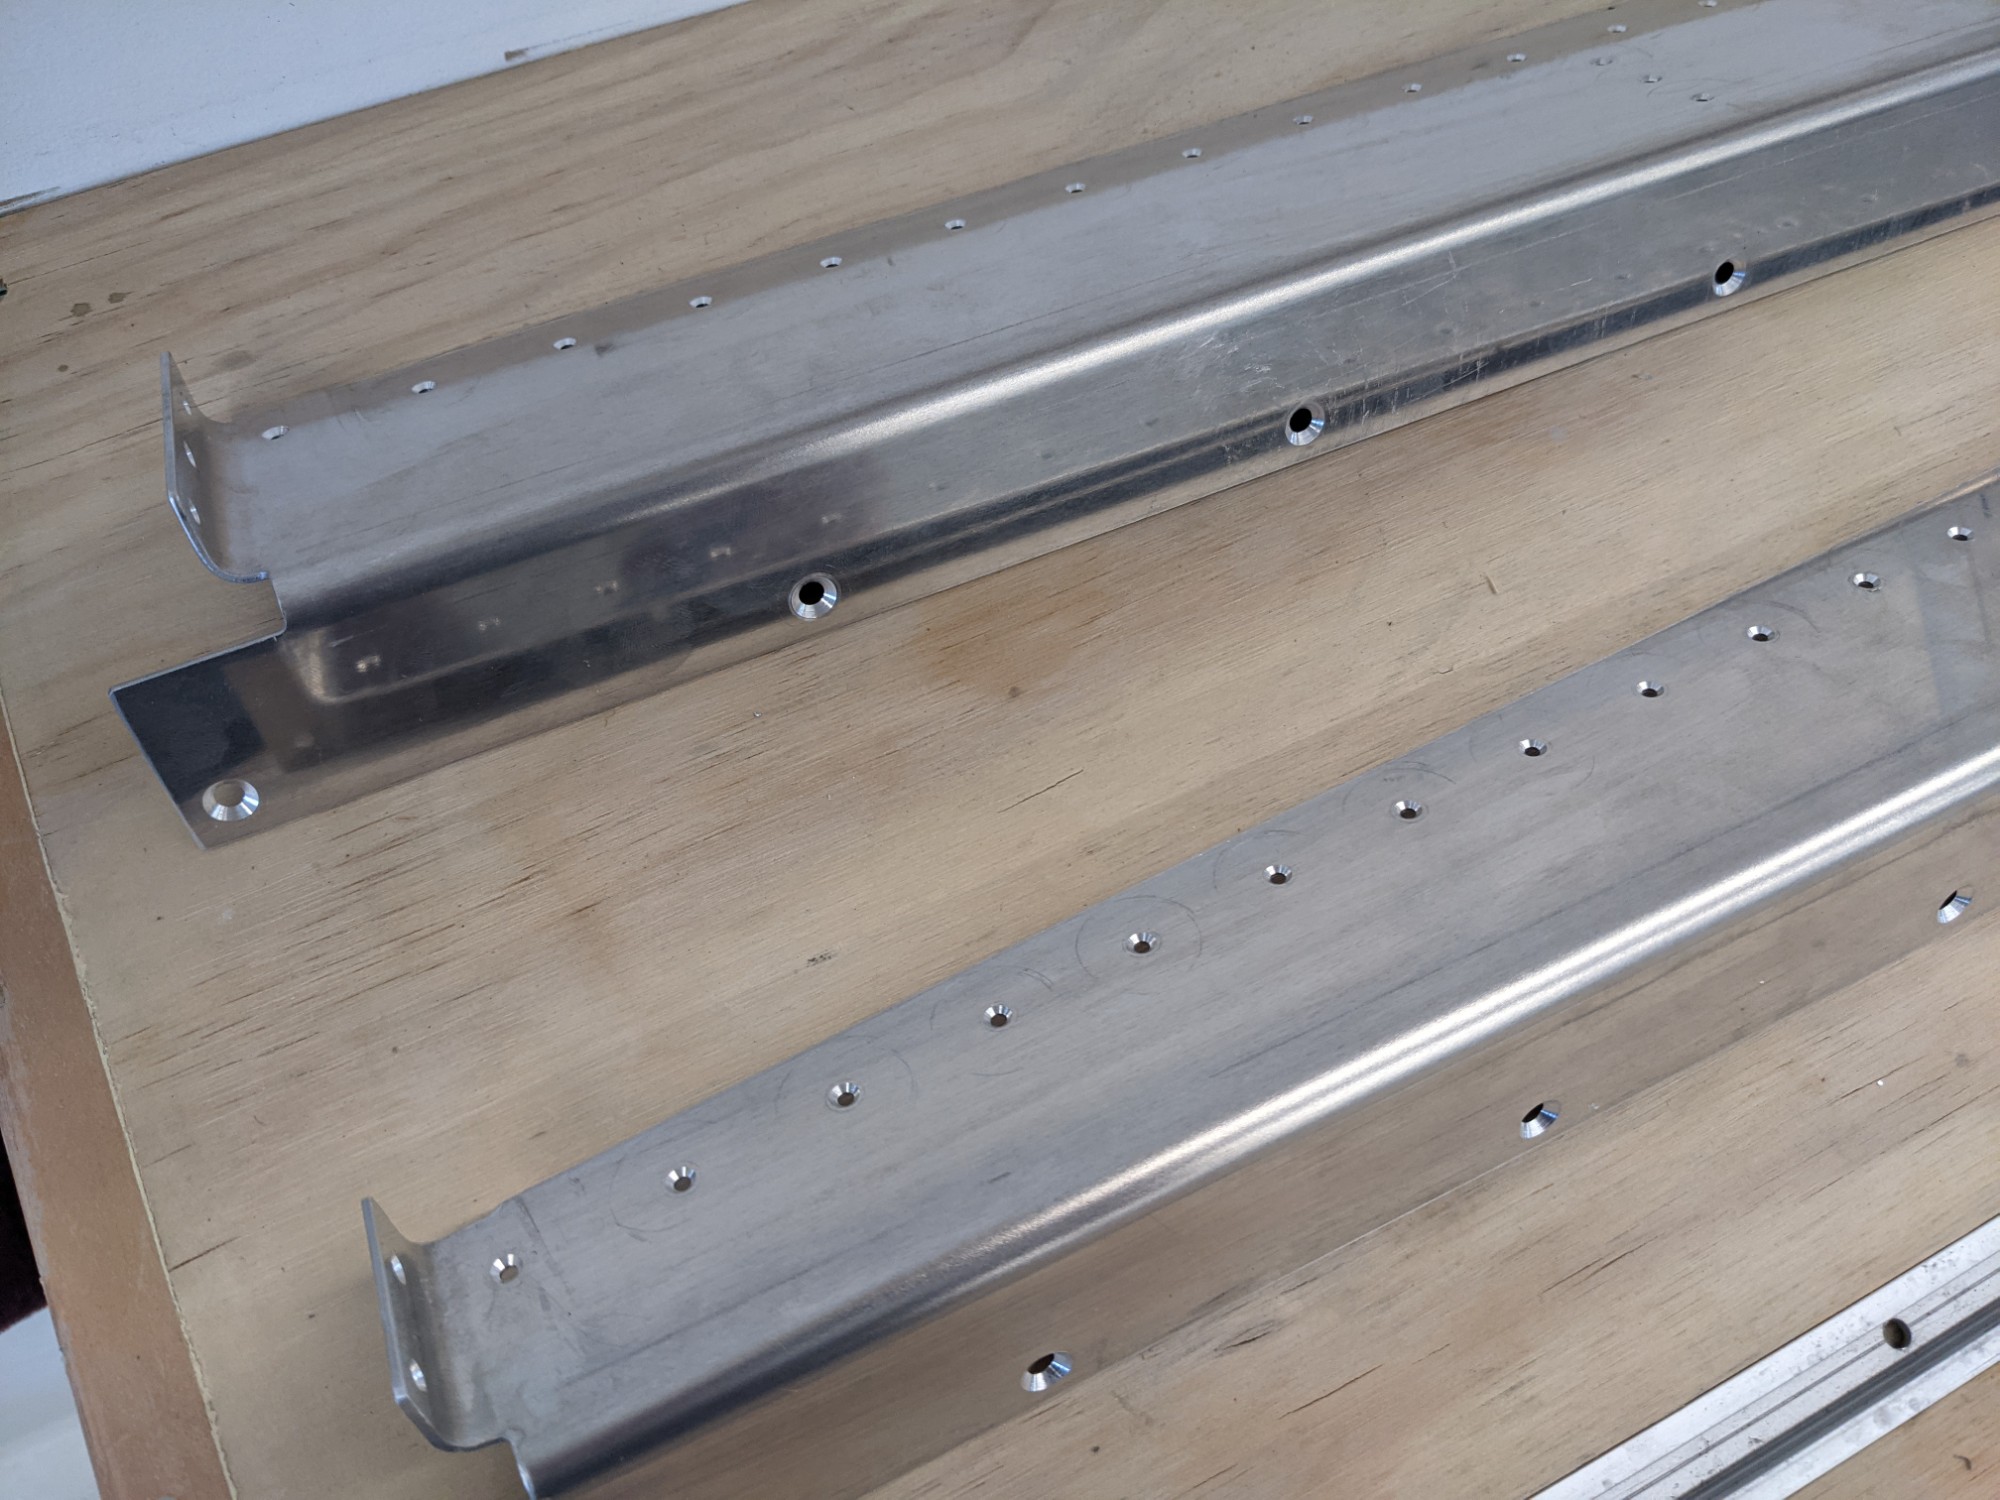
I continued with the firewall attach brackets today and match drilled these to the upper and lower side channels.
I carefully clamped the brackets to maintain edge distances. I’m glad I had caught the issue with the upper right bracket before riveting it to the firewall. This would have bitten me at this stage and wouldn’t have been much fun to resolve..
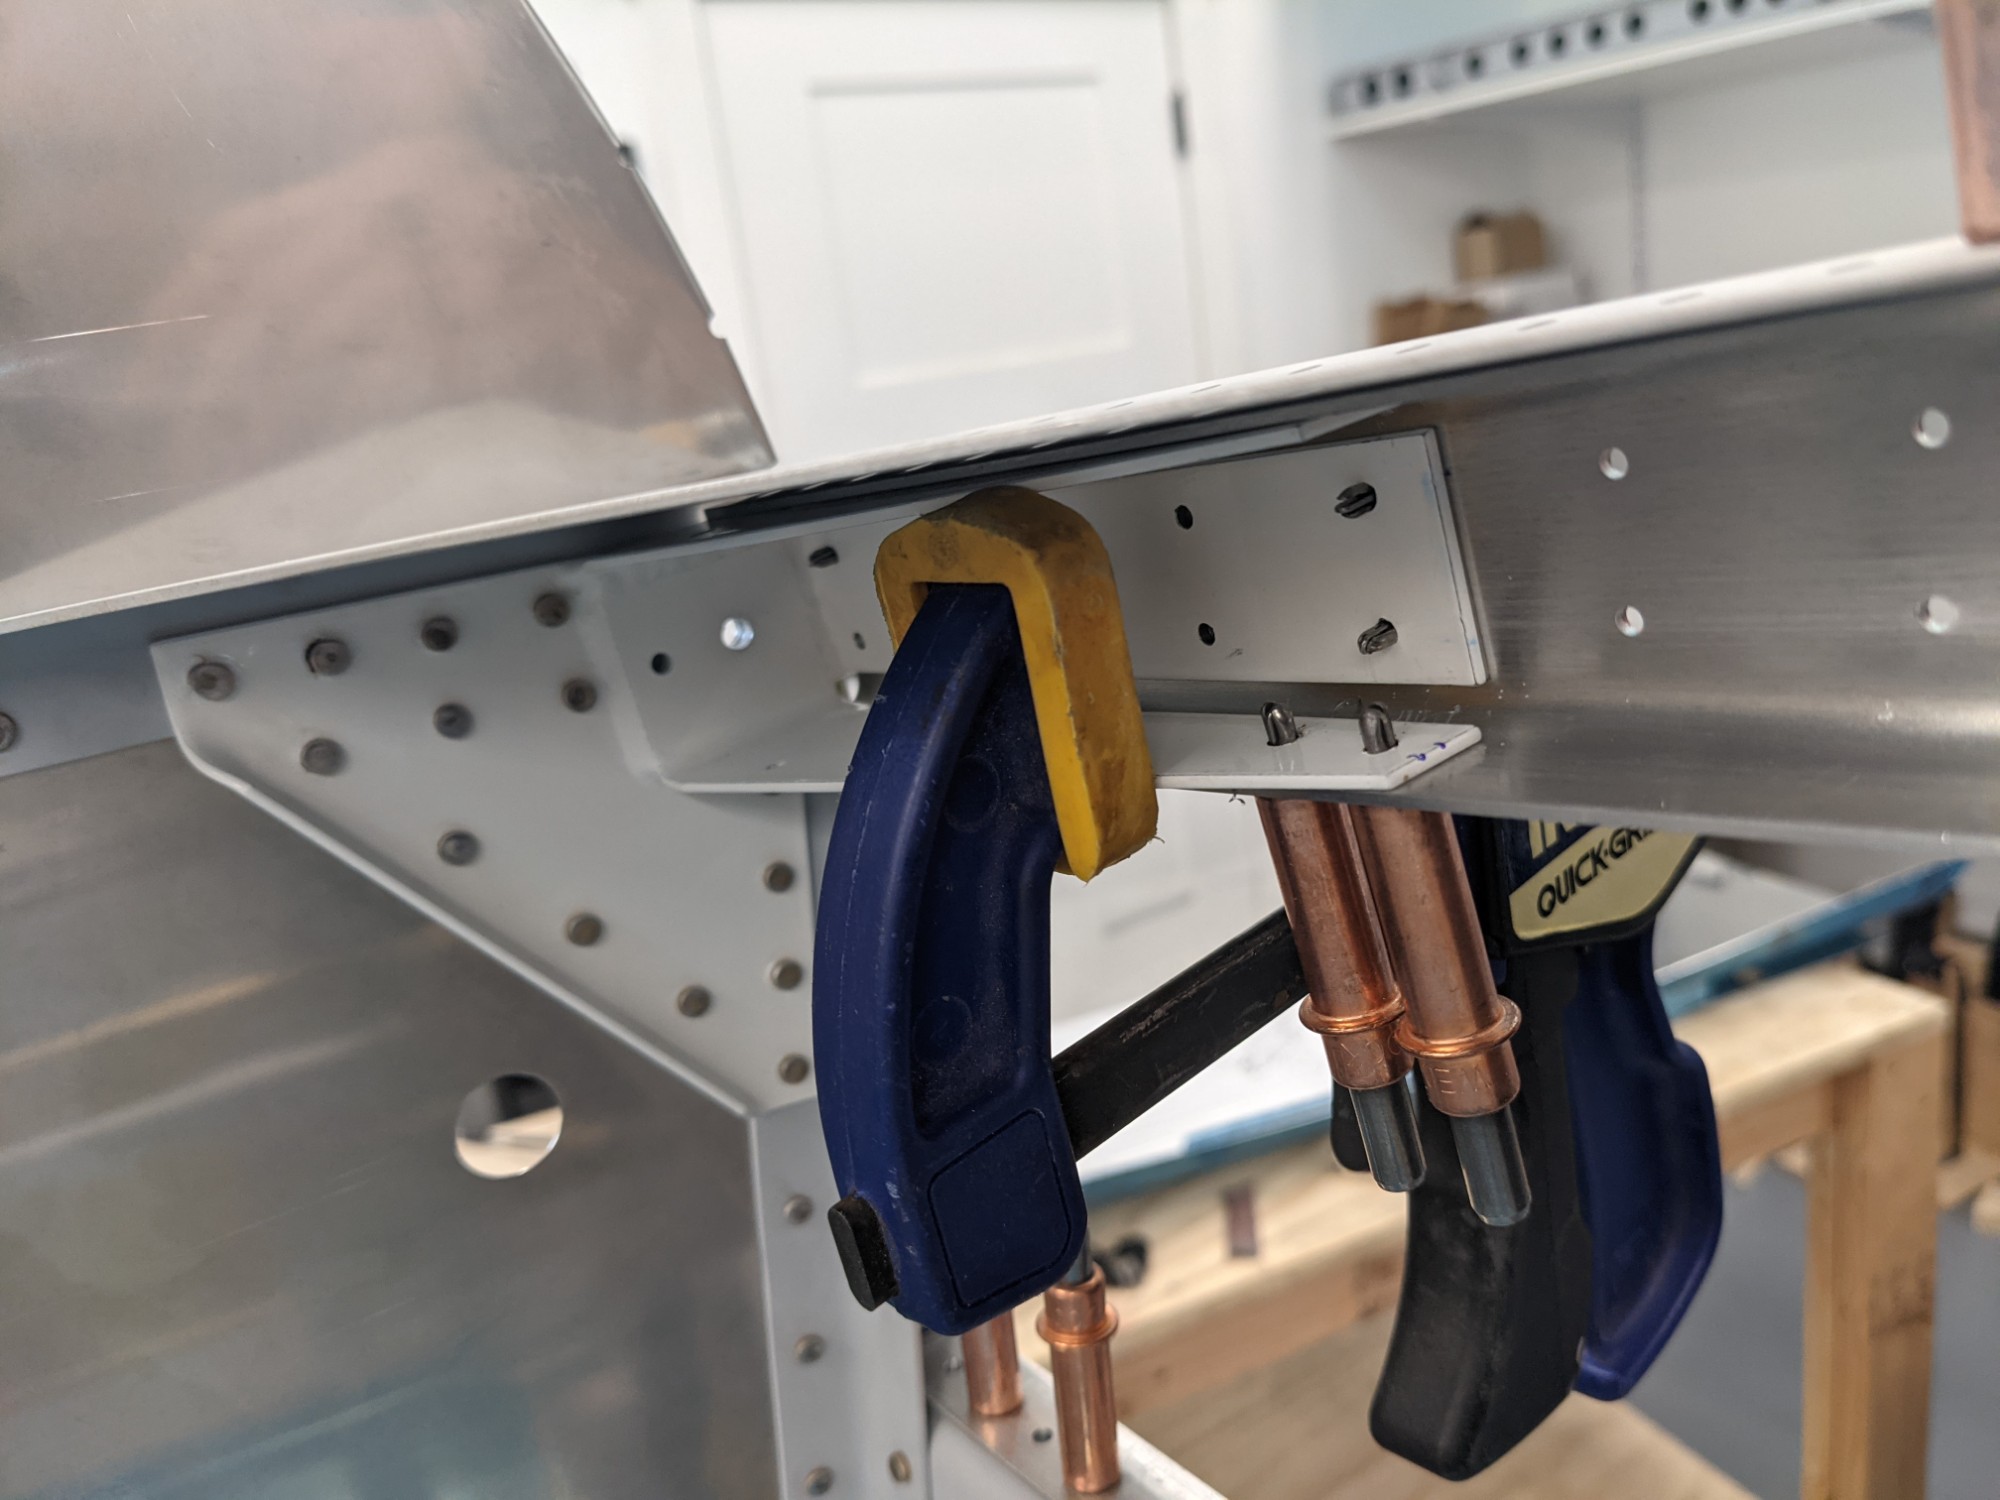
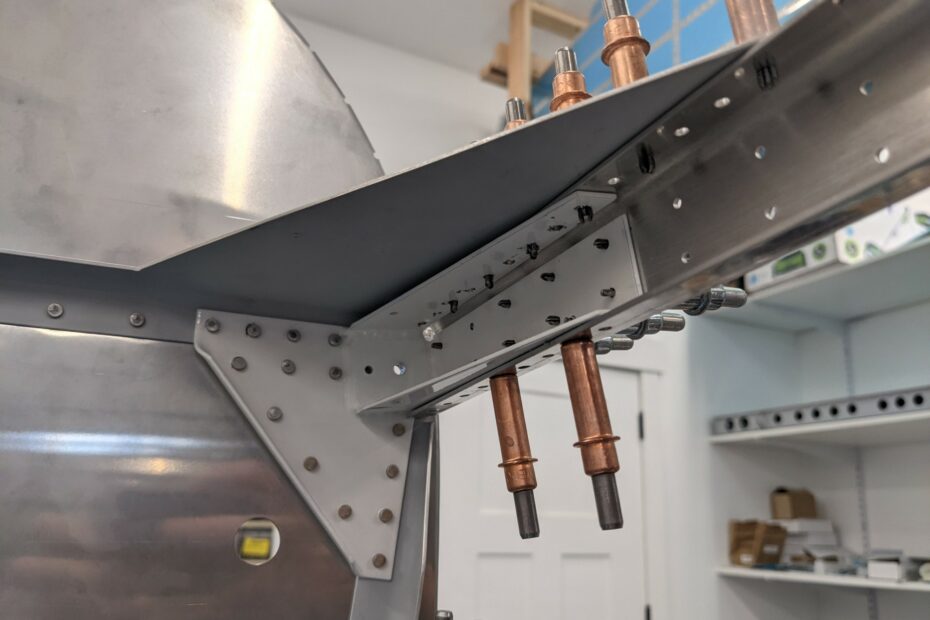
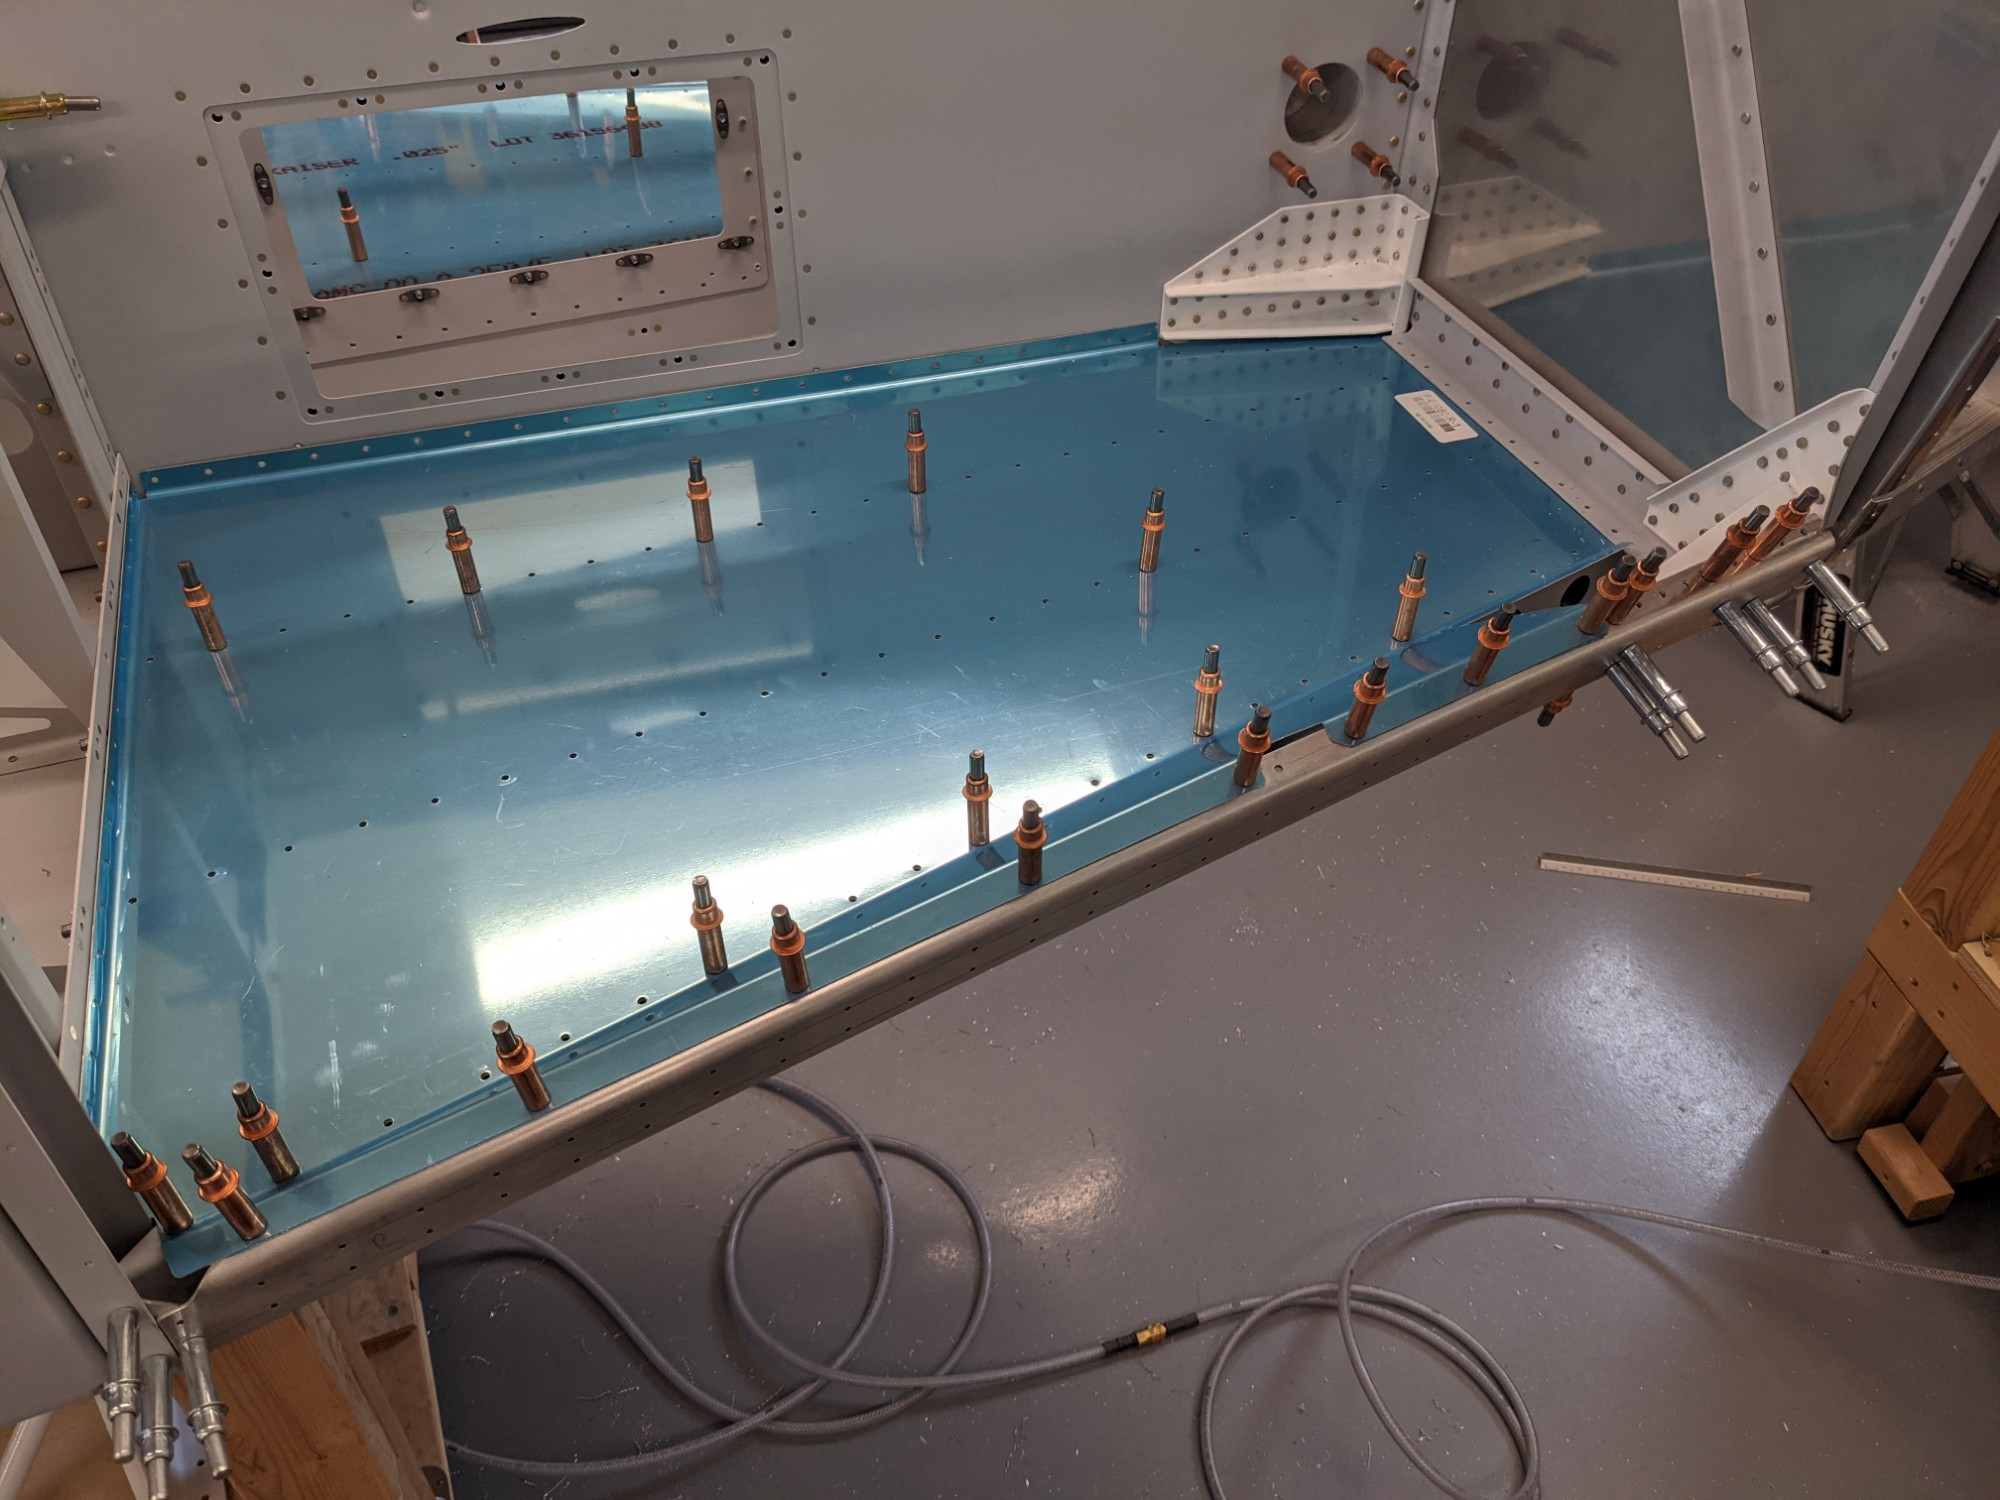
The procedure here was pretty straightforward – clamp, drill, cleco, rinse, repeat. I used a long #30 drill bit for most of the holes.
I did have to trim back the corners of the firewall angle to make room to drill the forward most holes. I also made sure I would have enough room for a rivet set later on.

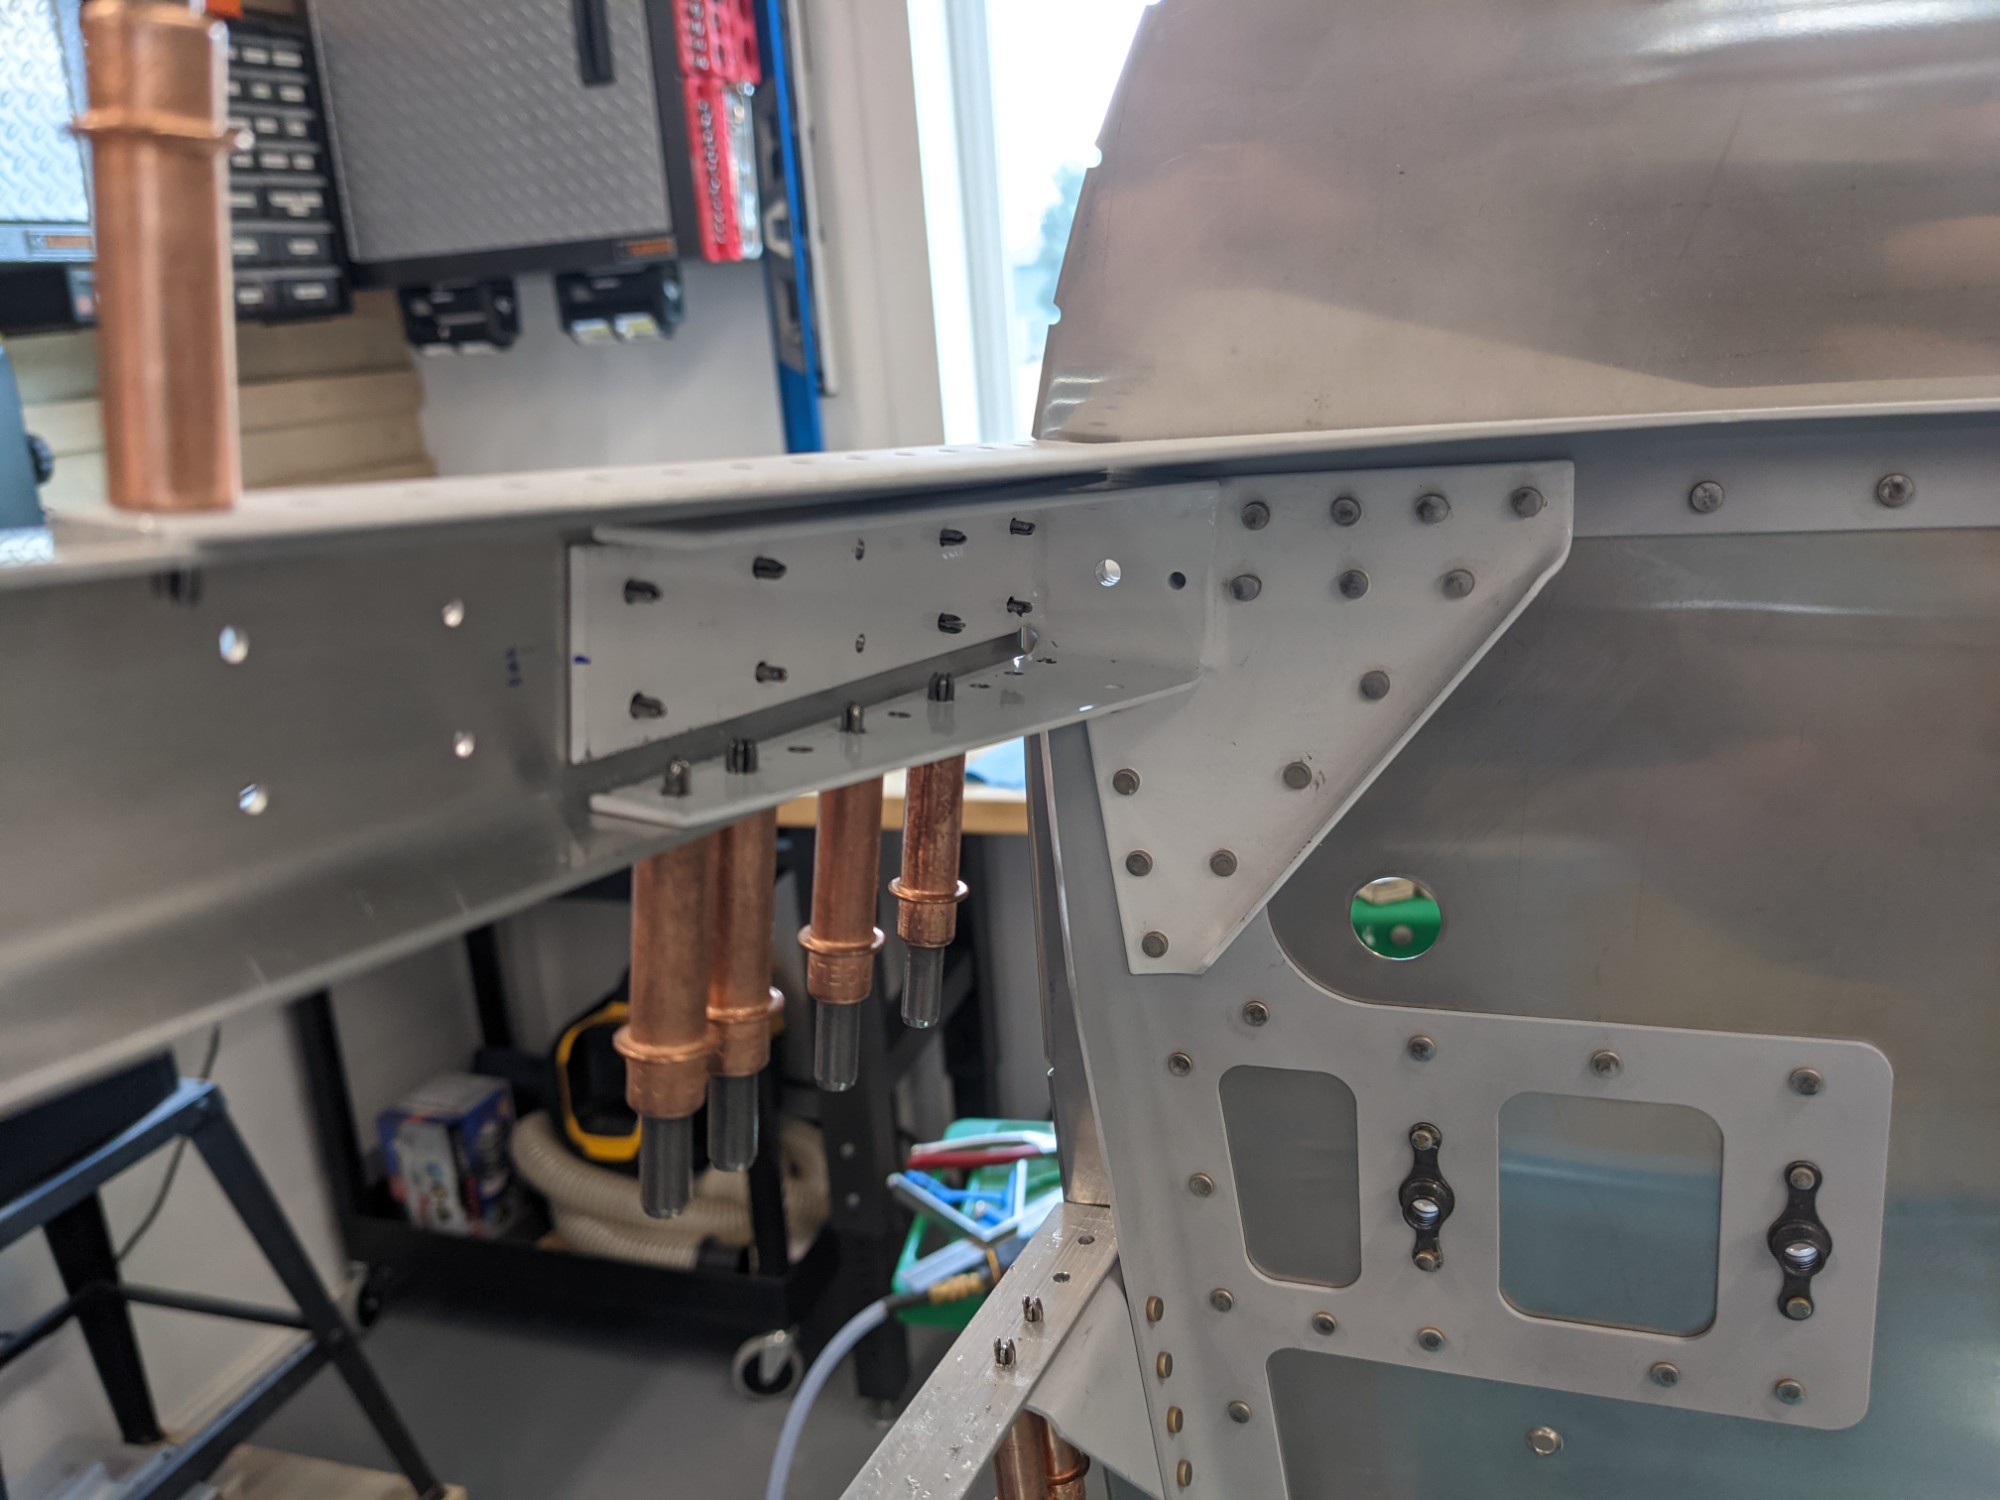
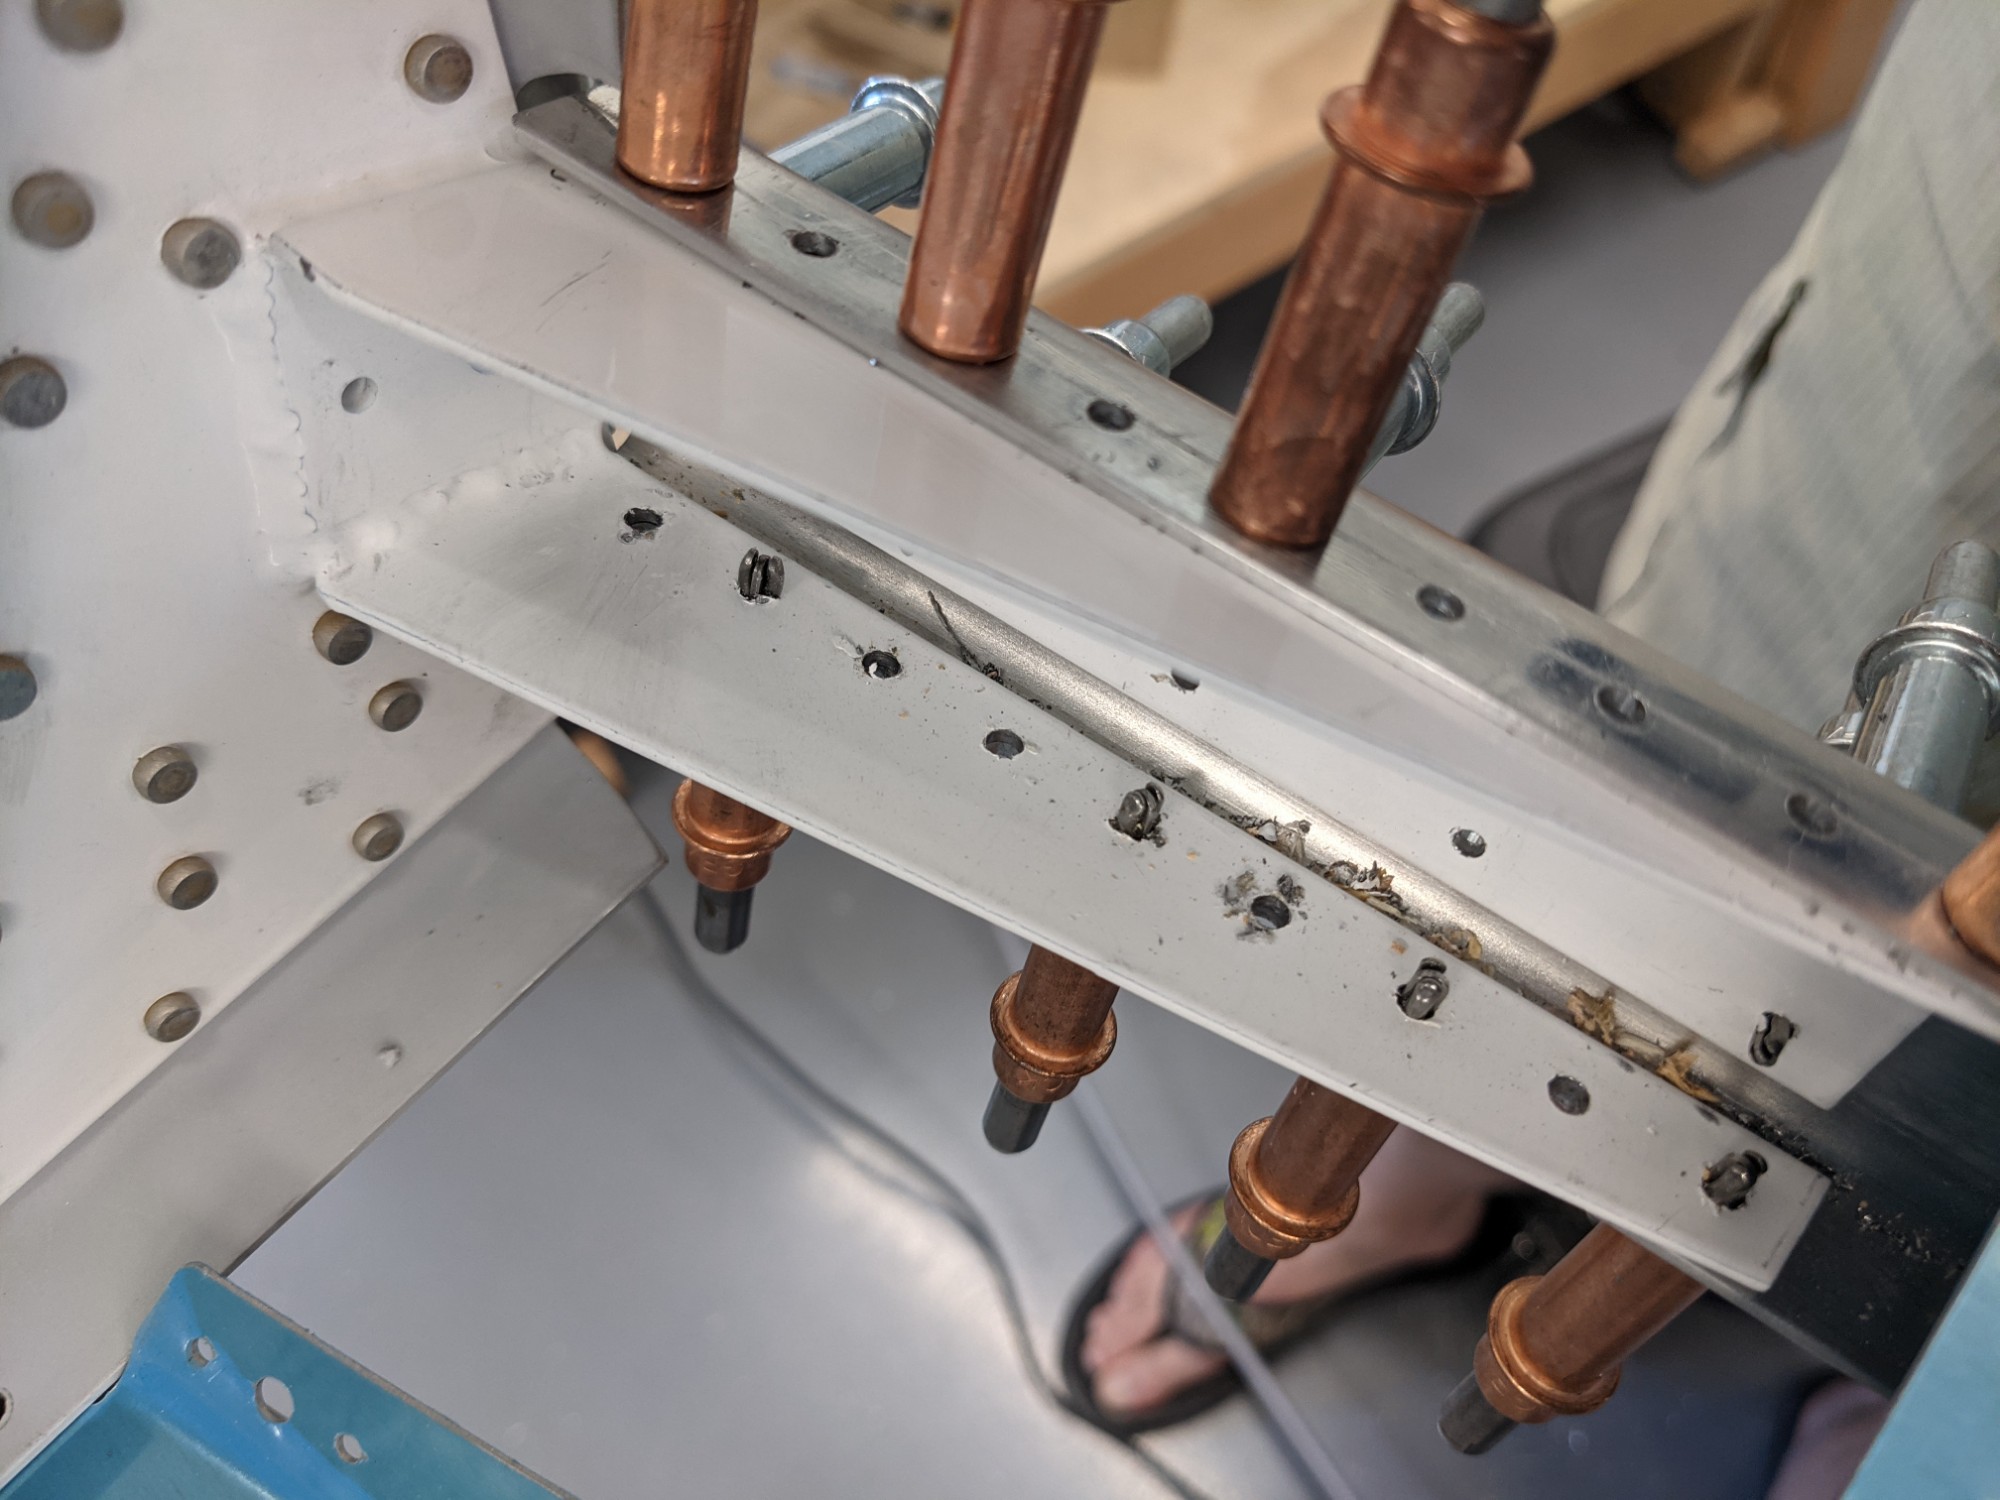
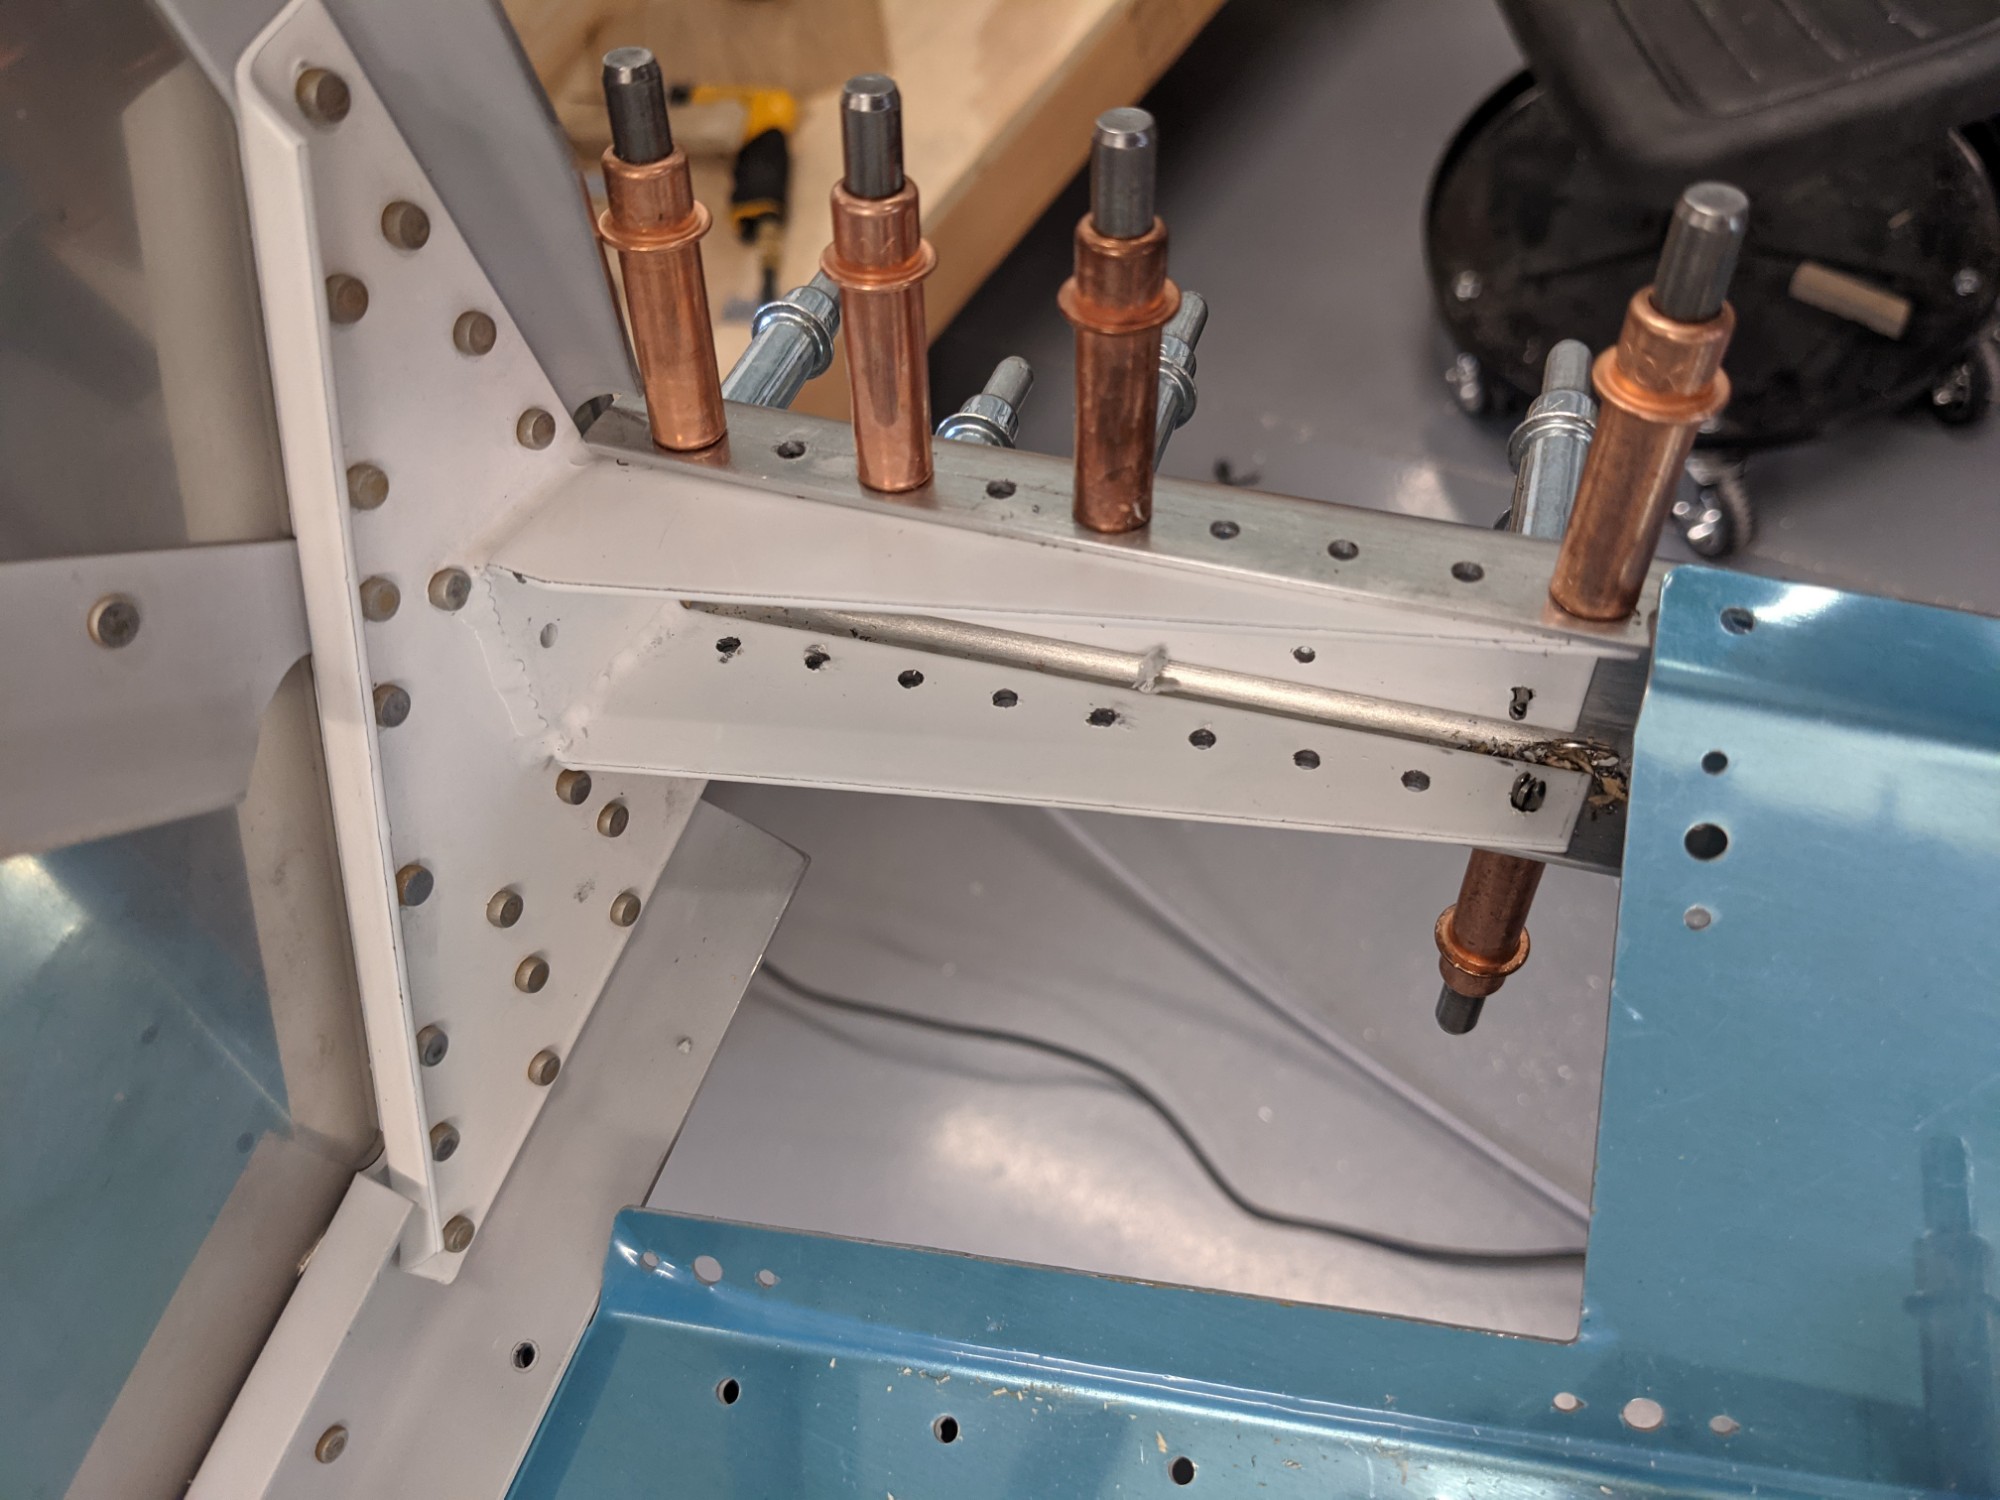
Everything worked out really well. Some of the holes towards the forward end of the bracket get a little closer to the edge but there isn’t anything you can do to pull that end in any further.

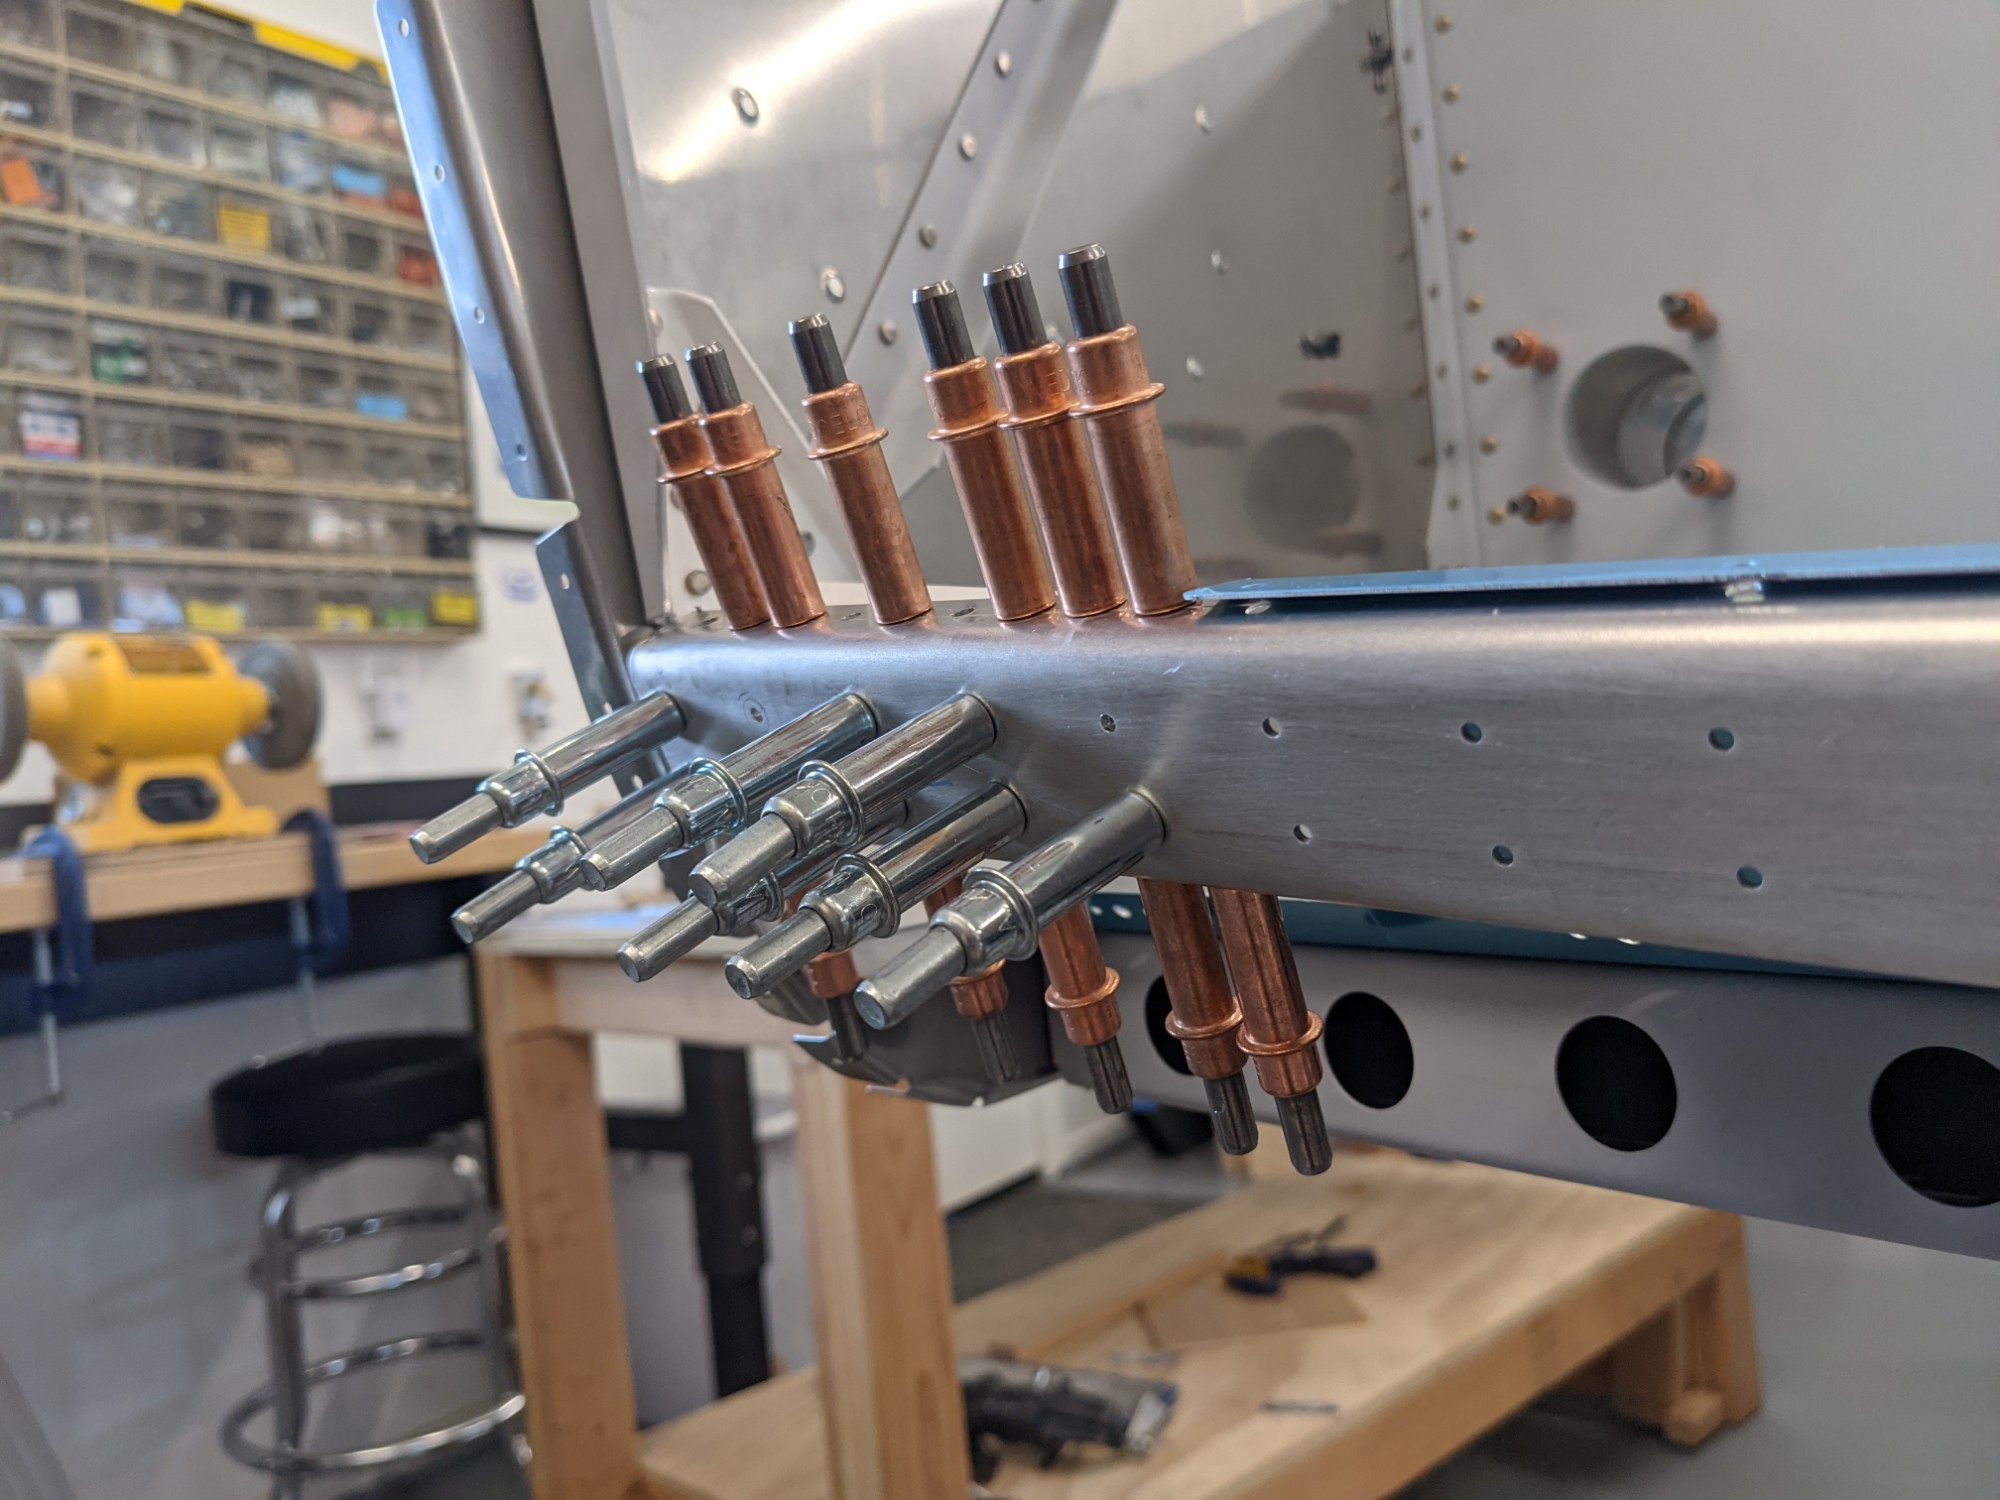
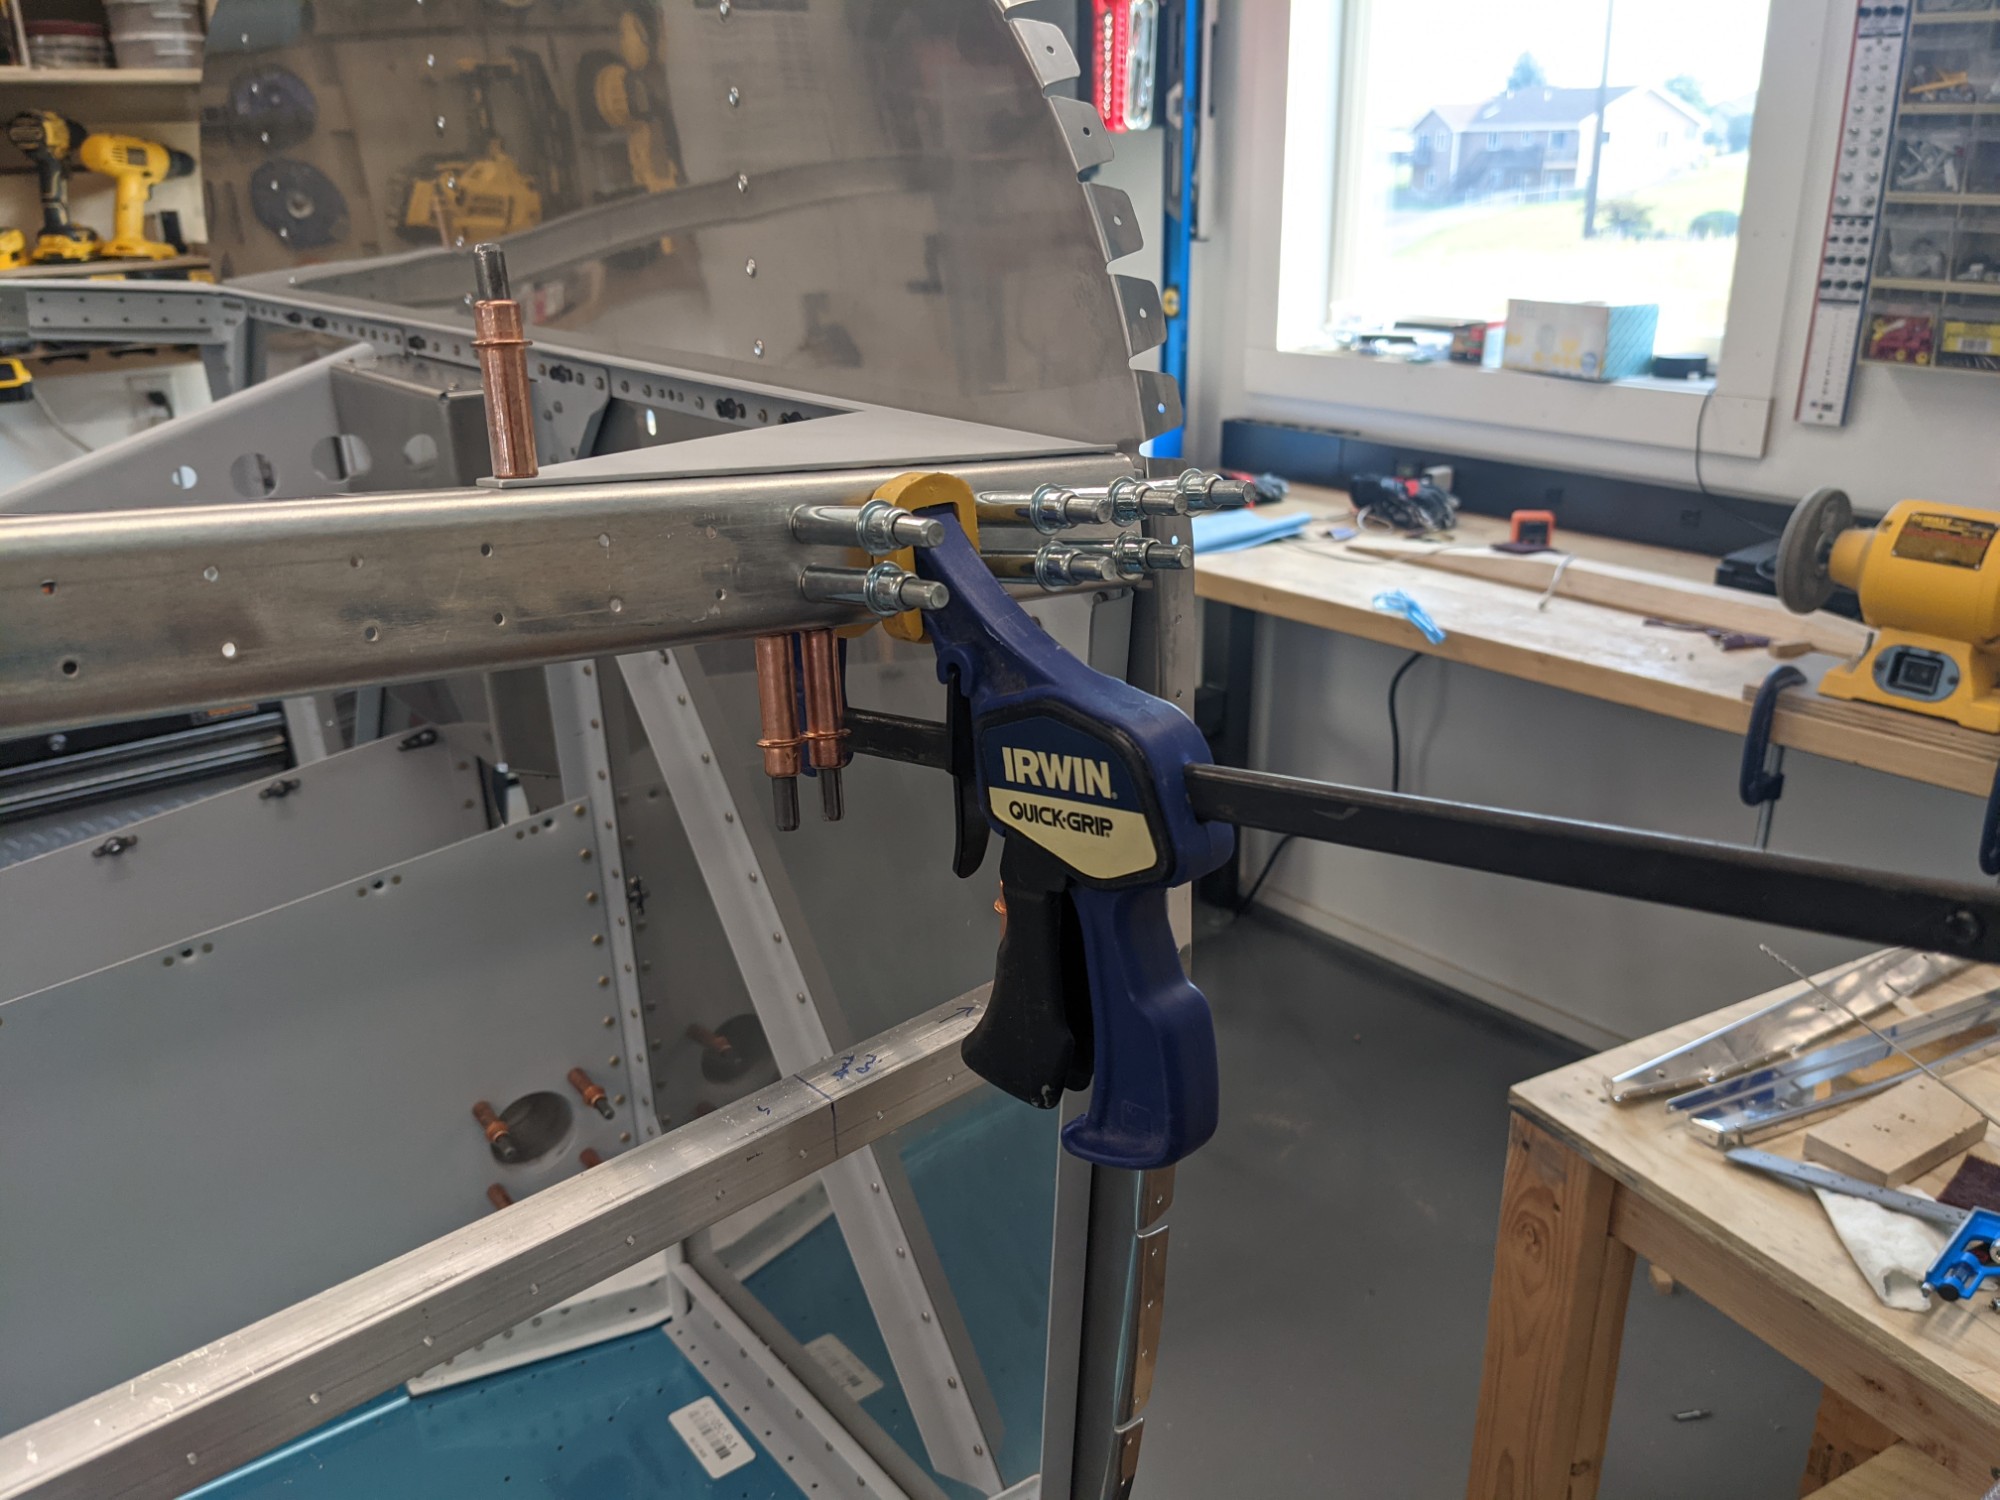
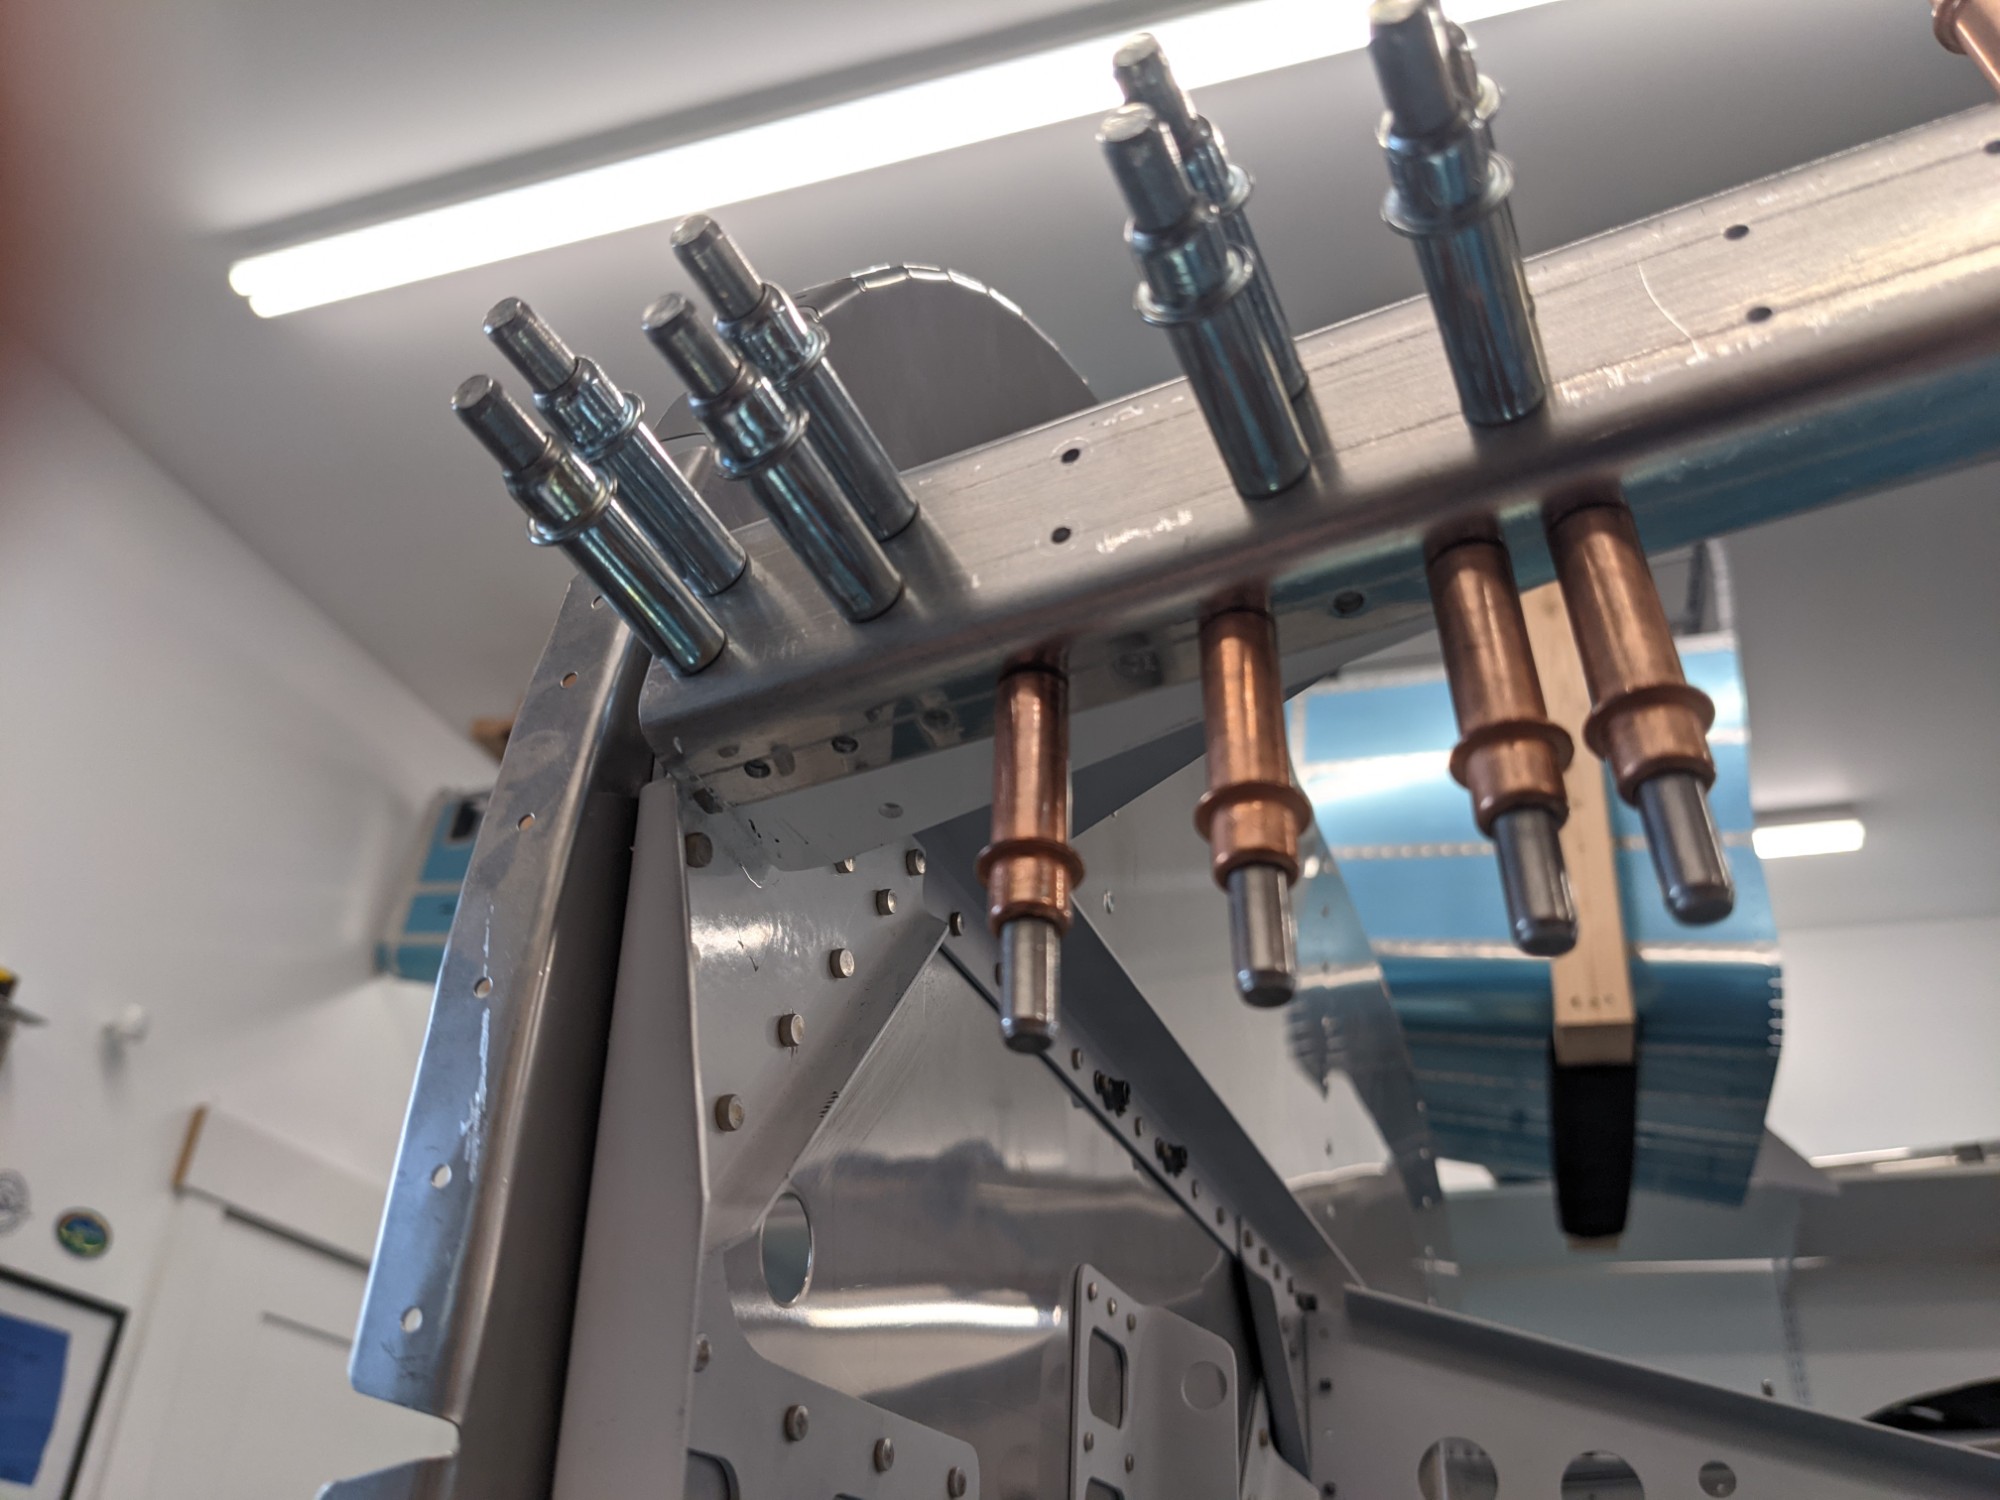
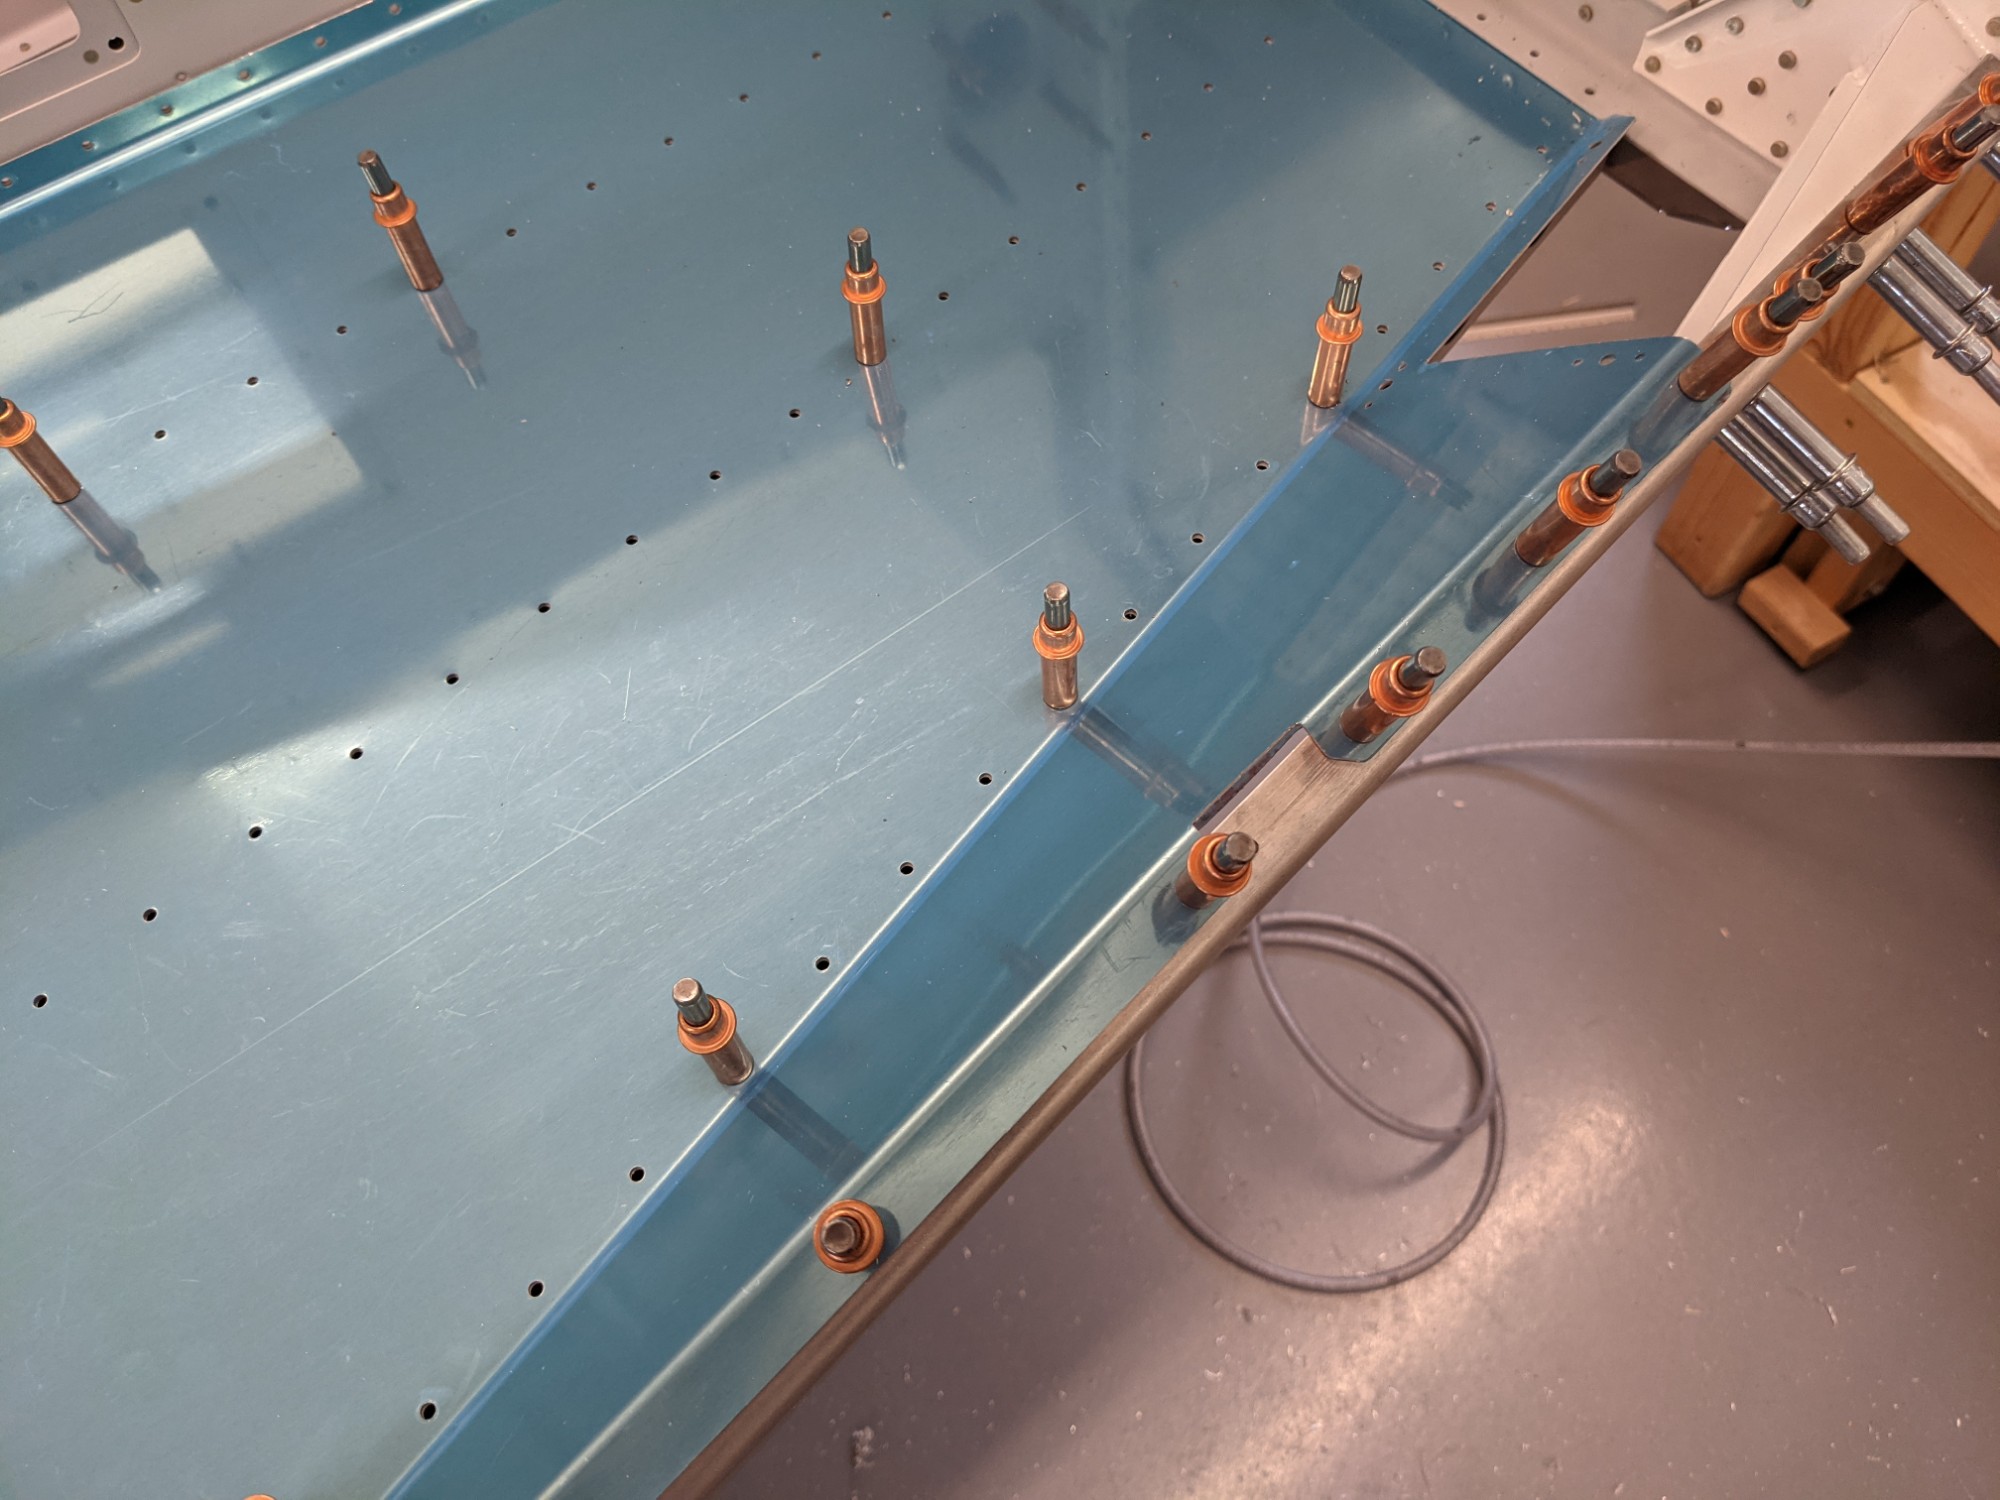
I then match drilled the edge of the front floors to the side channels. I marked the side channels at 1/4″ first and then match drilled to the center of the marking. I also filed down the high spot at the aft end when the bend in the angled flange causes a high spot.
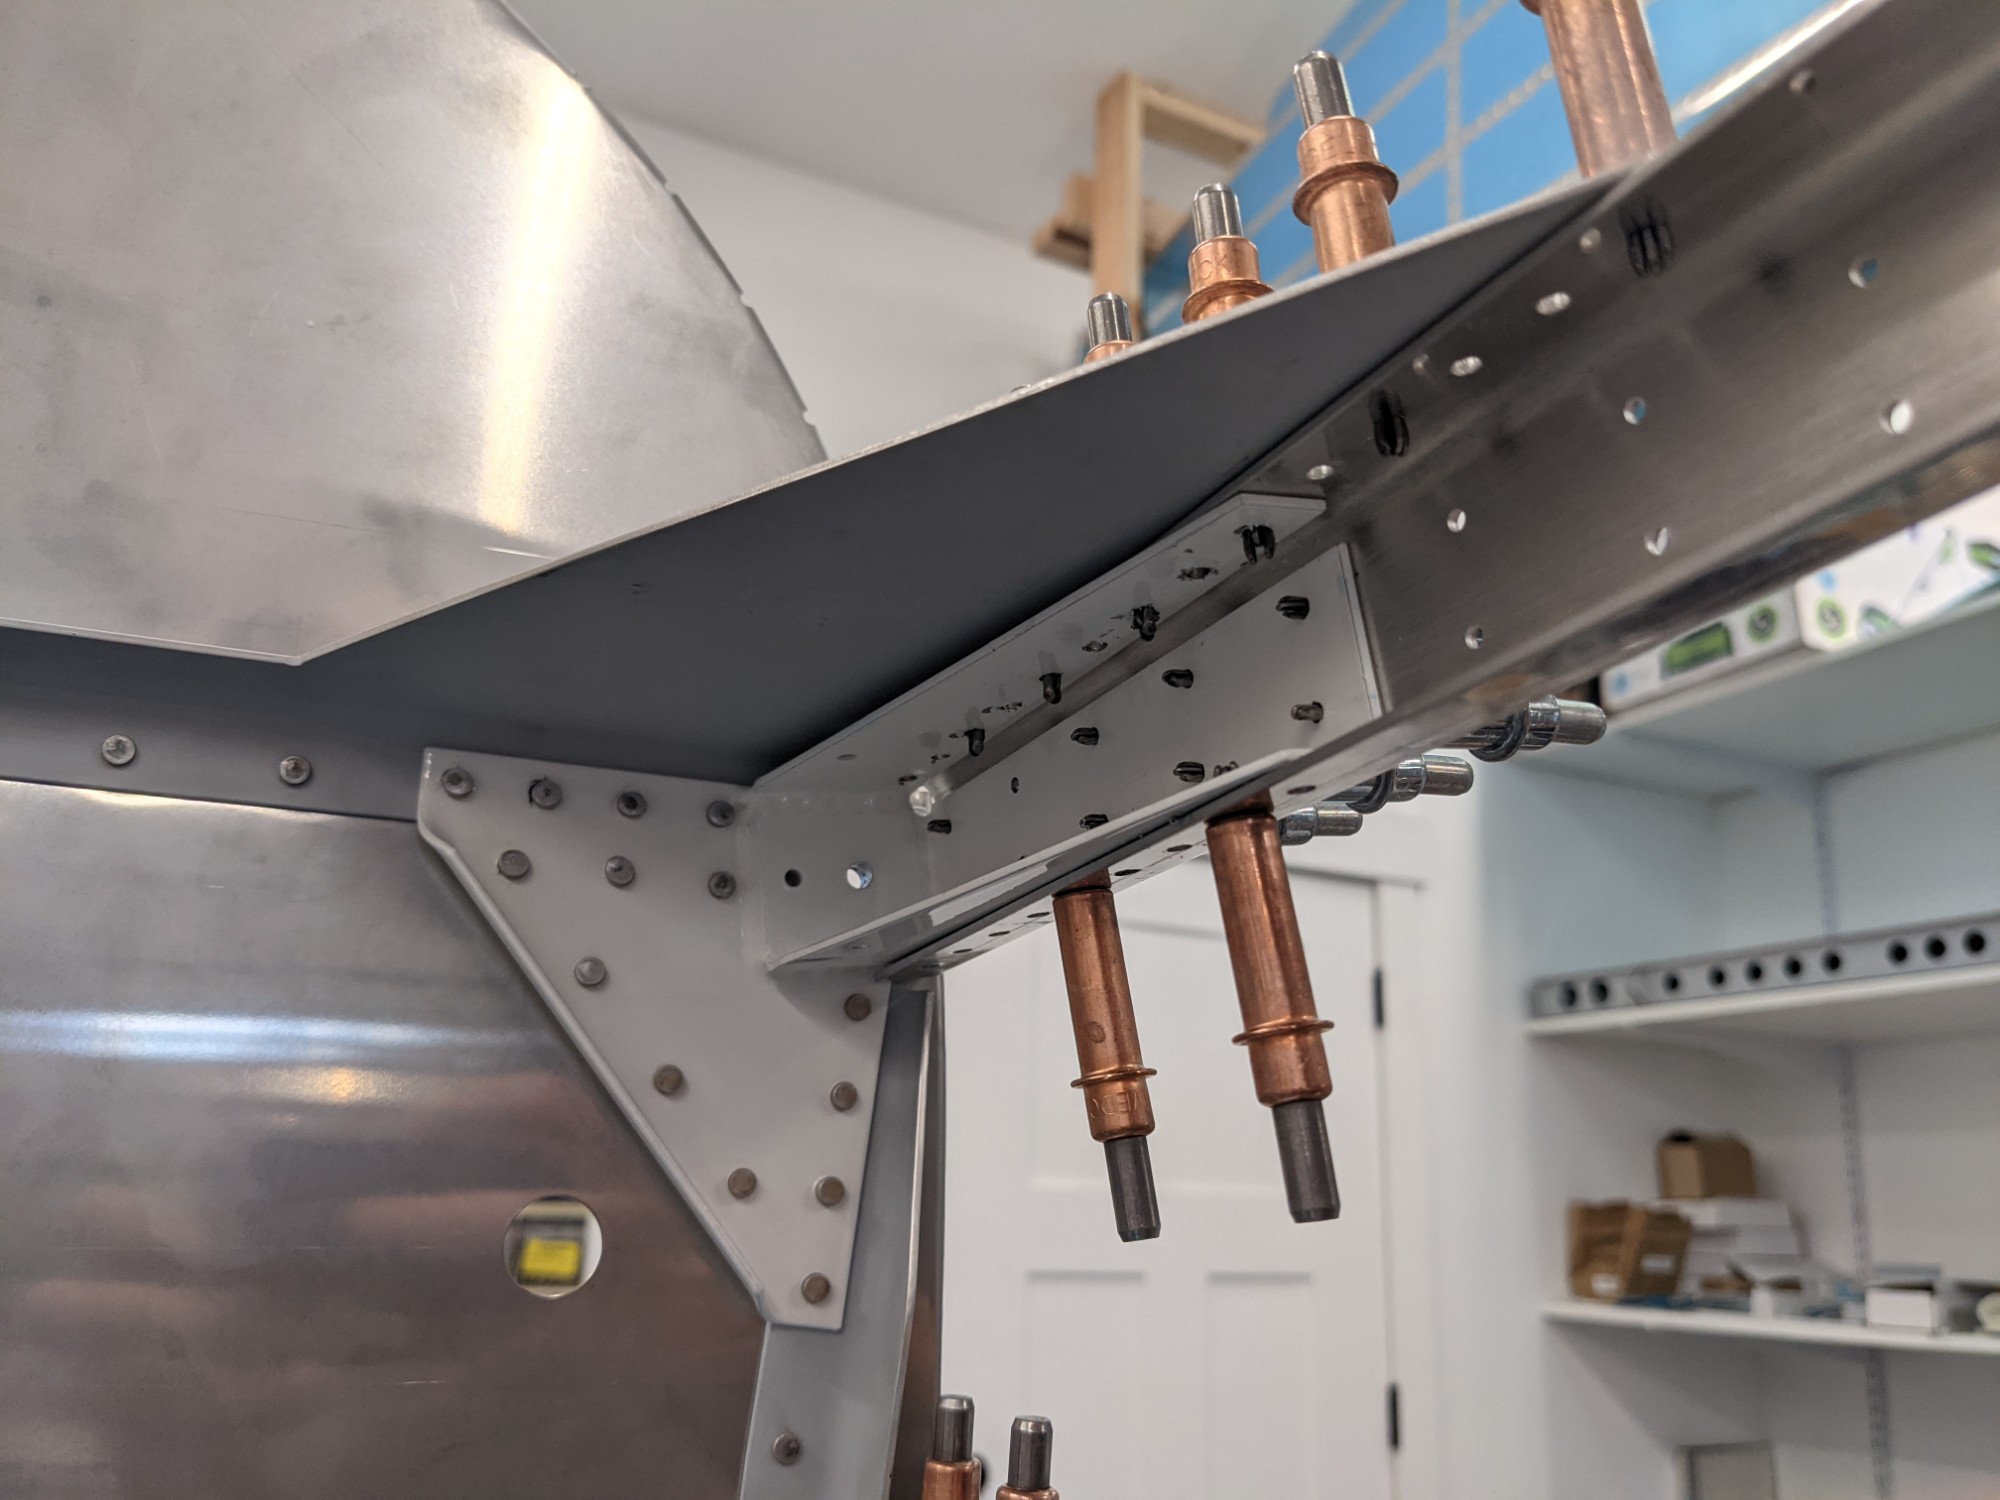
Things then start to get dissambled. The side decks are countersunk to accept AD3 flush rivets. I used a 100 degree deburring bit for the flanges on each end since I couldn’t get my countersink cutter in there.
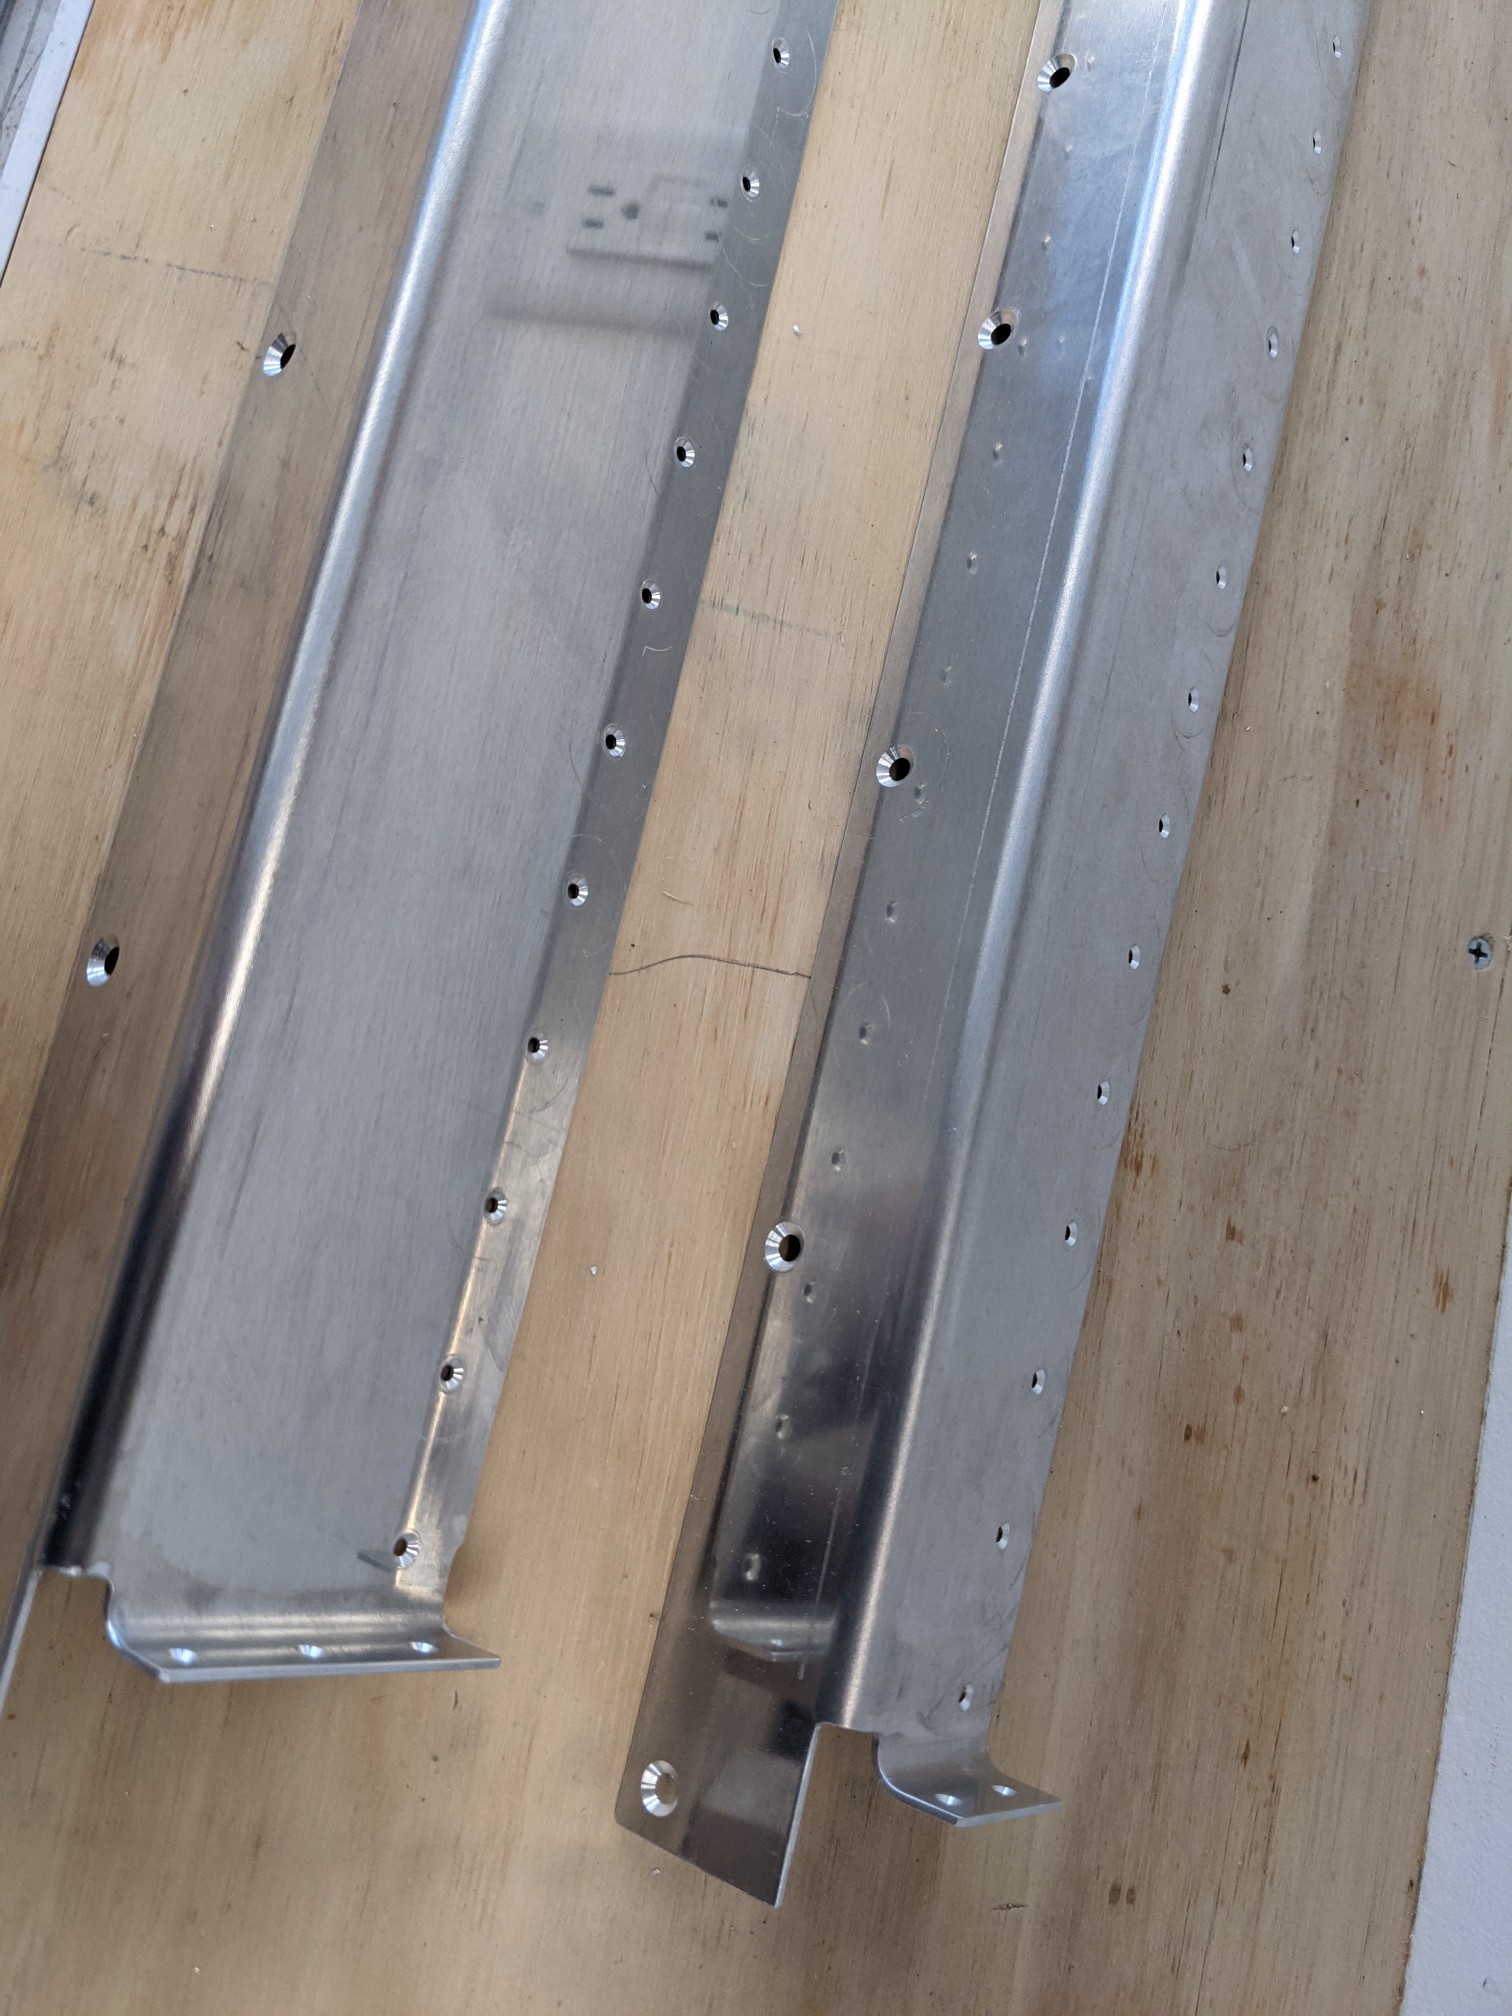
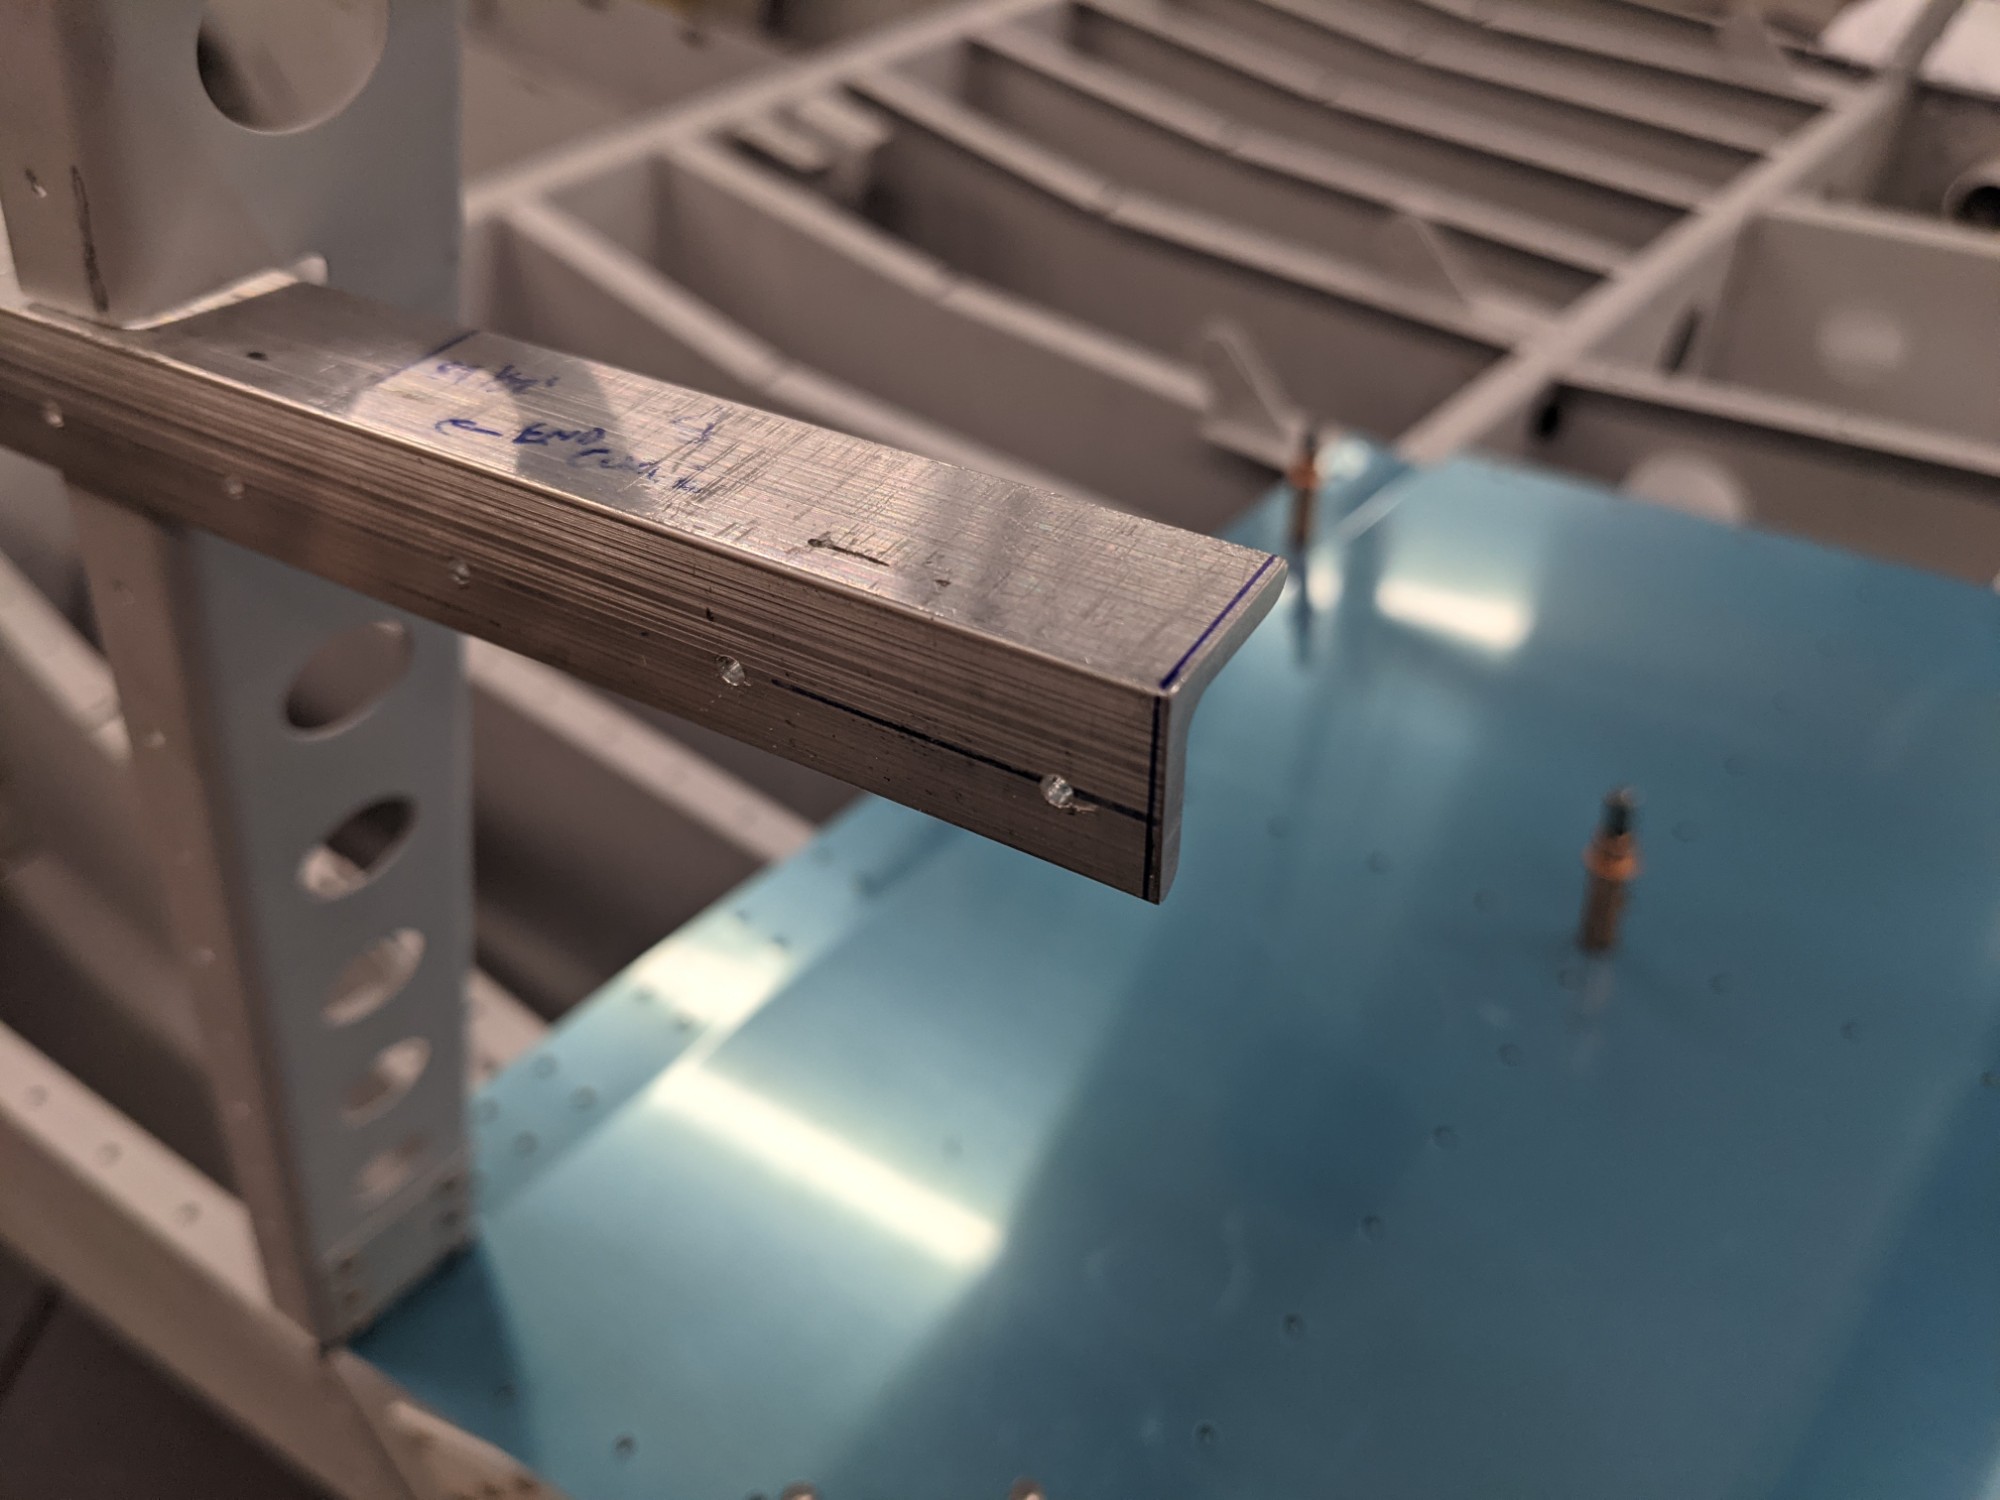
I then took the side skins off and marked the aft end of the longerons for trimming. These have maximum lengths to leave clearance for the baggage door opening and the tailcone bulkhead.
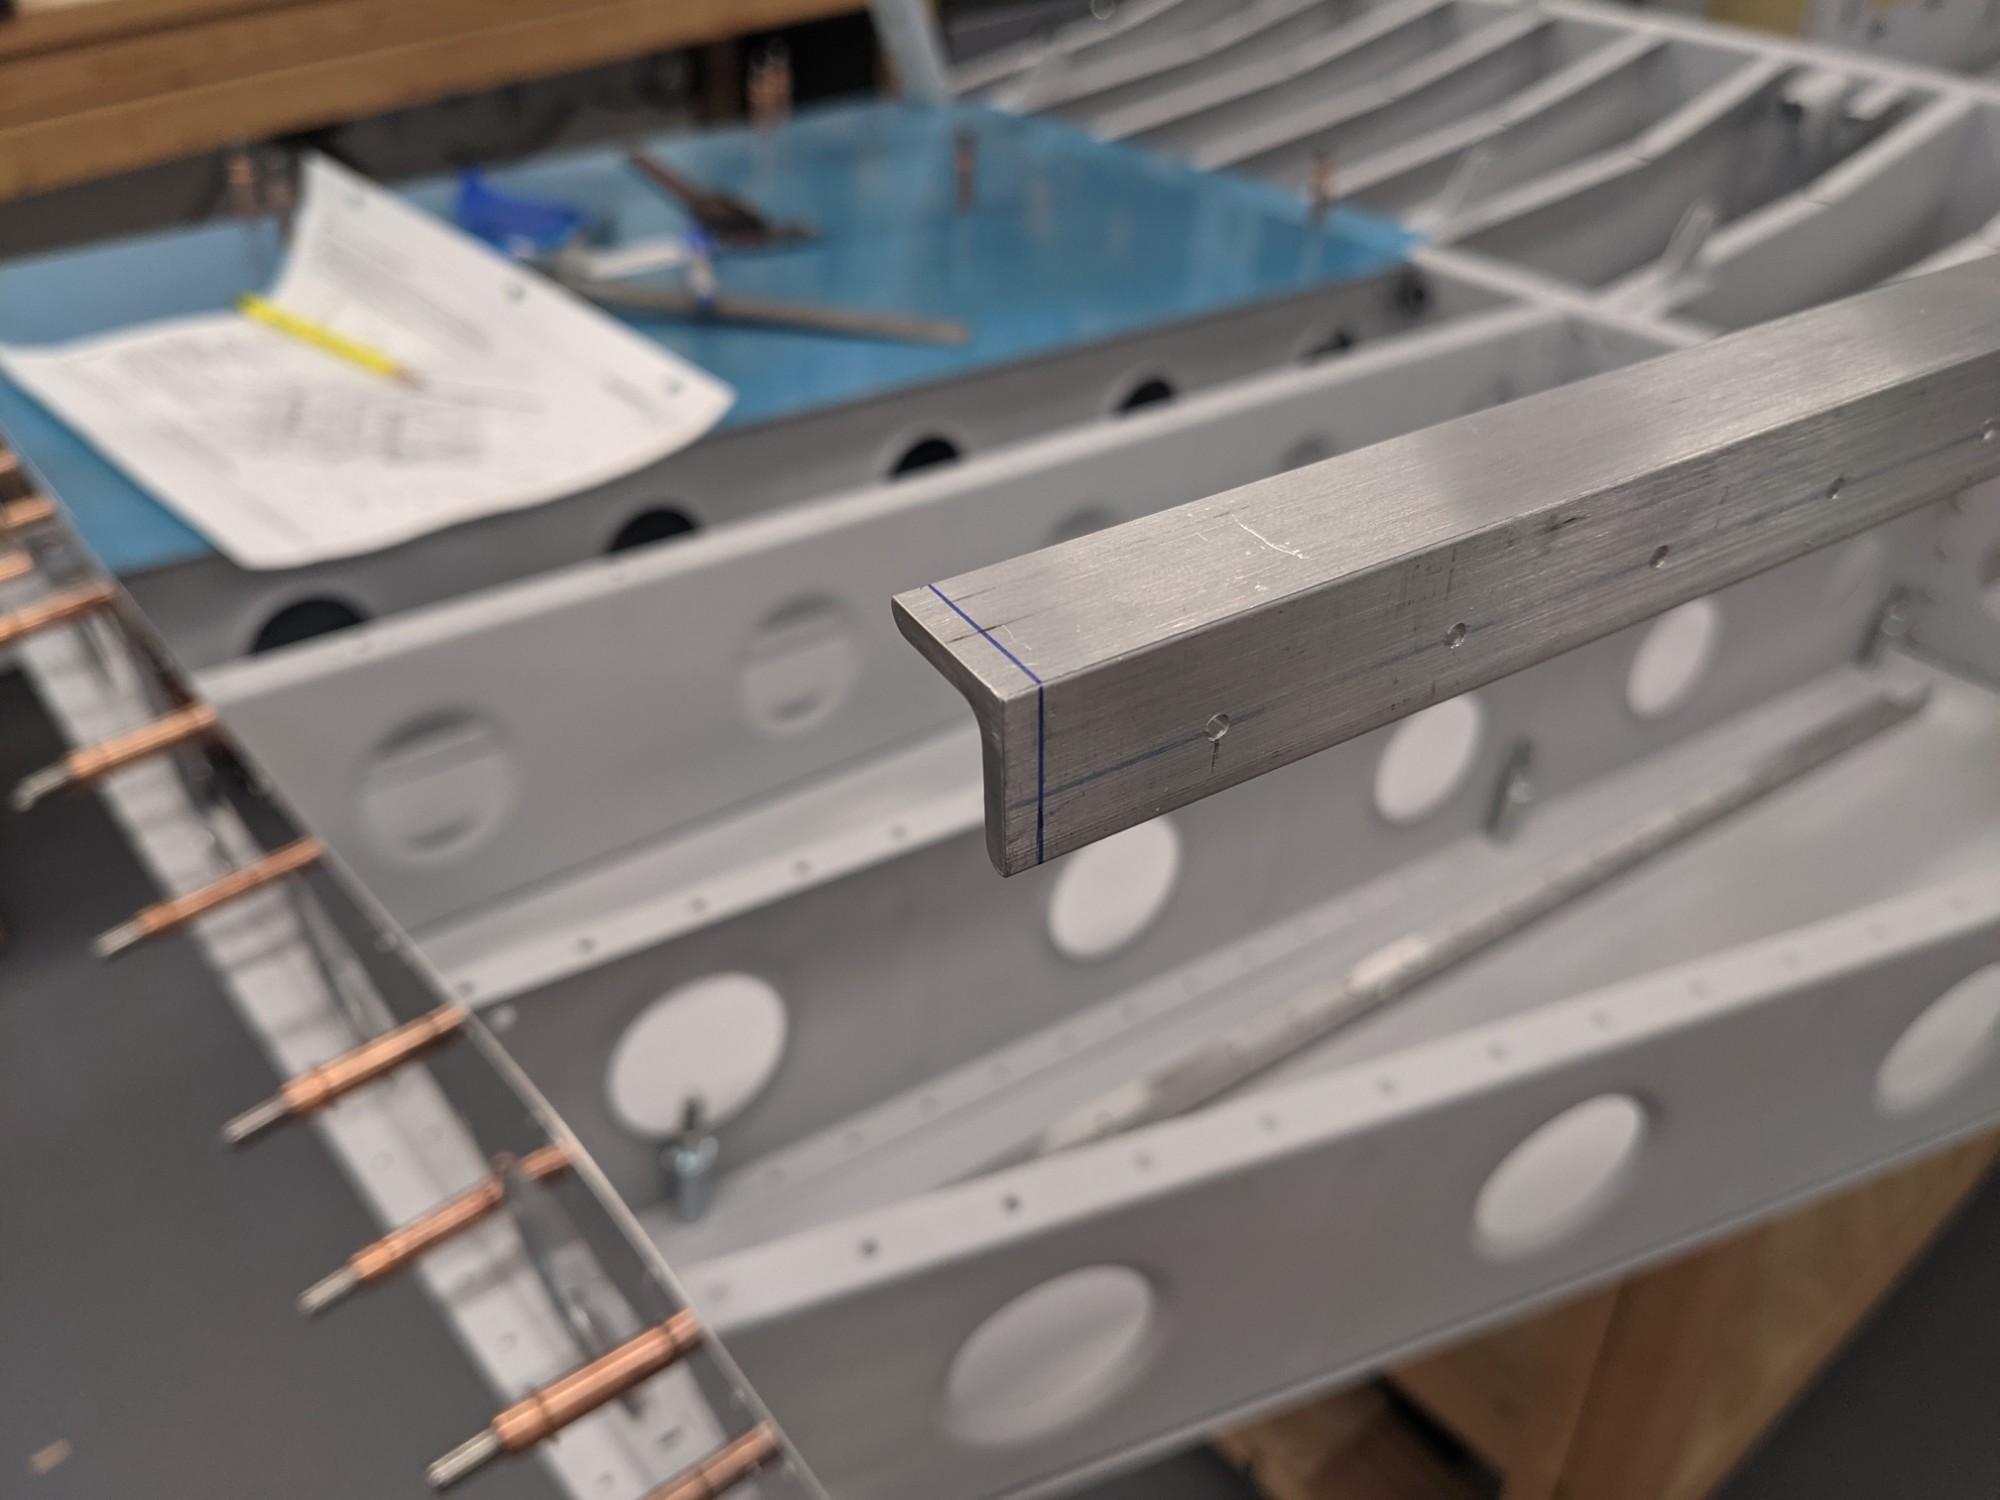
I then deburred the longerons. I have a lot of holes to countersink now and will get started on that in the next session.