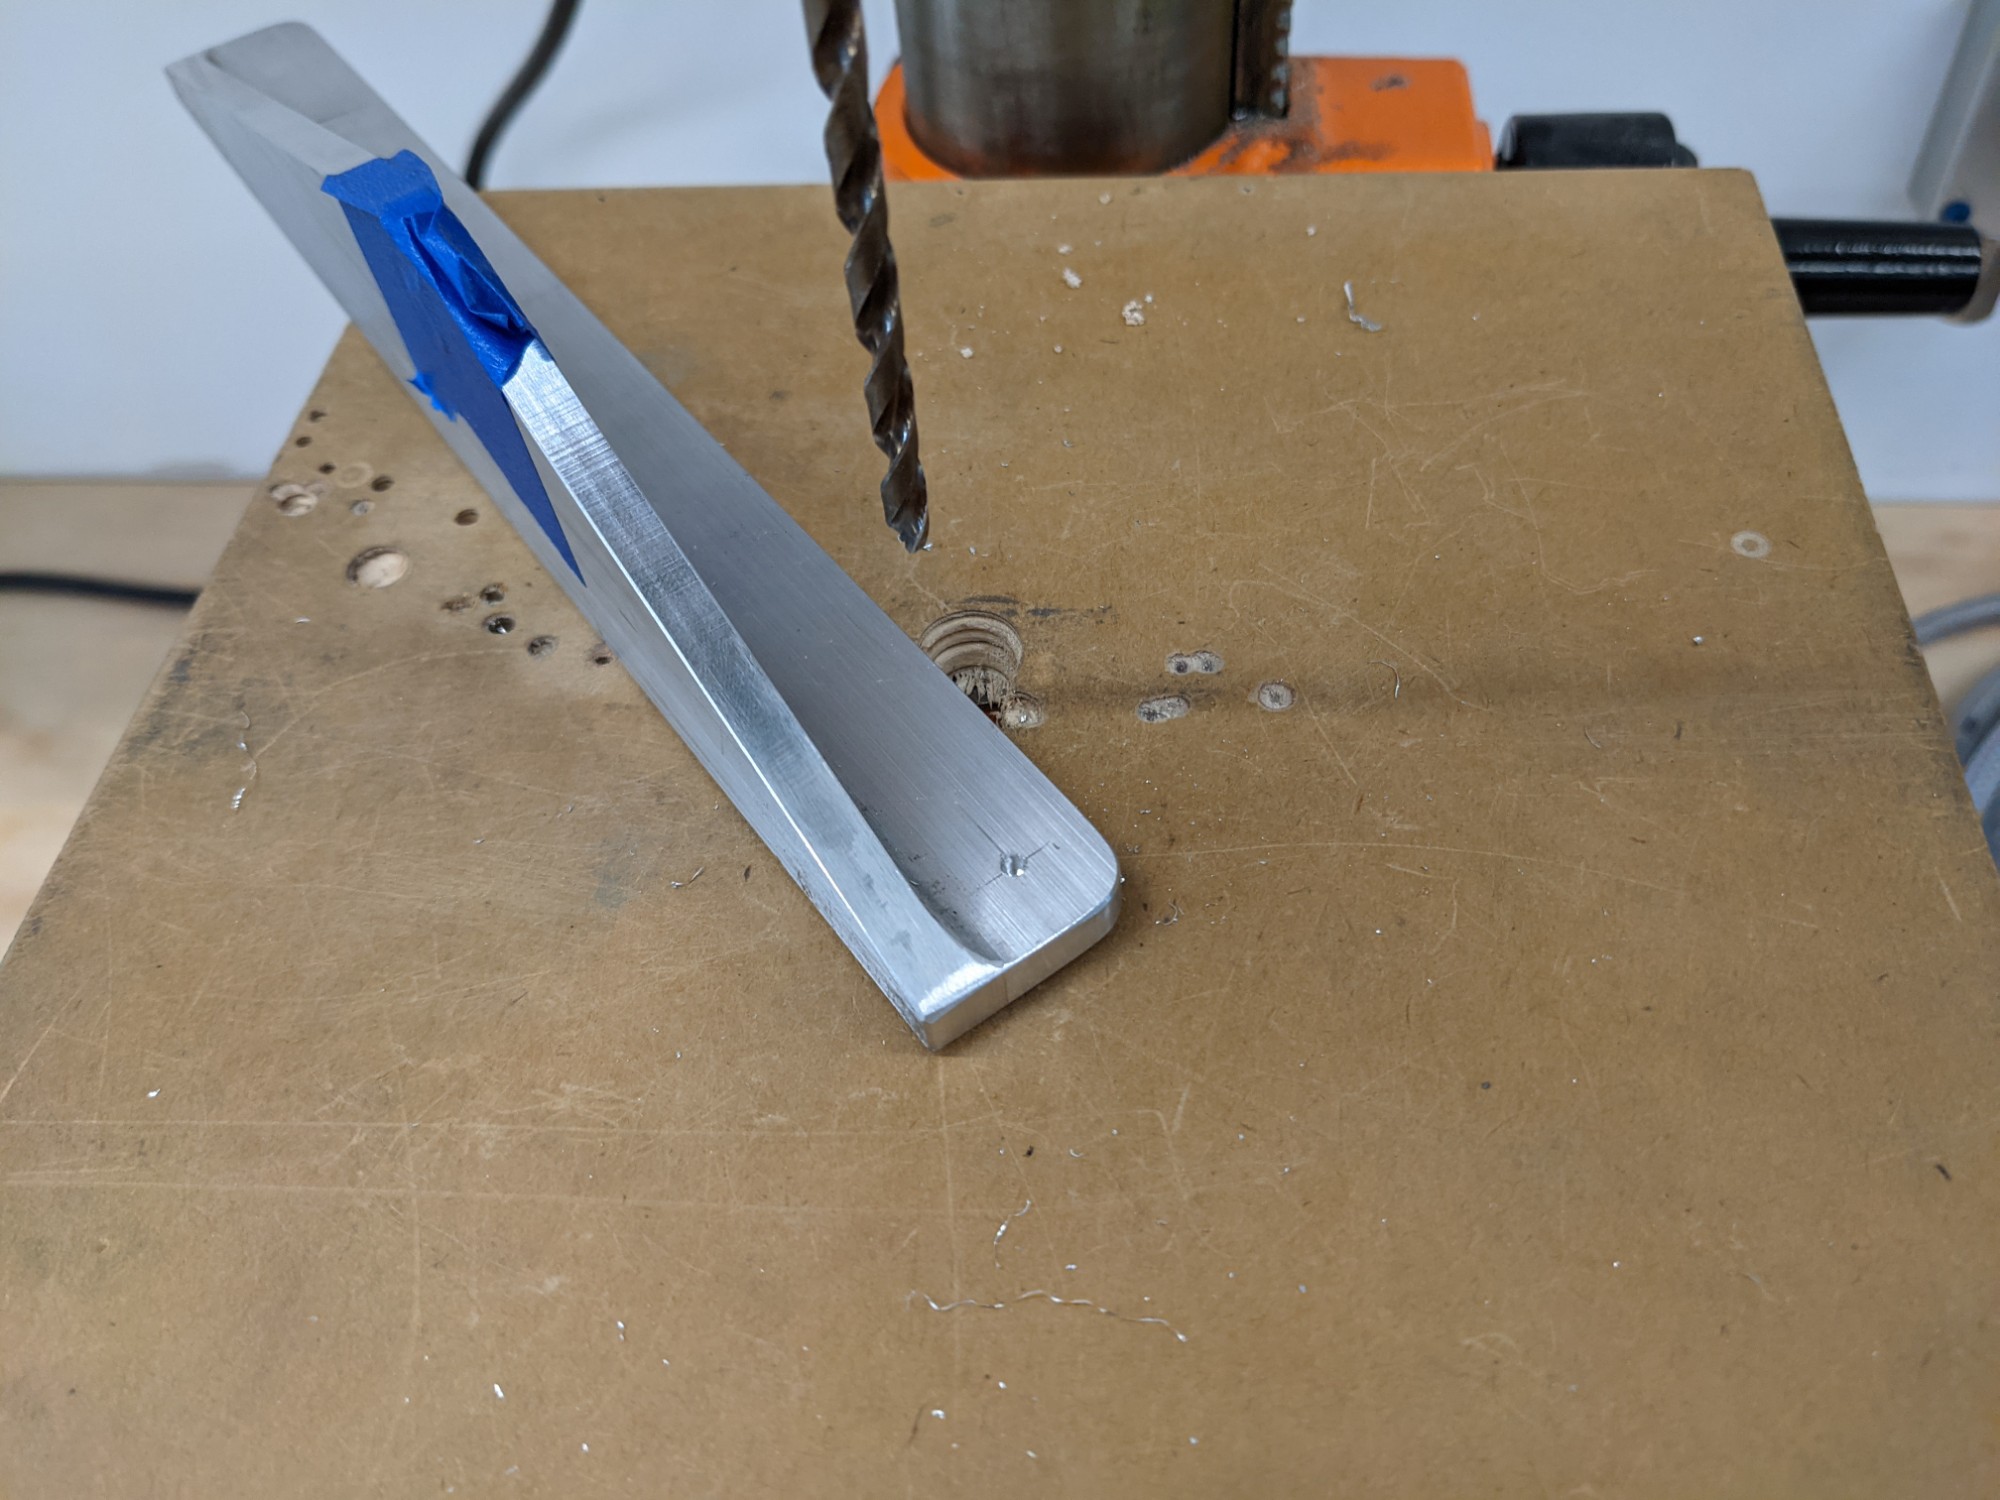
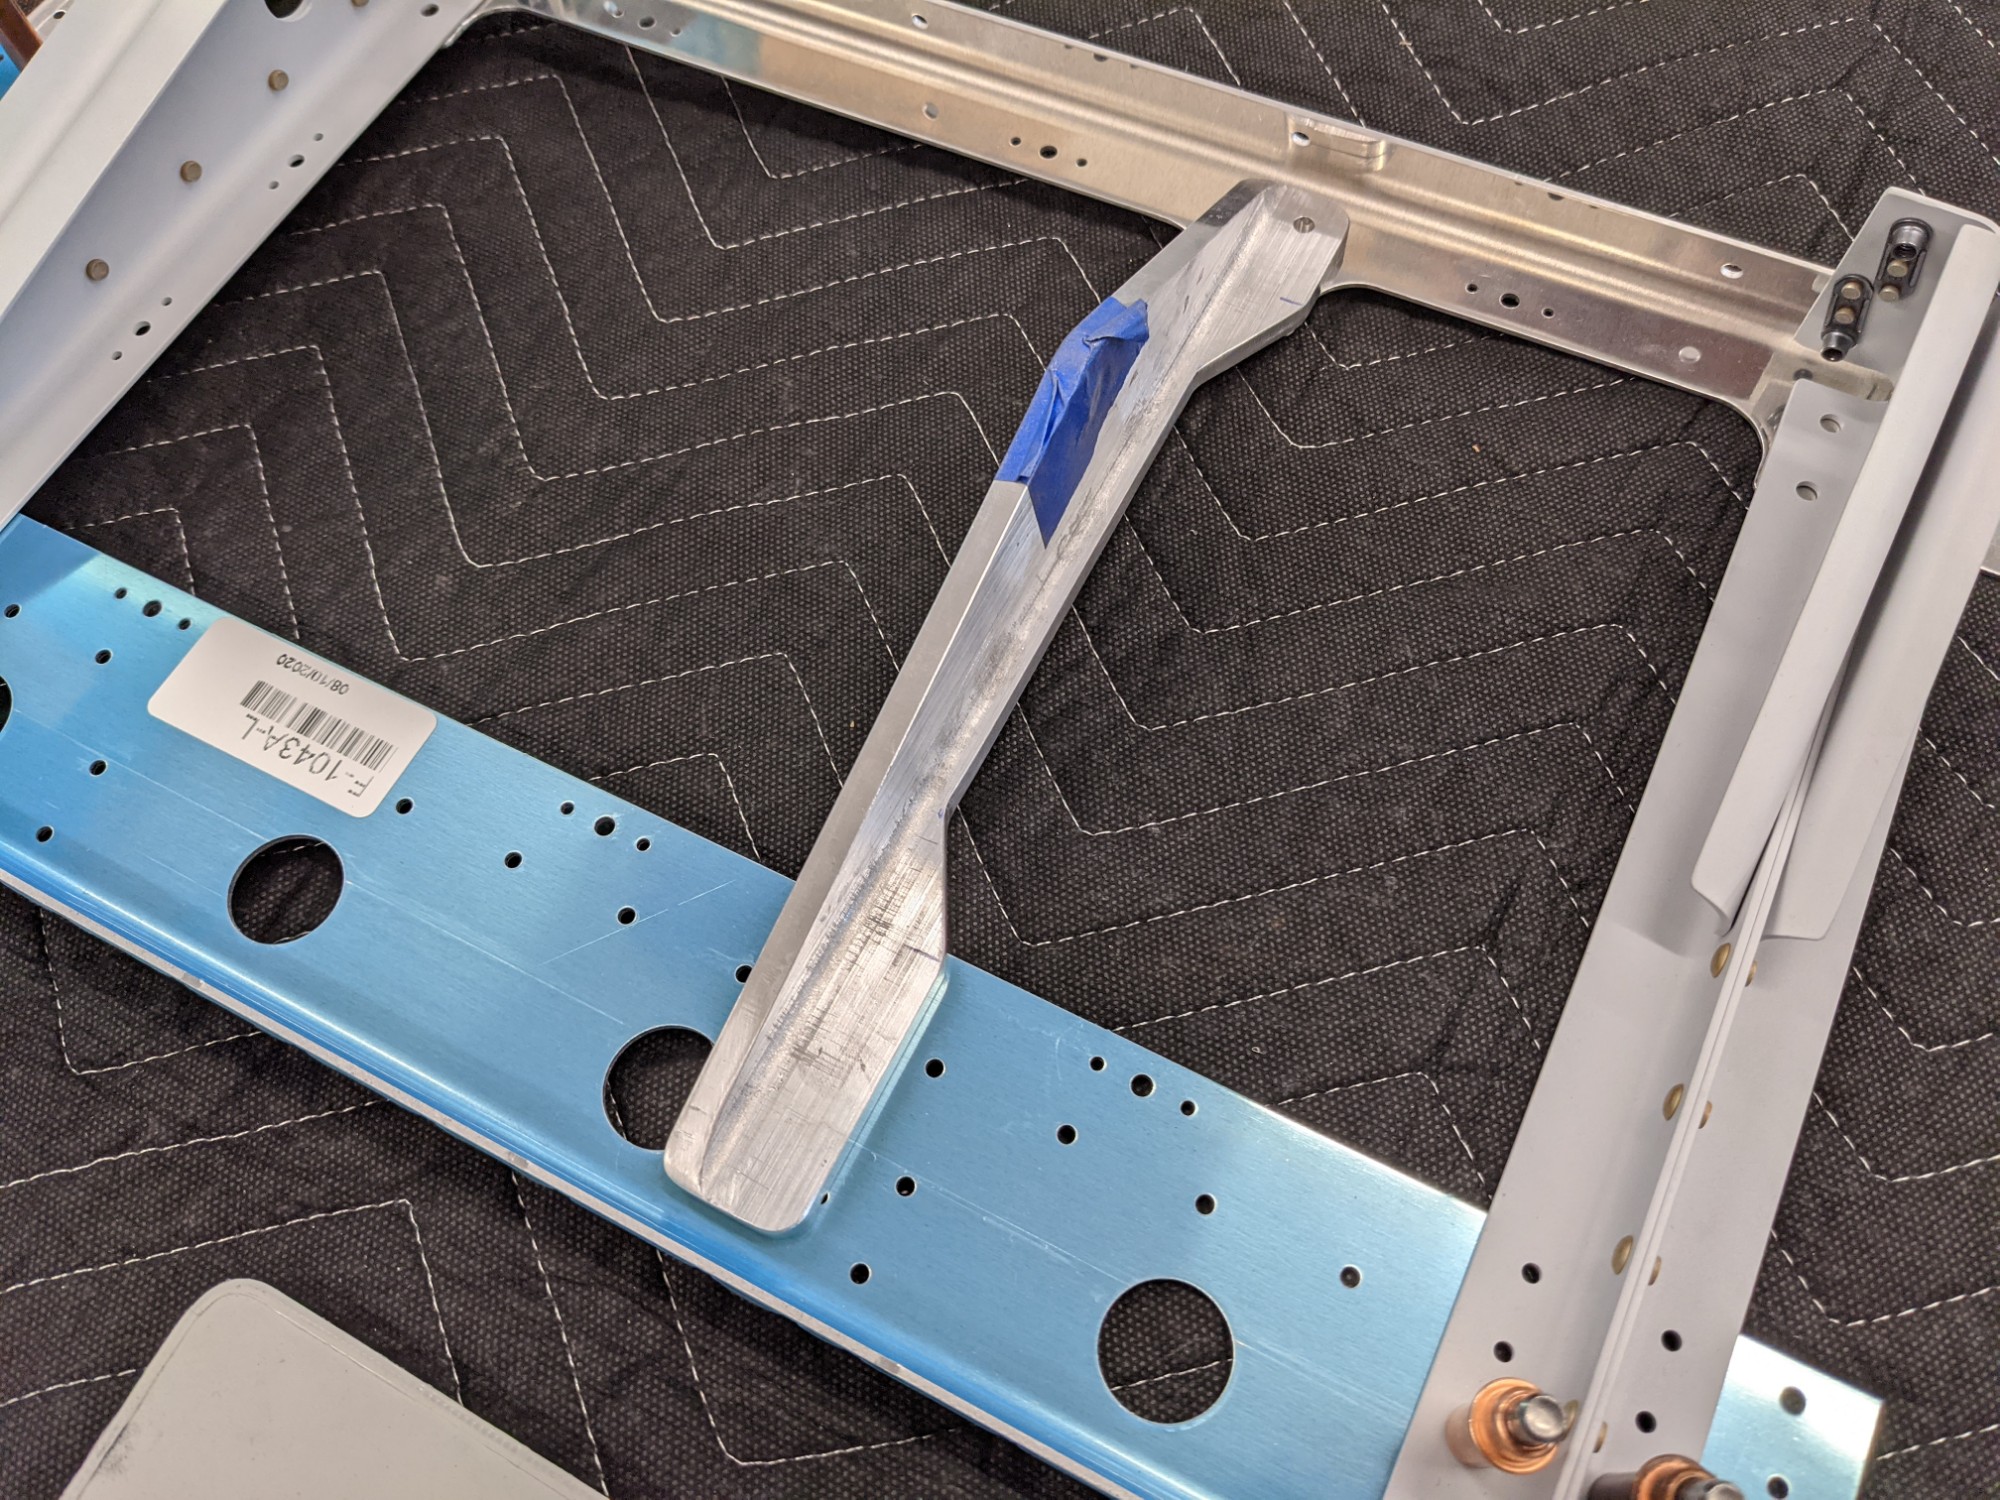
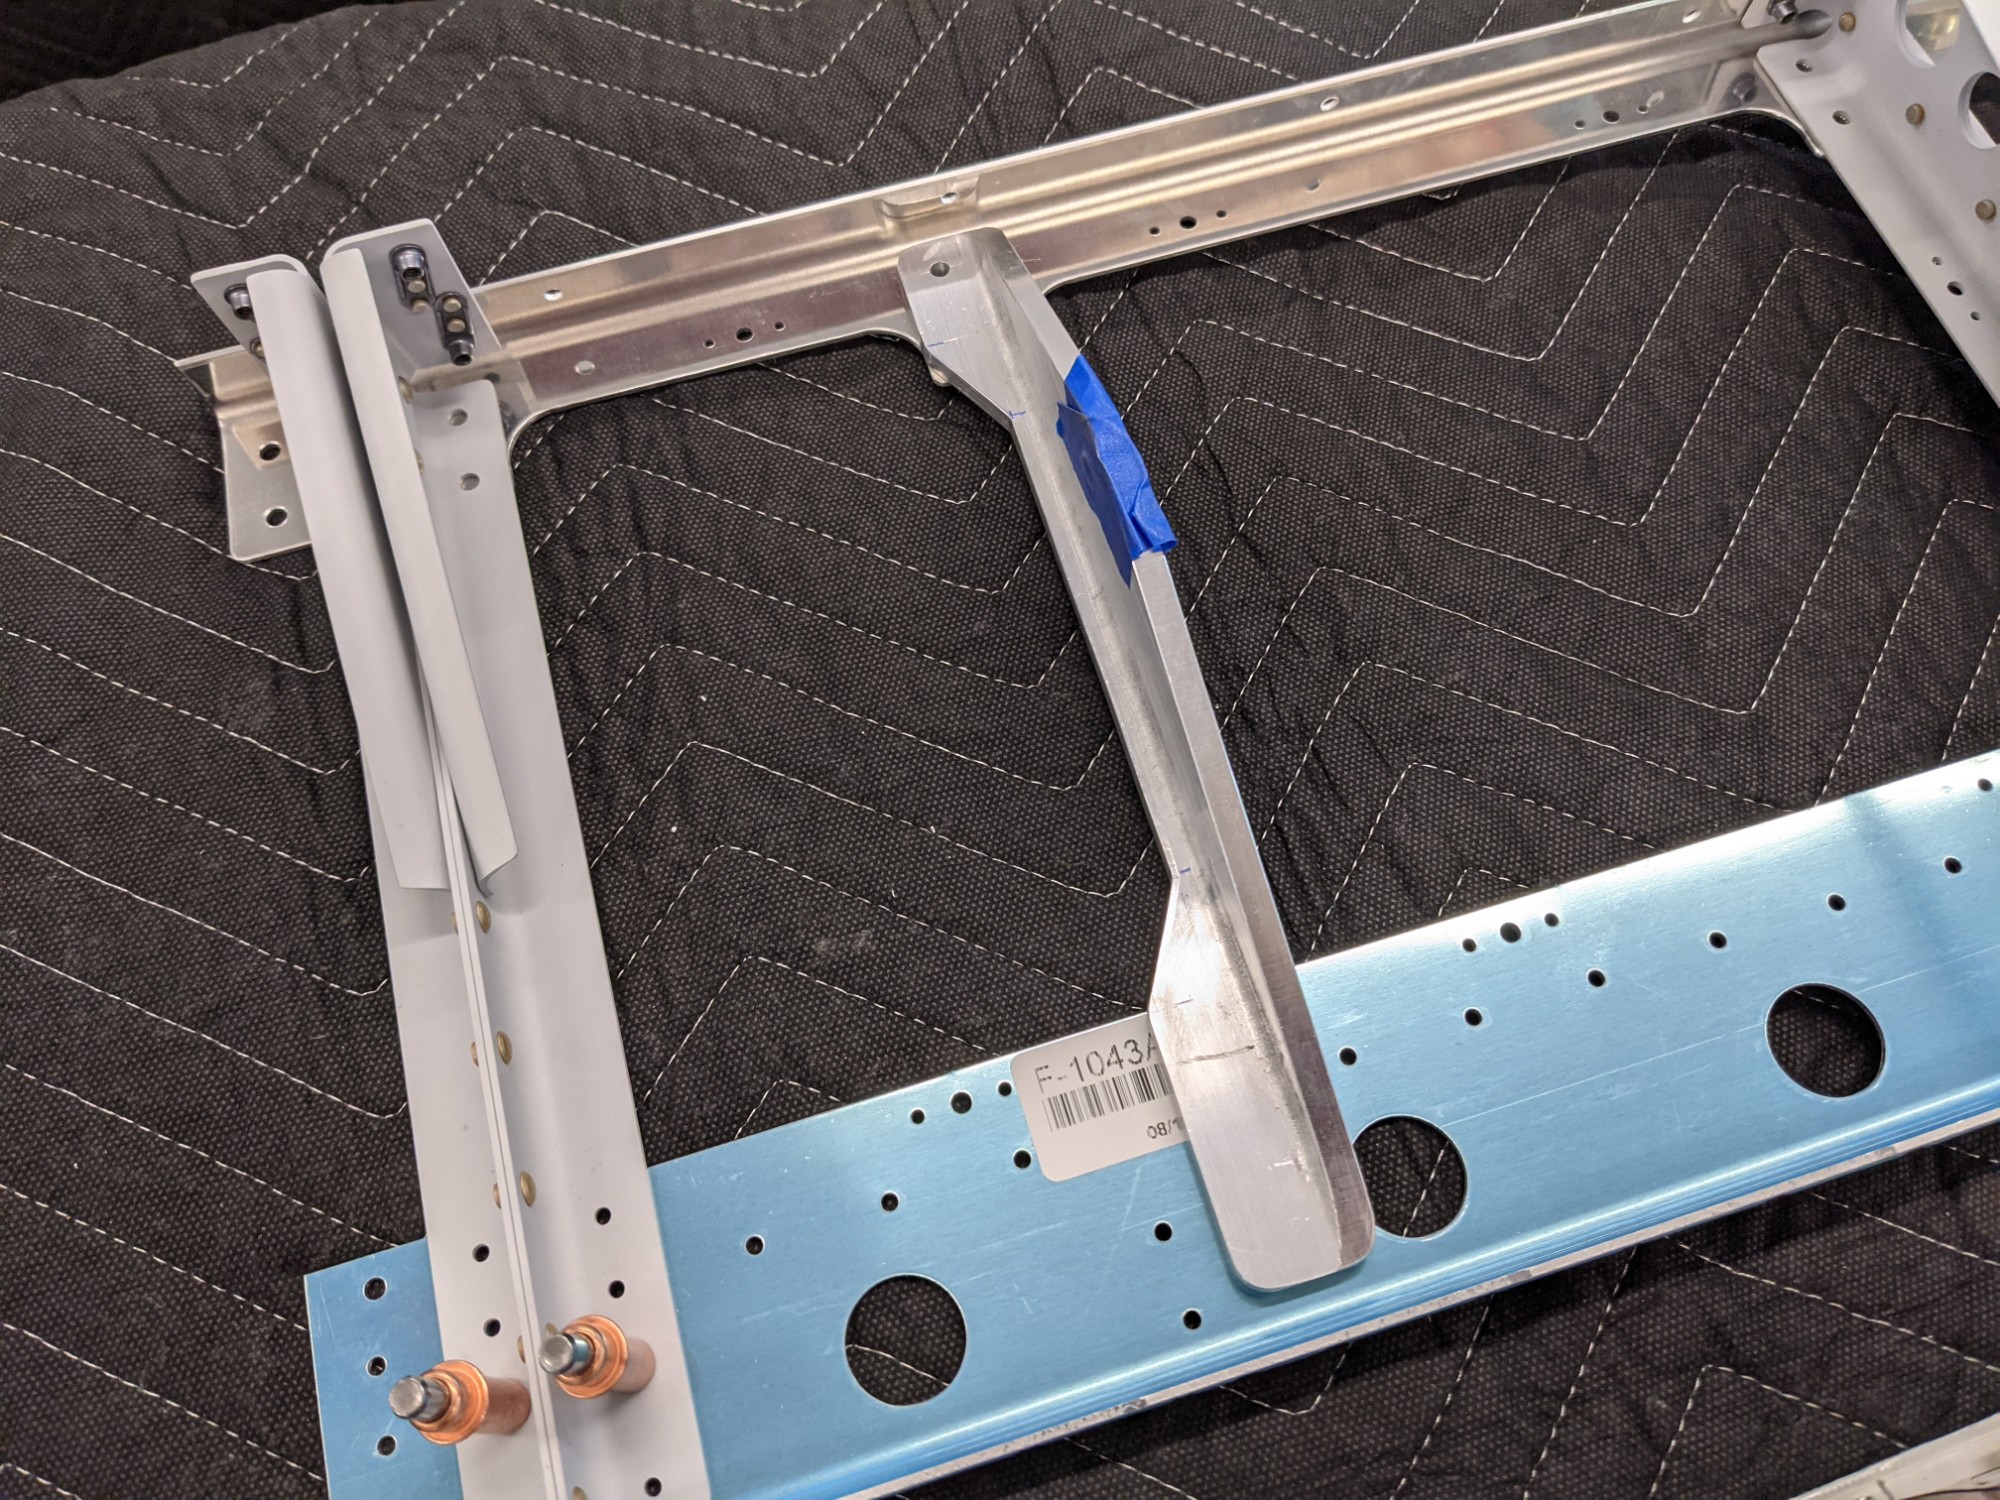
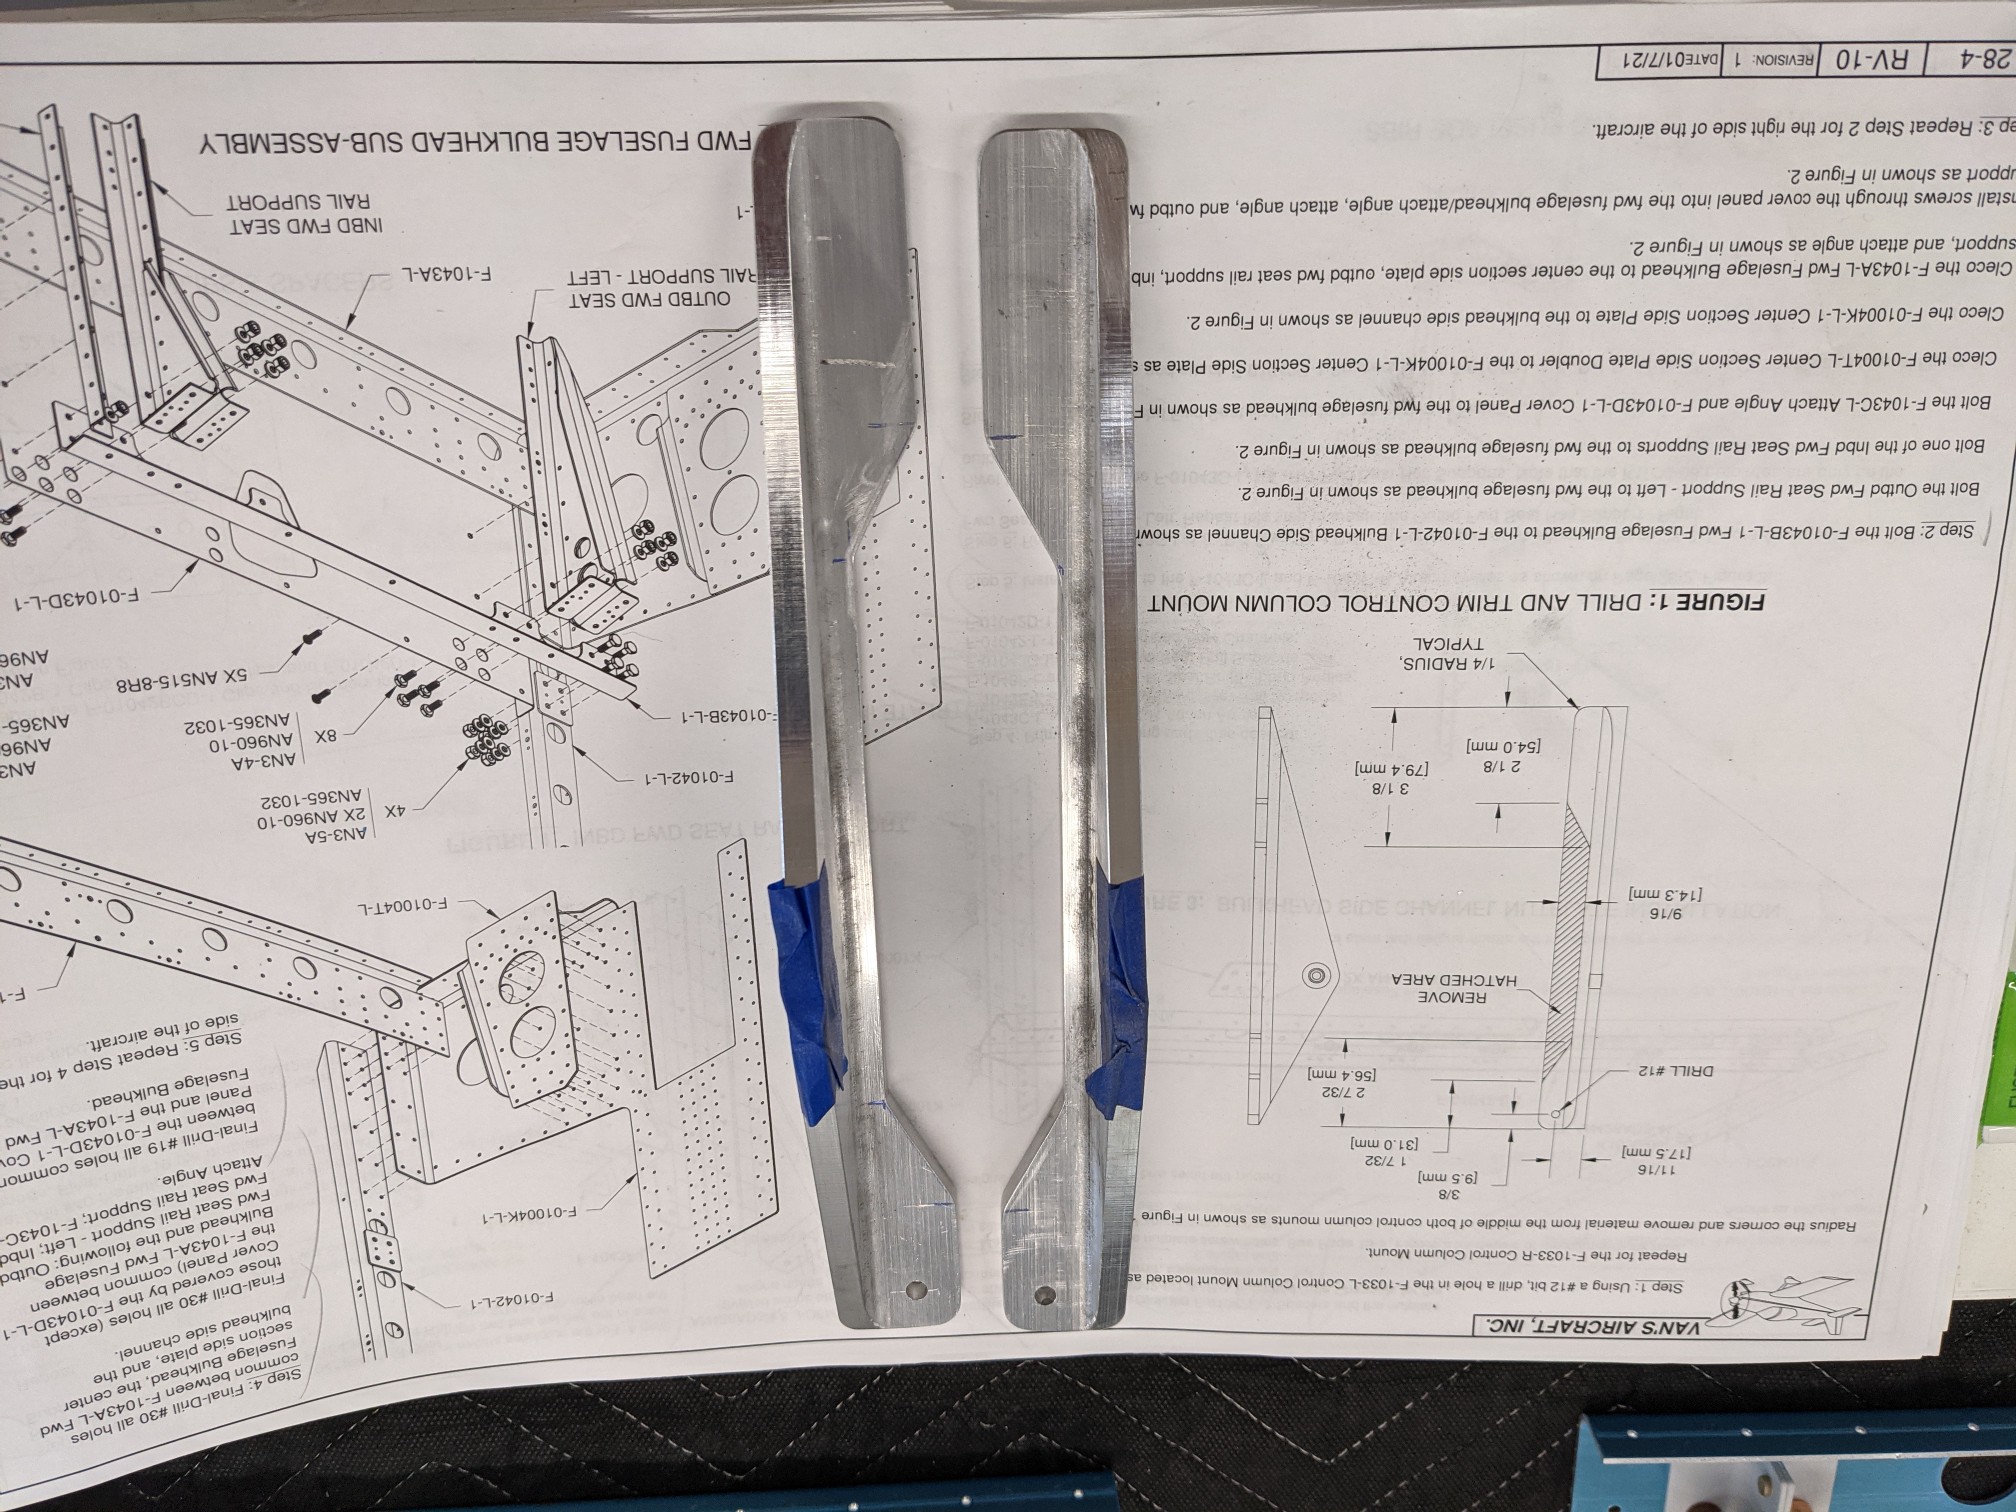
The control column mounts require drilling and trimming. I taped off the bearings to keep shavings out.
![](https://airplane.allanglen.com/wp-content/uploads/2021/07/pxl_20210704_1827101279165481577903344602.jpg)
I marked the holes with a punch, drilled with a guide bit, drilled to #13, then reamed to 3/16″.
![](https://airplane.allanglen.com/wp-content/uploads/2021/07/pxl_20210704_183758123464573663978575819.jpg)
![](https://airplane.allanglen.com/wp-content/uploads/2021/07/pxl_20210704_1853165842927194635270704280.jpg)
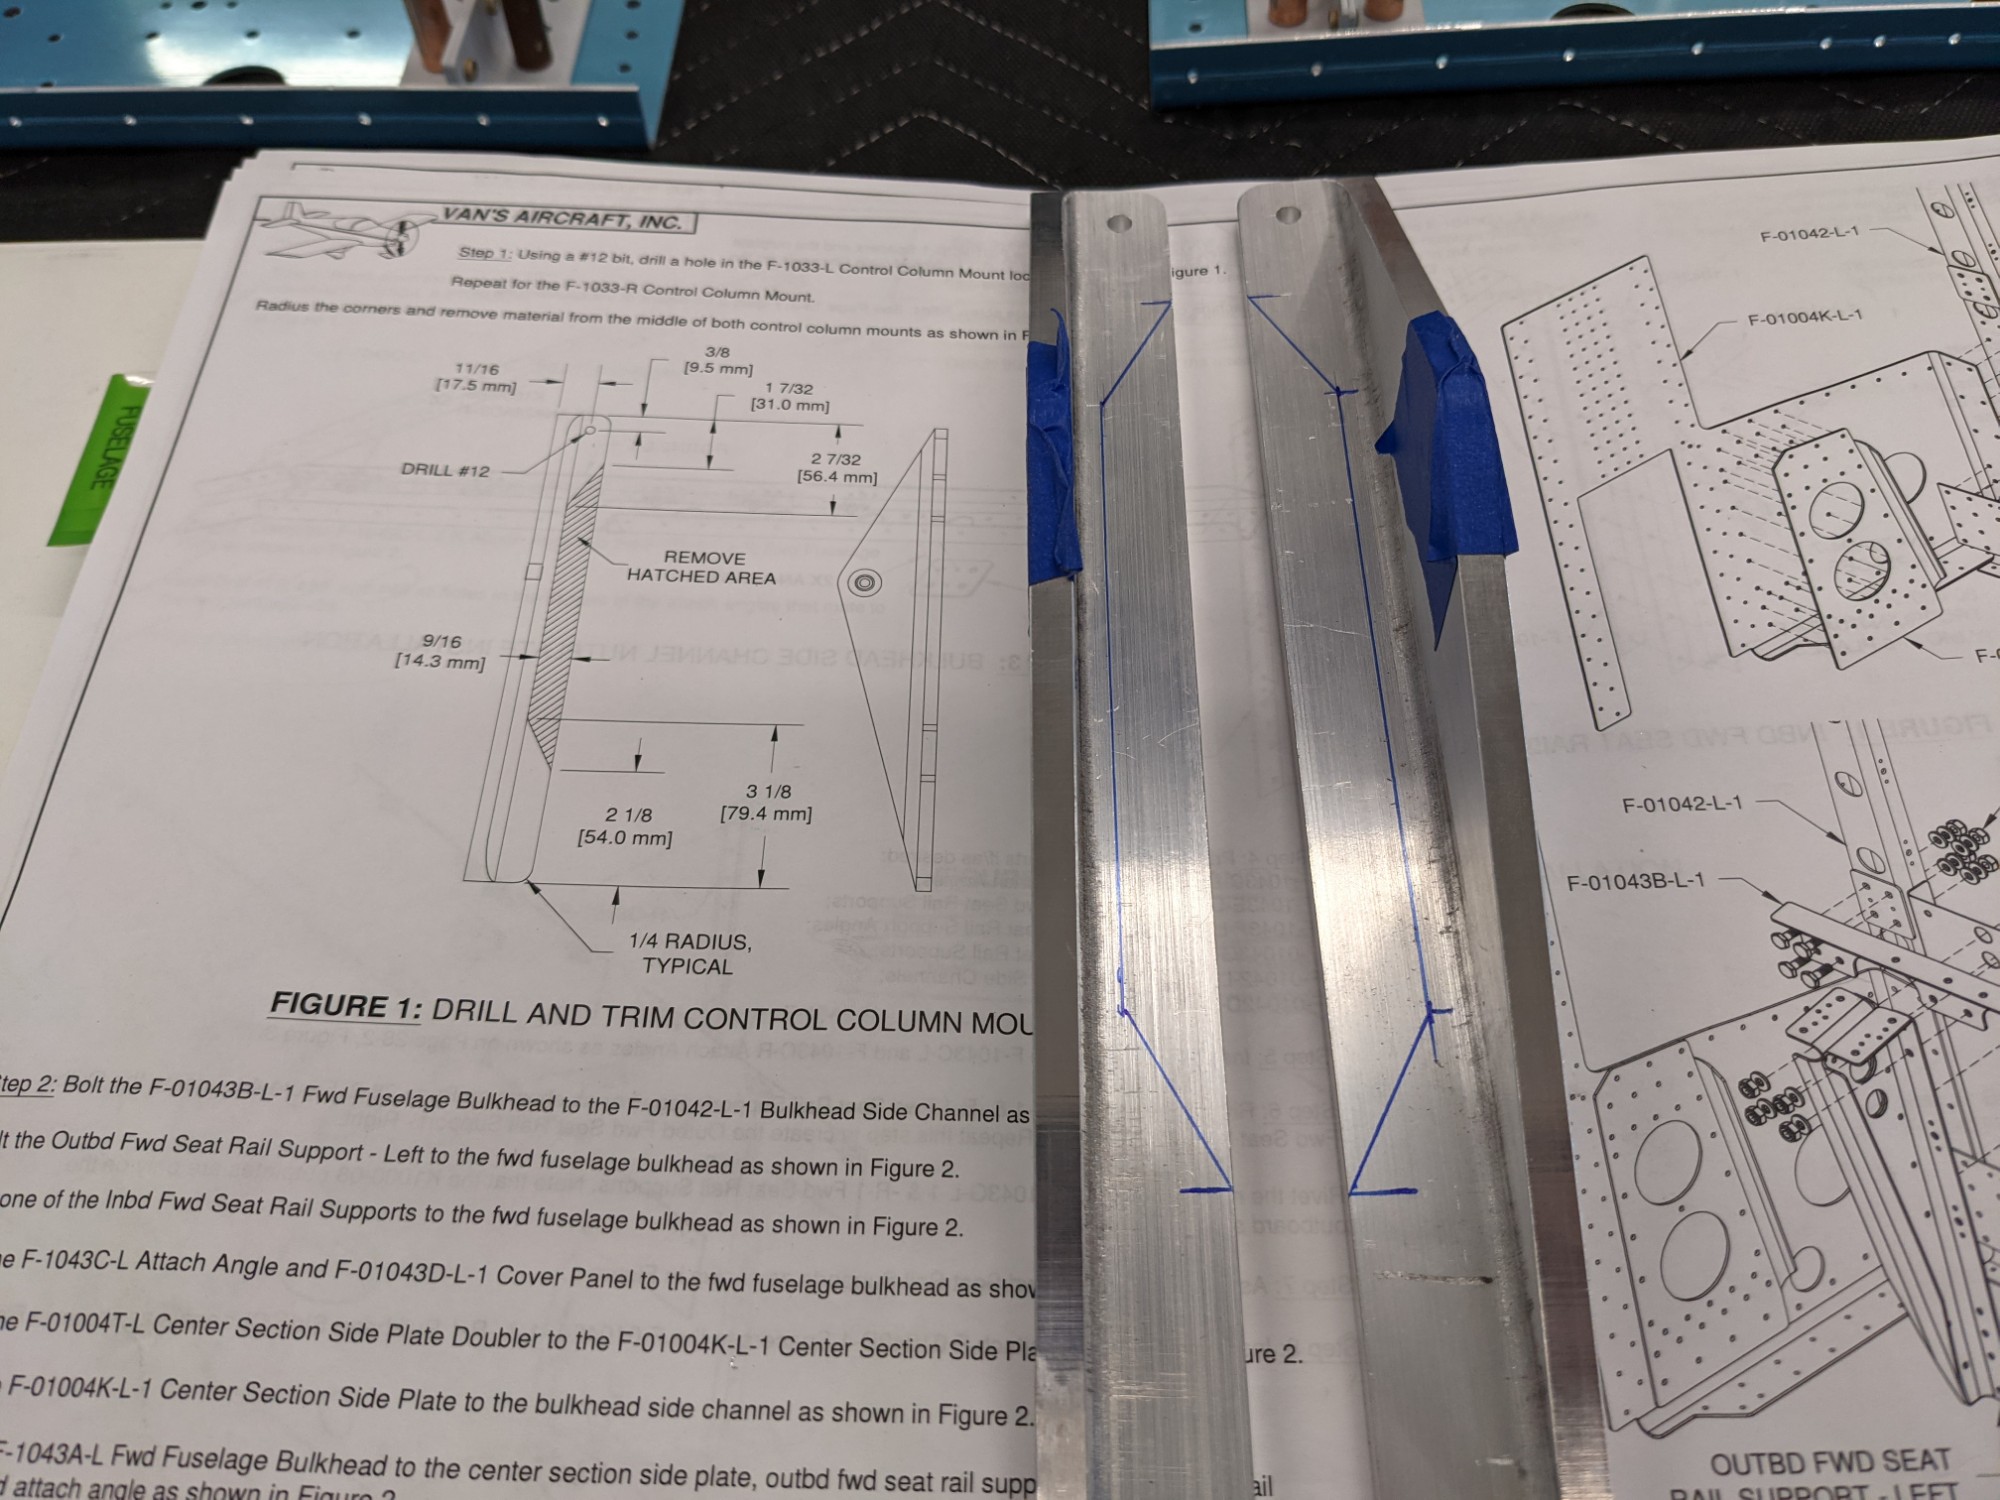
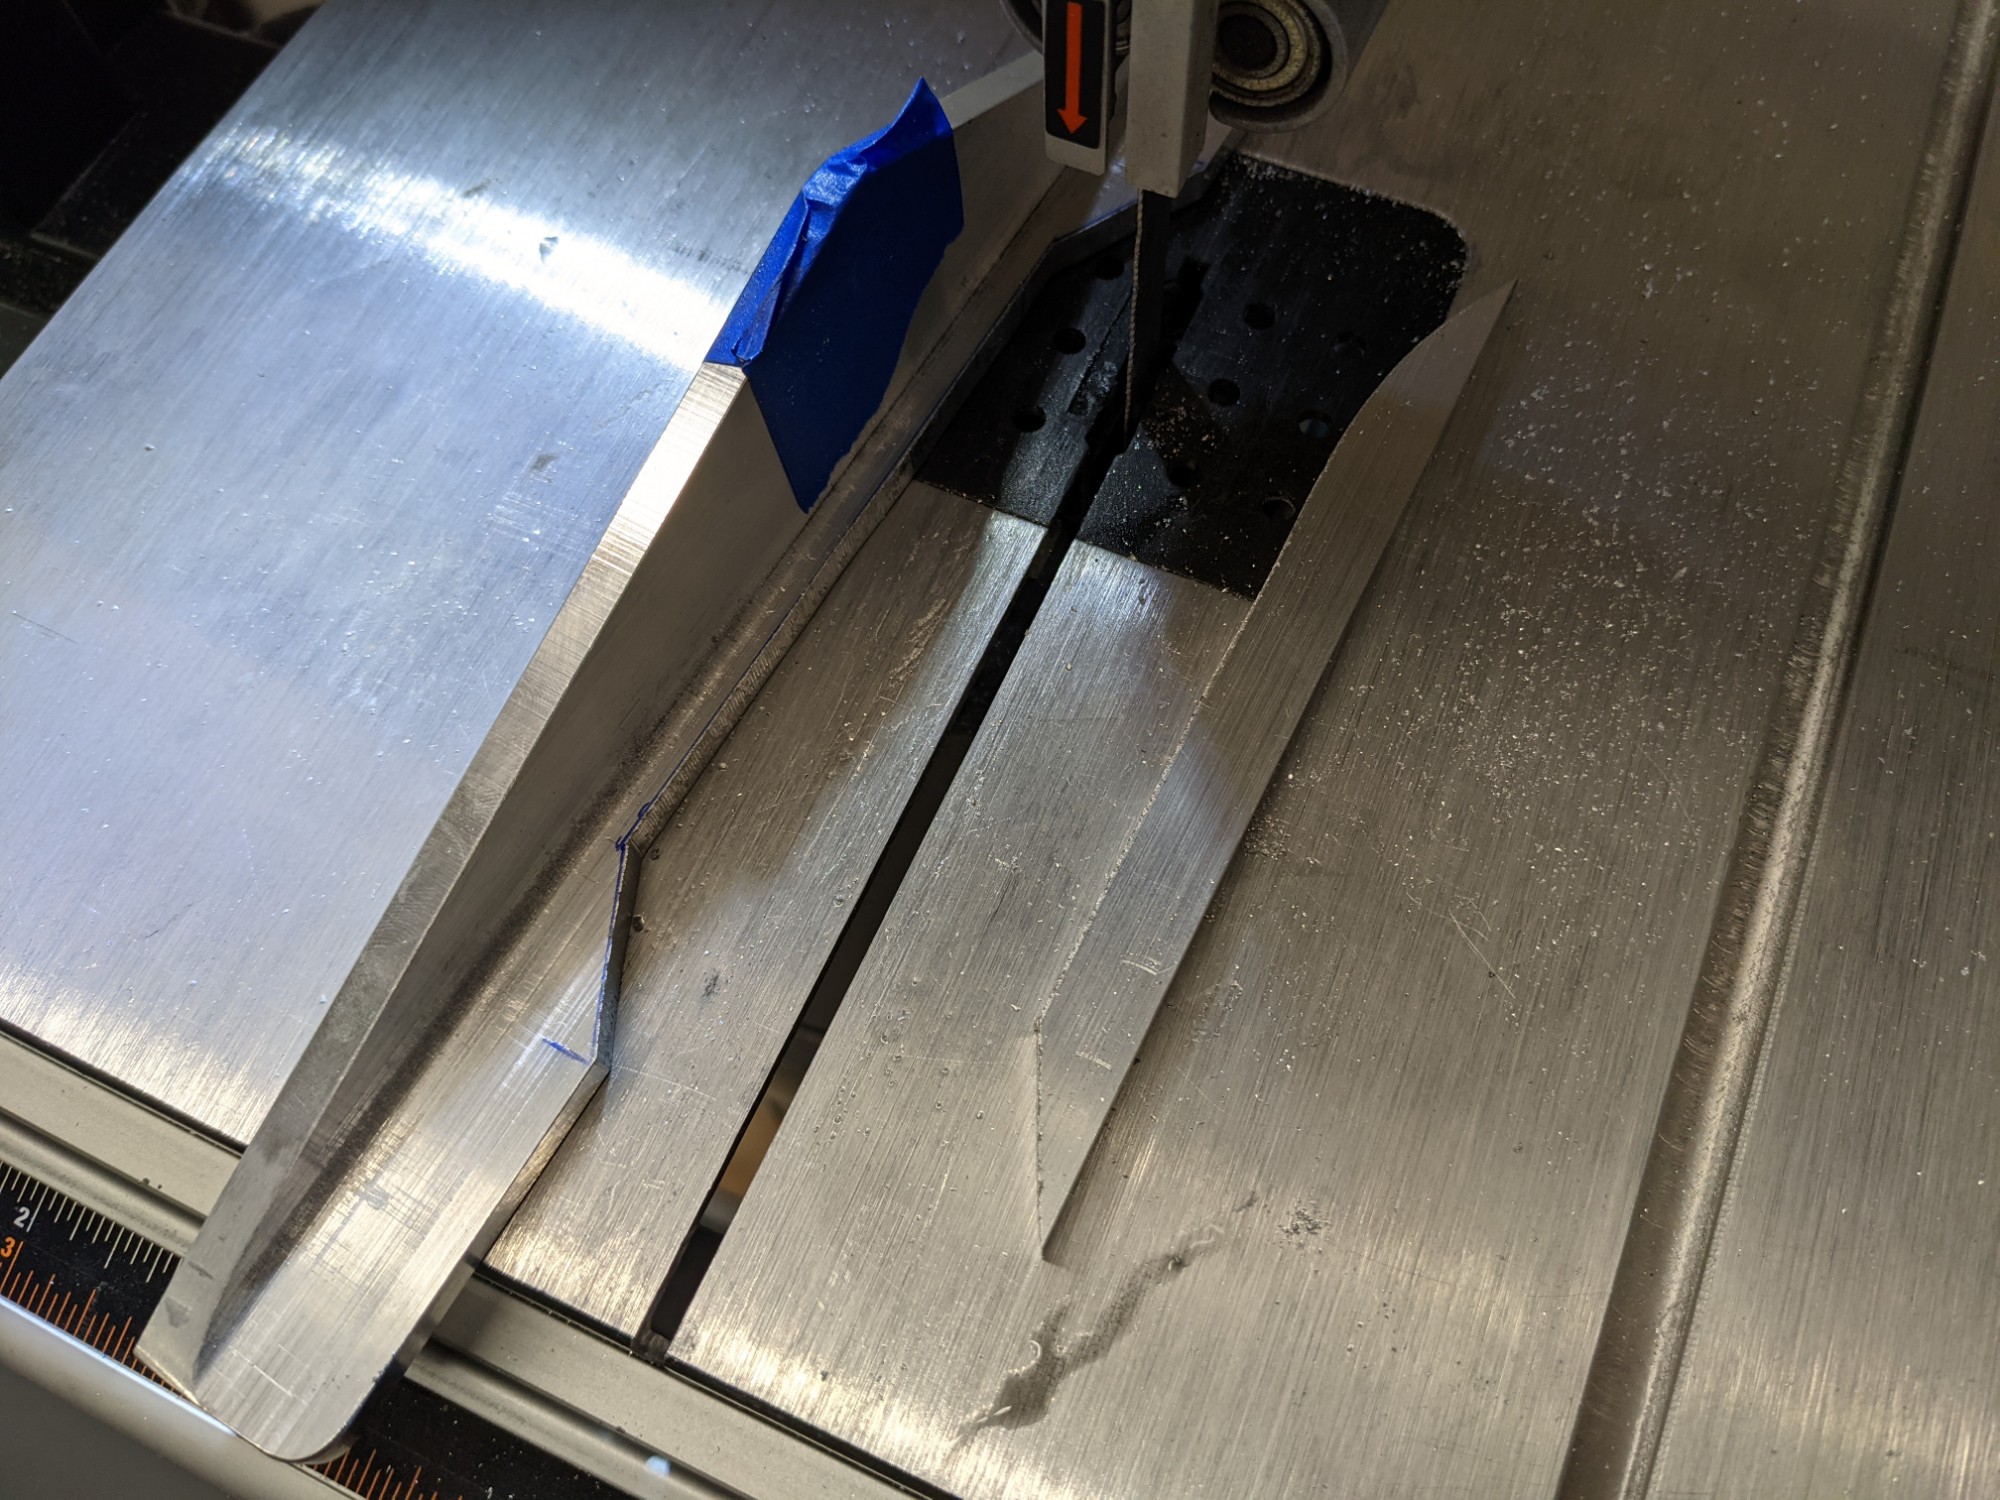
I then marked the cut lines and rough cut them on the band saw.
![](https://airplane.allanglen.com/wp-content/uploads/2021/07/pxl_20210704_1902111066541173616686272613.jpg)
I cleaned up the cuts with a file, the scotchbrite wheel, and some emery paper. I also rounded the outside corners.
![](https://airplane.allanglen.com/wp-content/uploads/2021/07/pxl_20210704_1940314736573520275672016196.jpg)
![](https://airplane.allanglen.com/wp-content/uploads/2021/07/pxl_20210704_194035331883665420954160611.jpg)
![](https://airplane.allanglen.com/wp-content/uploads/2021/07/pxl_20210704_1940422256702697552777994287.jpg)
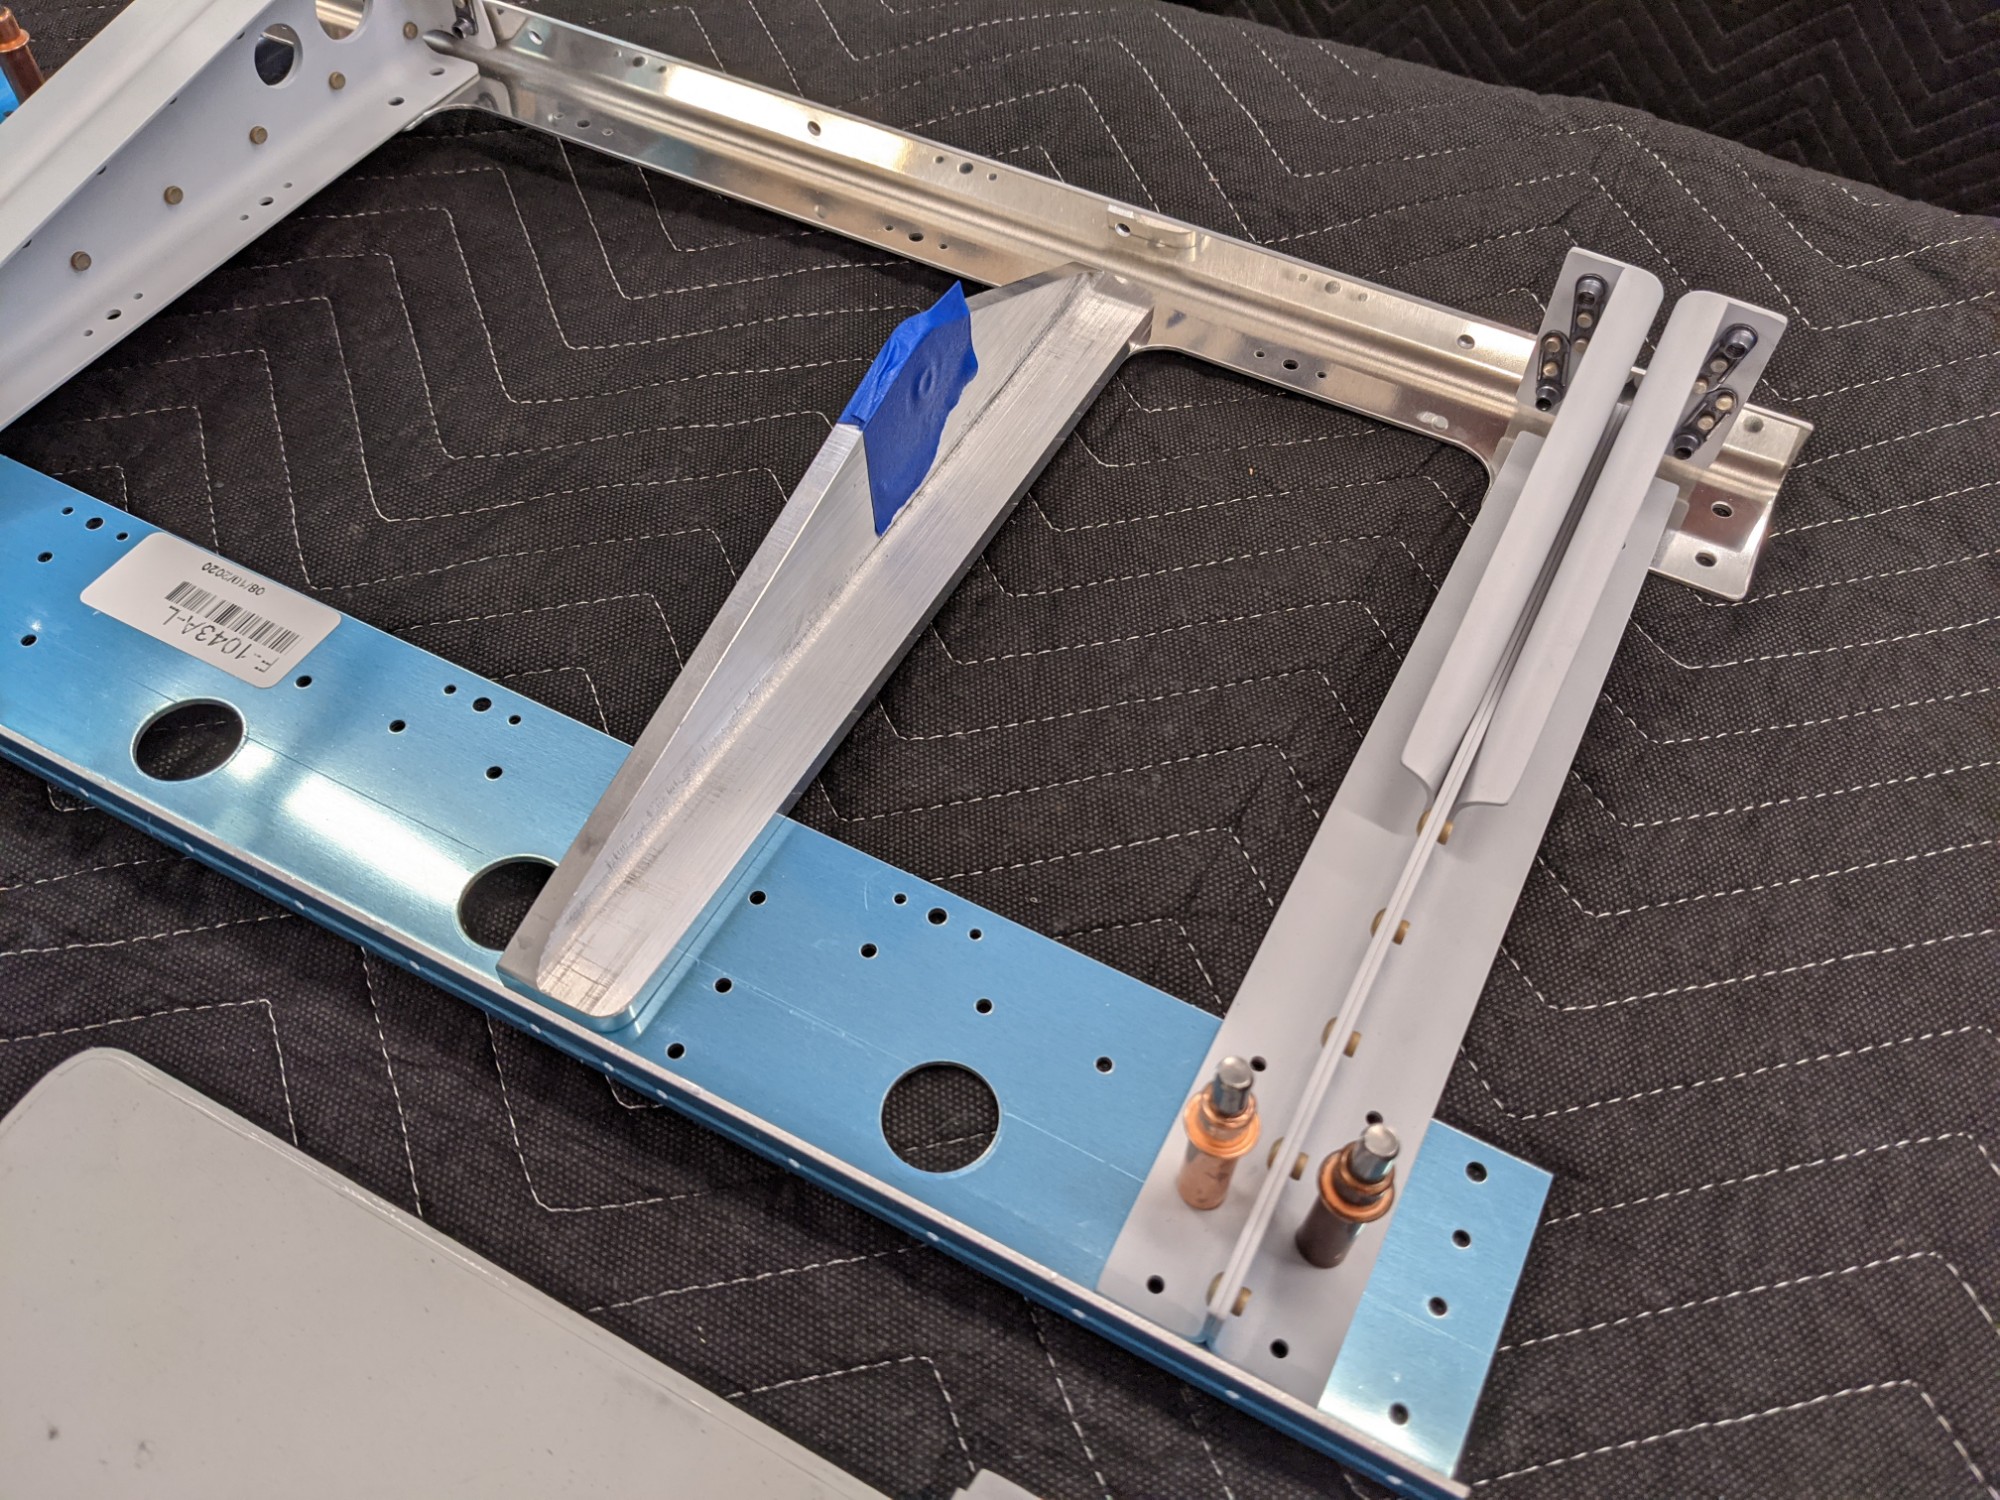
One more step completed.