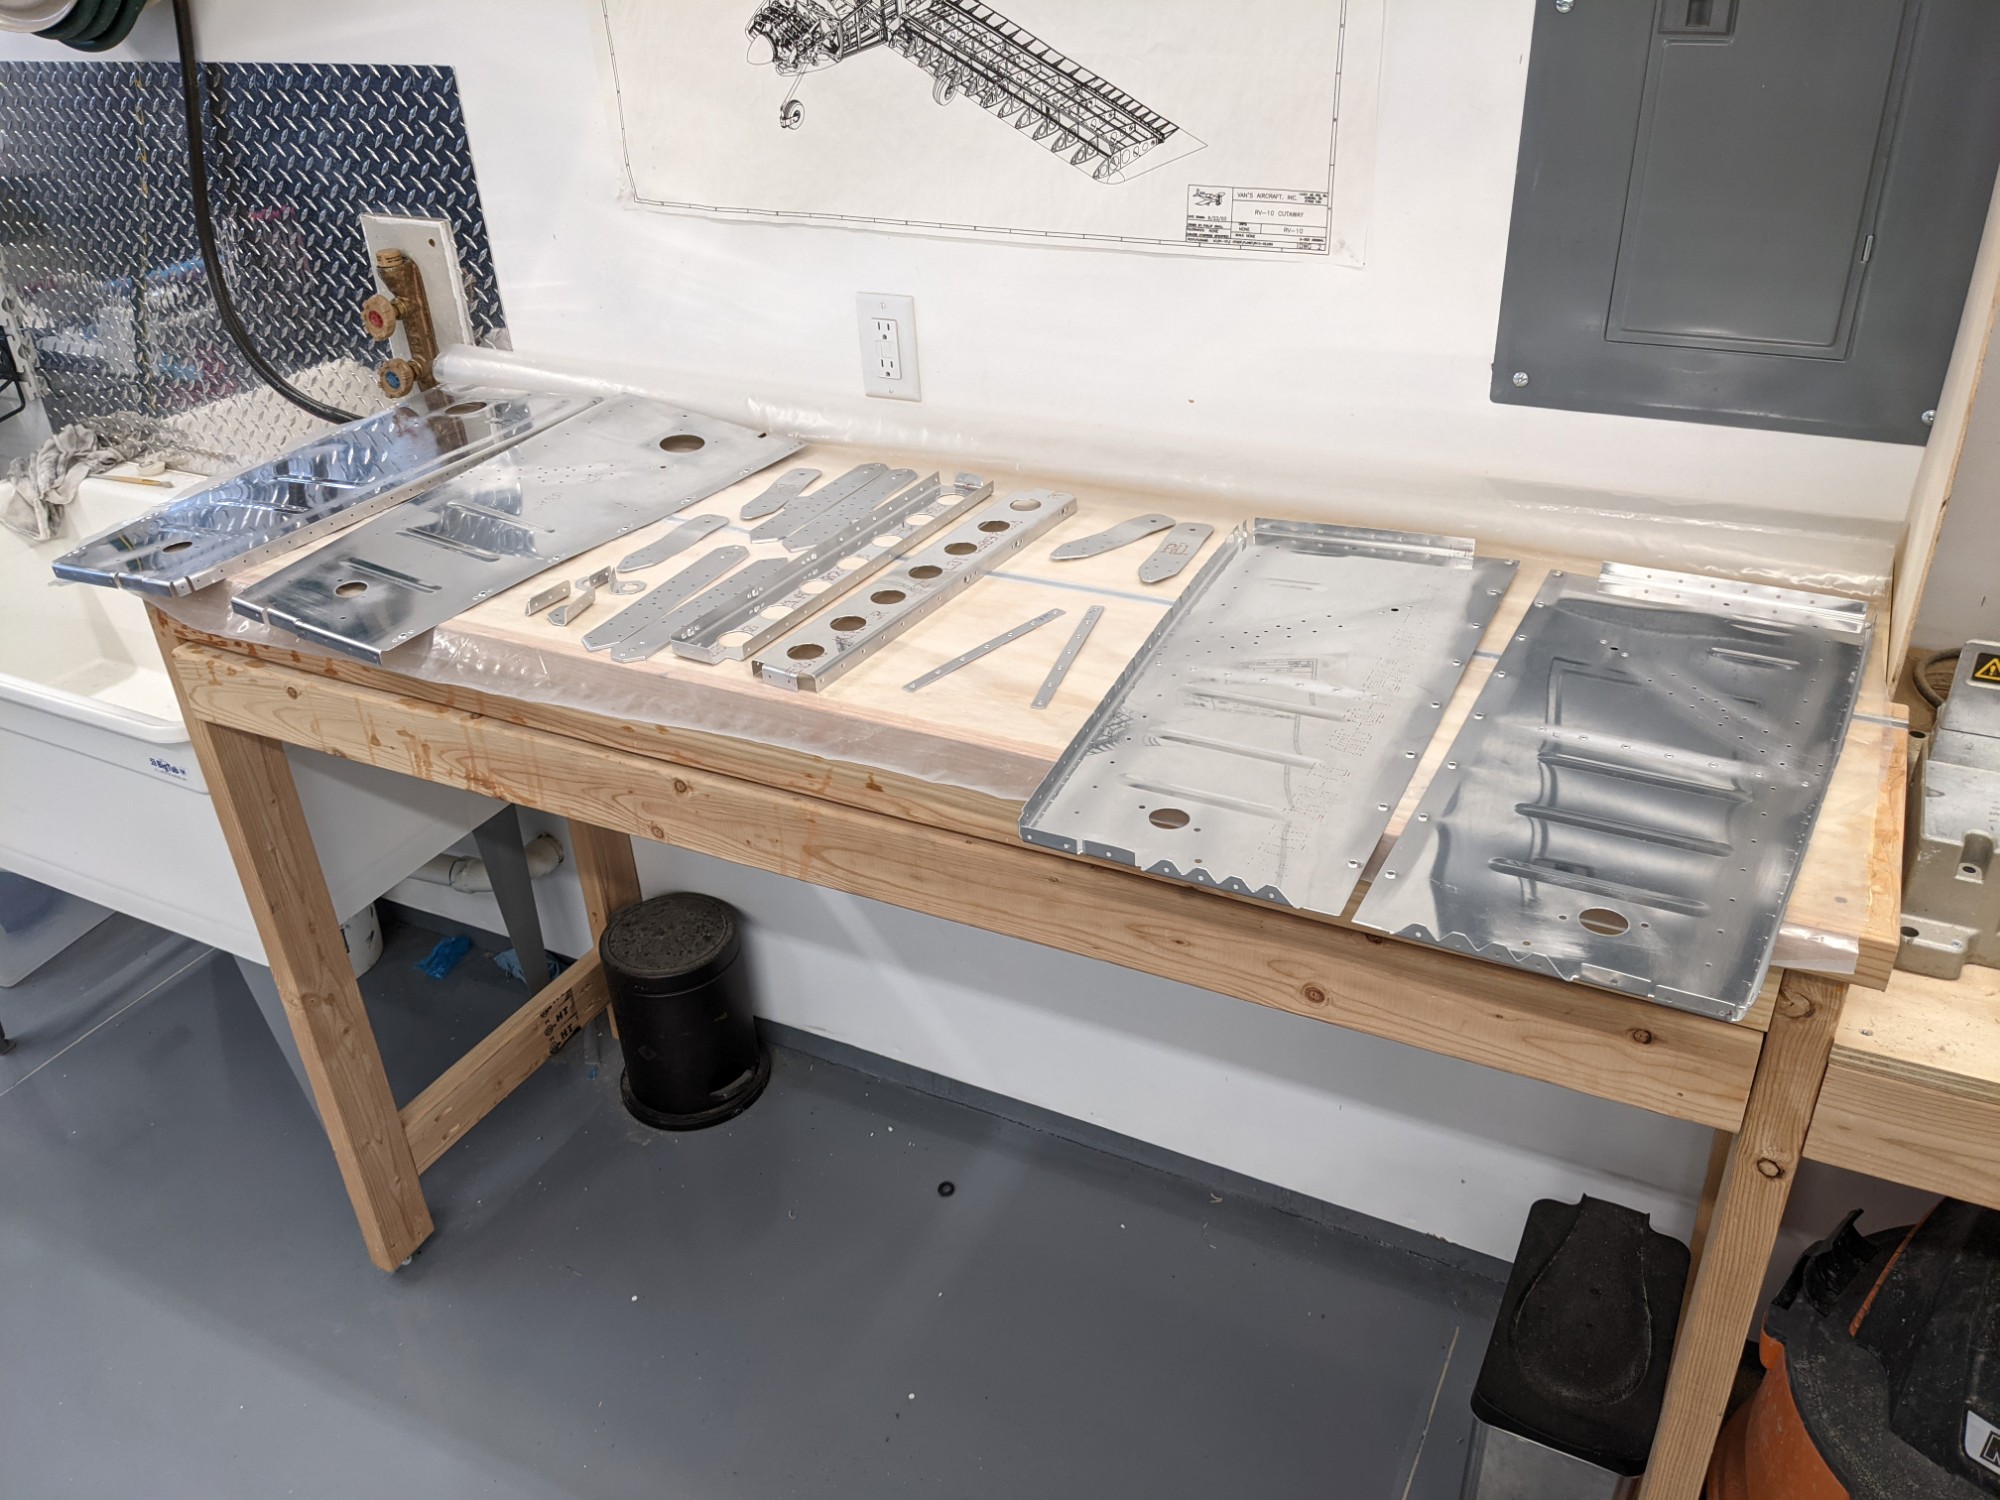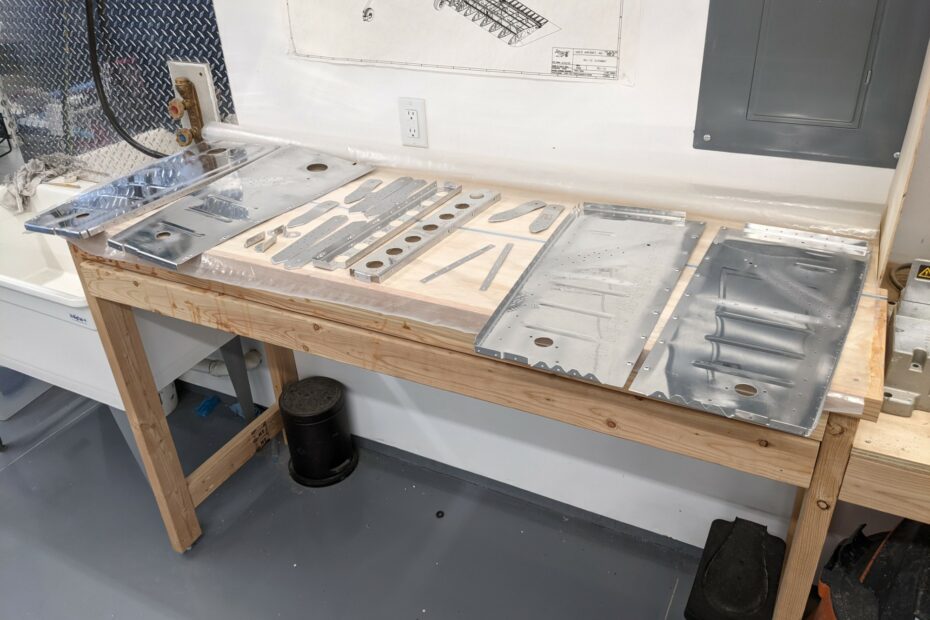
I finished up the remaining work on the seat rib assemblies to get them ready for priming.
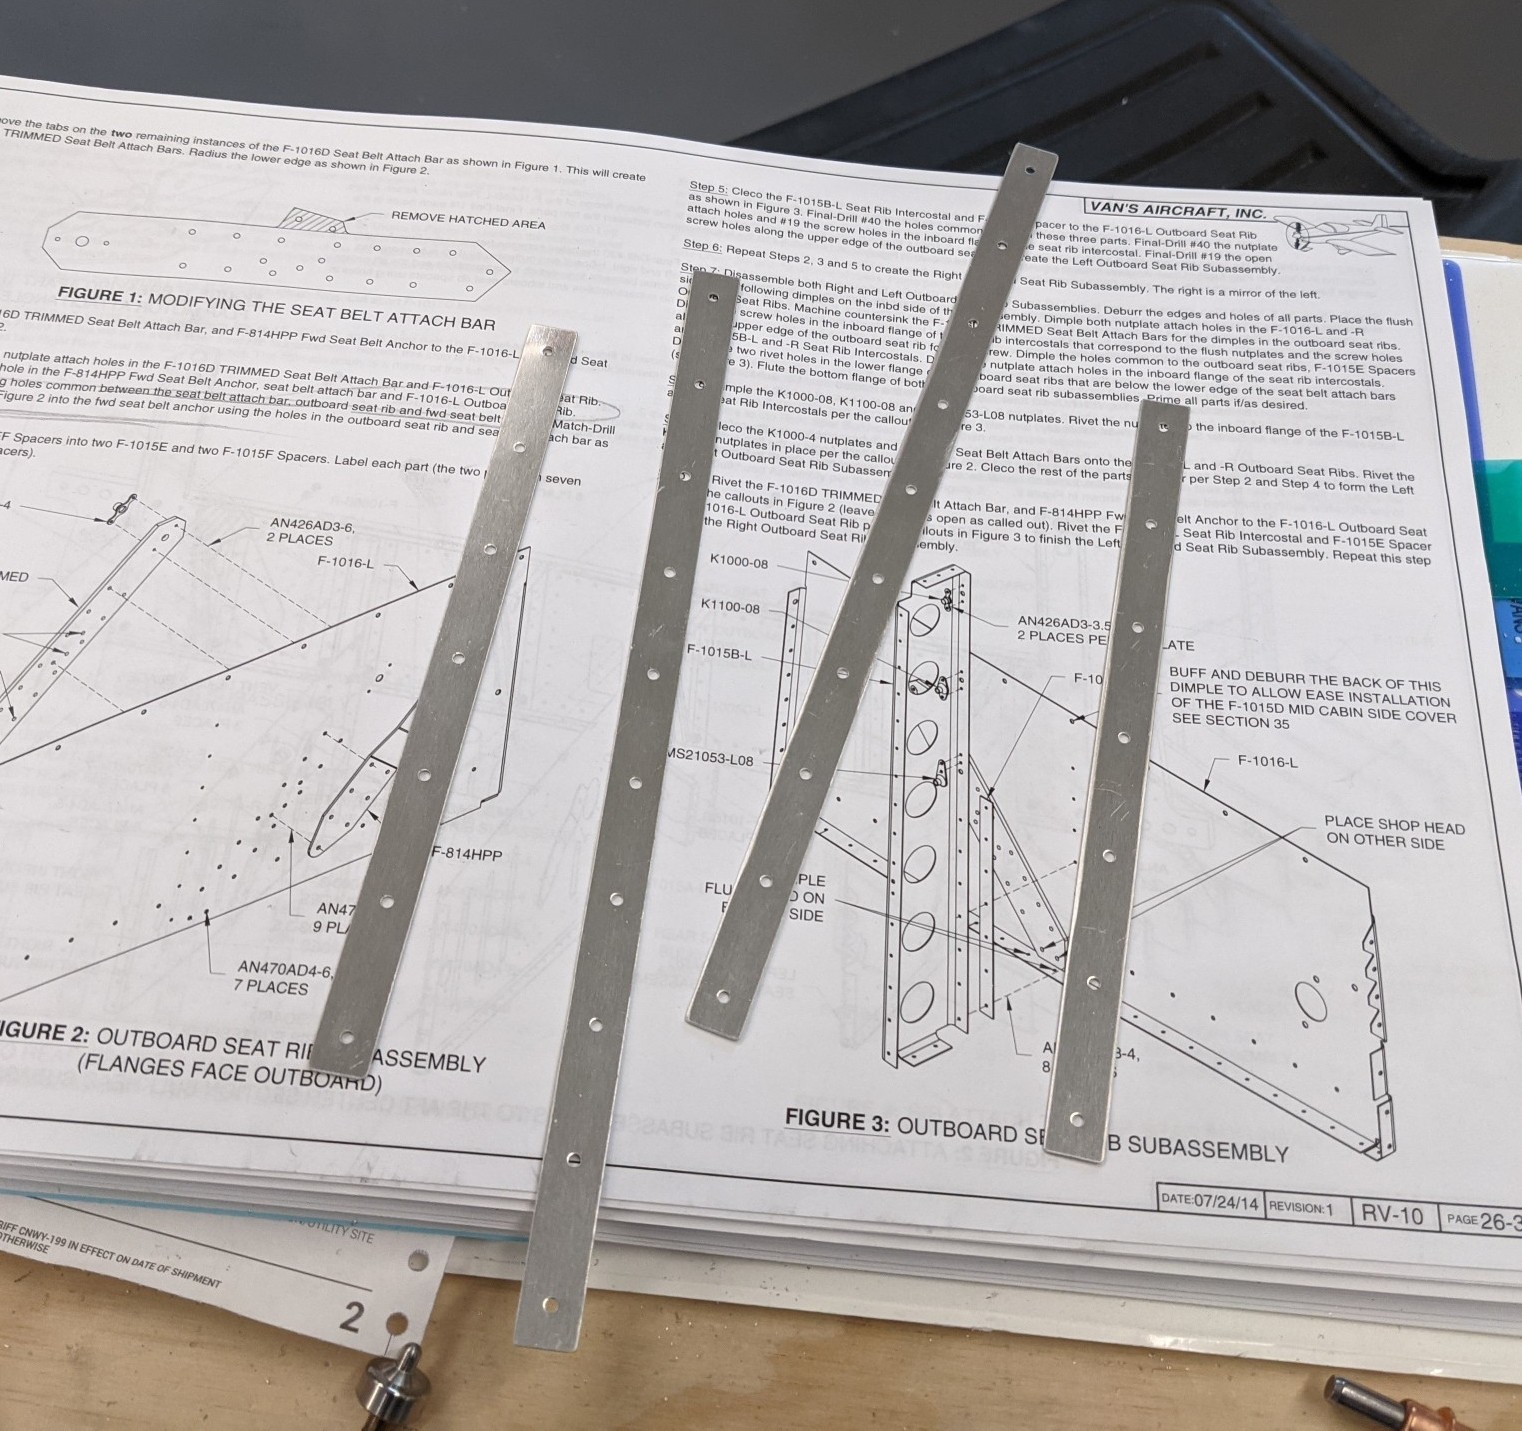
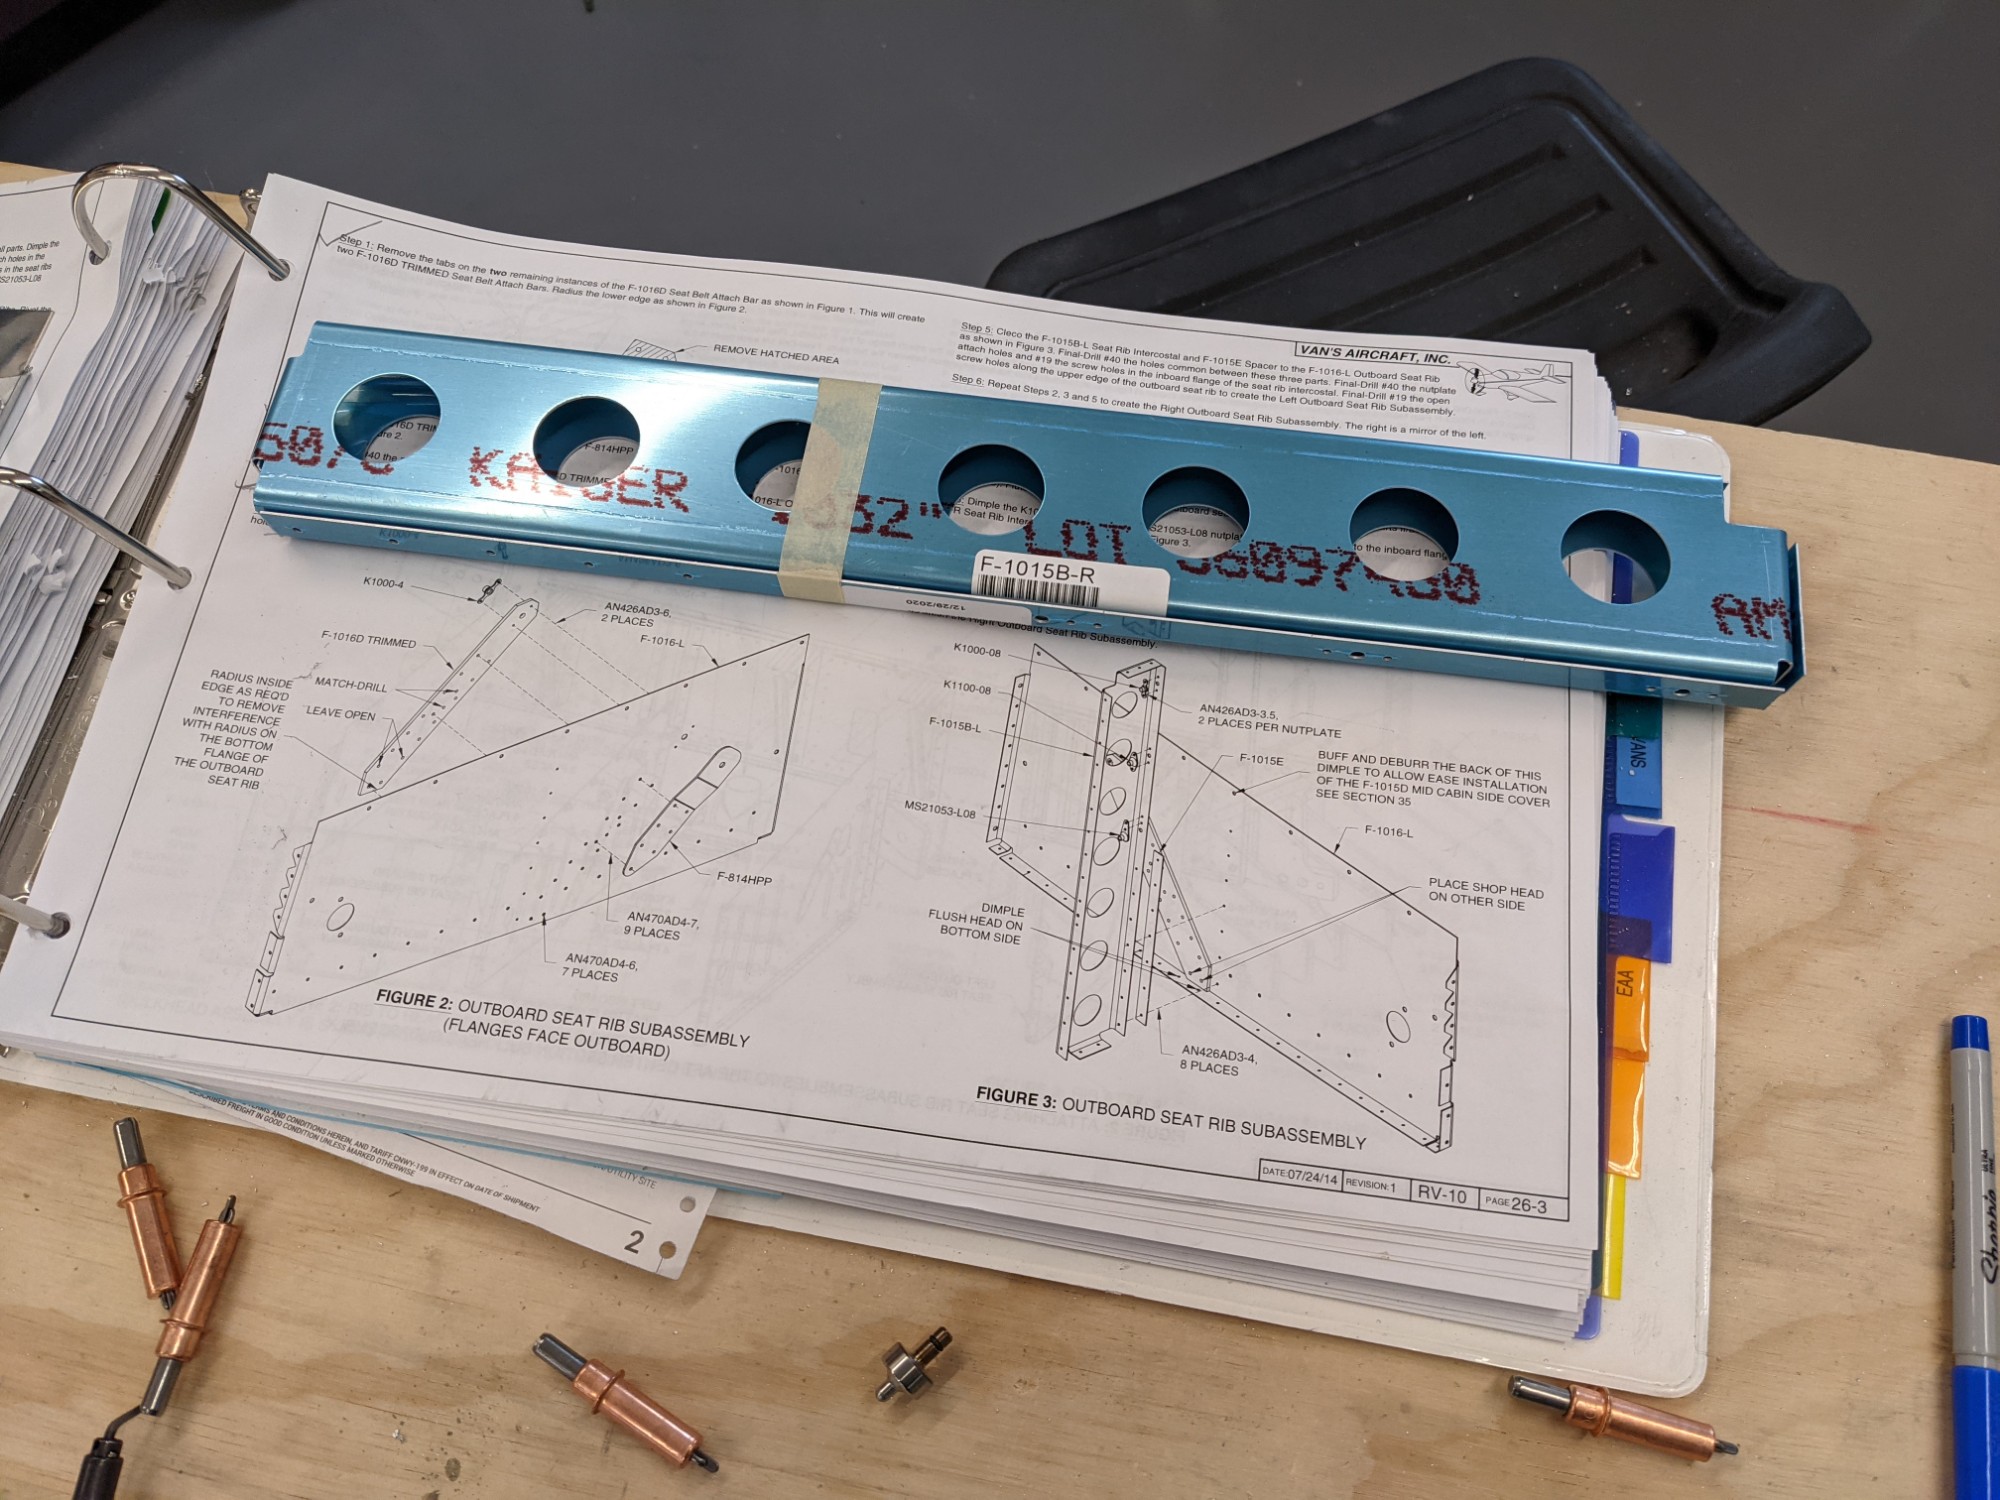
There are several dimples on these parts for nutplates, and I took my time to make sure I dimpled everything in the correct orientation.
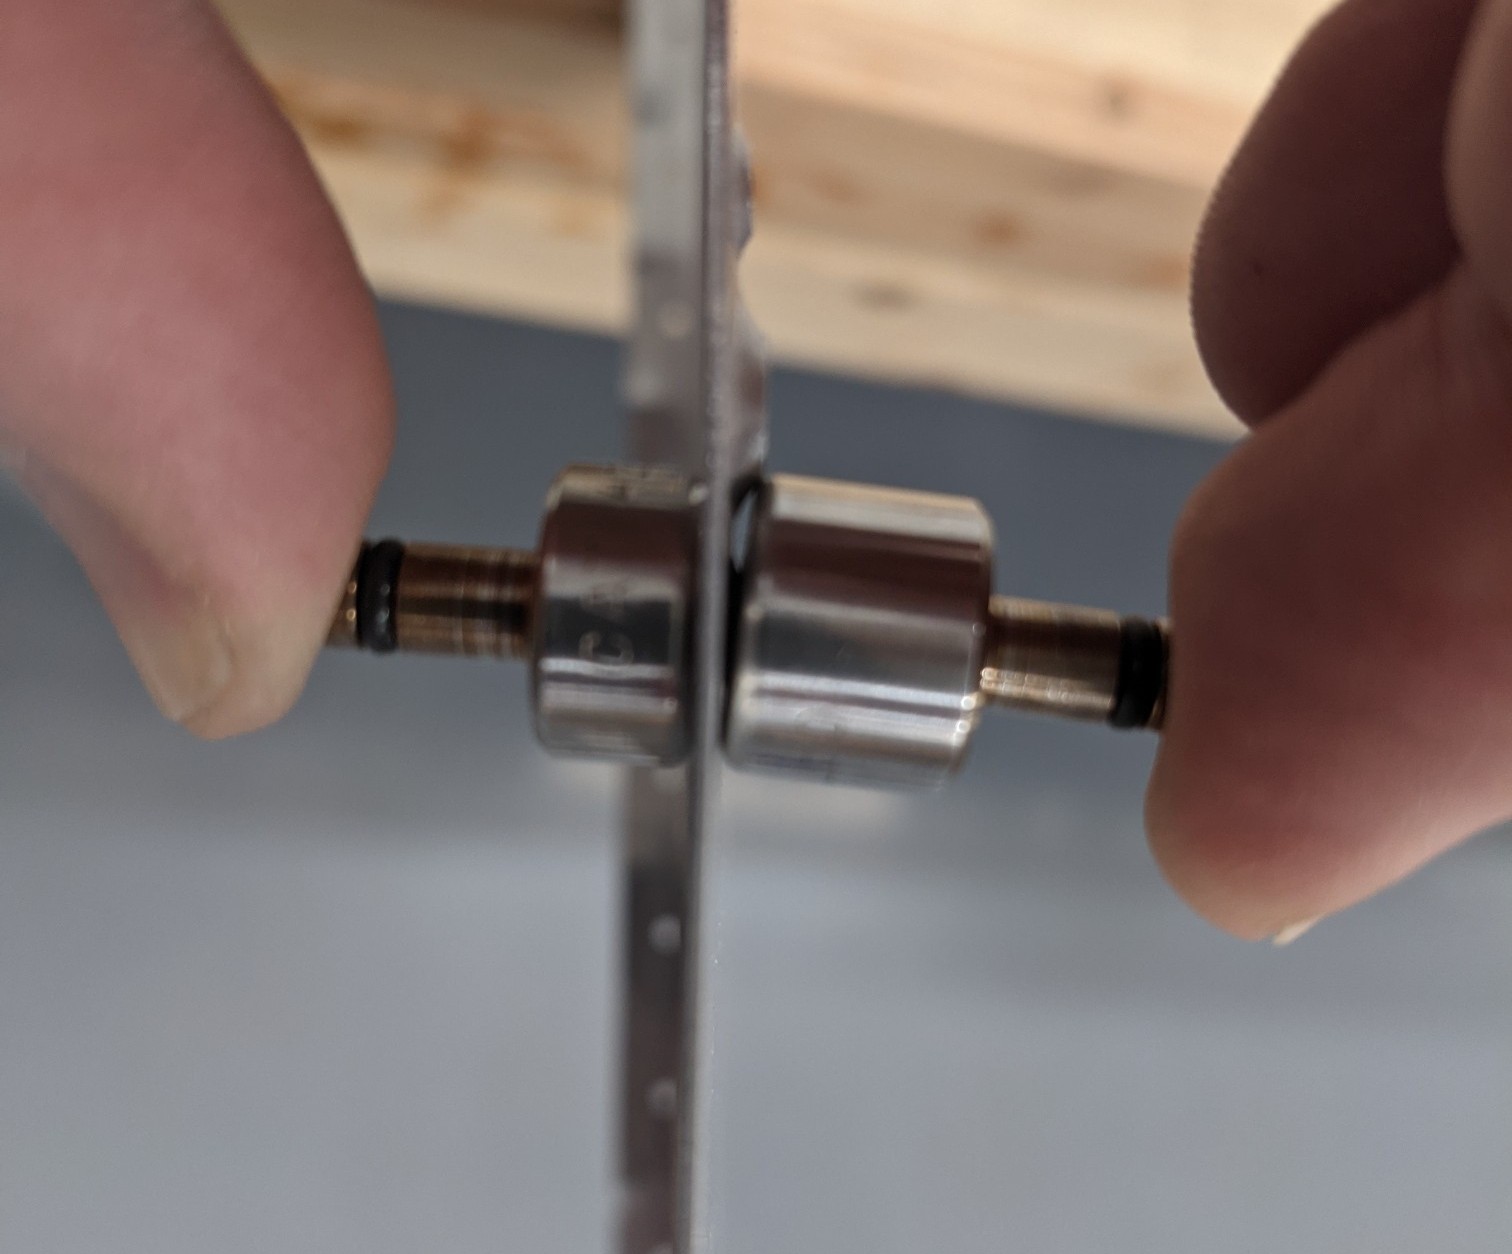
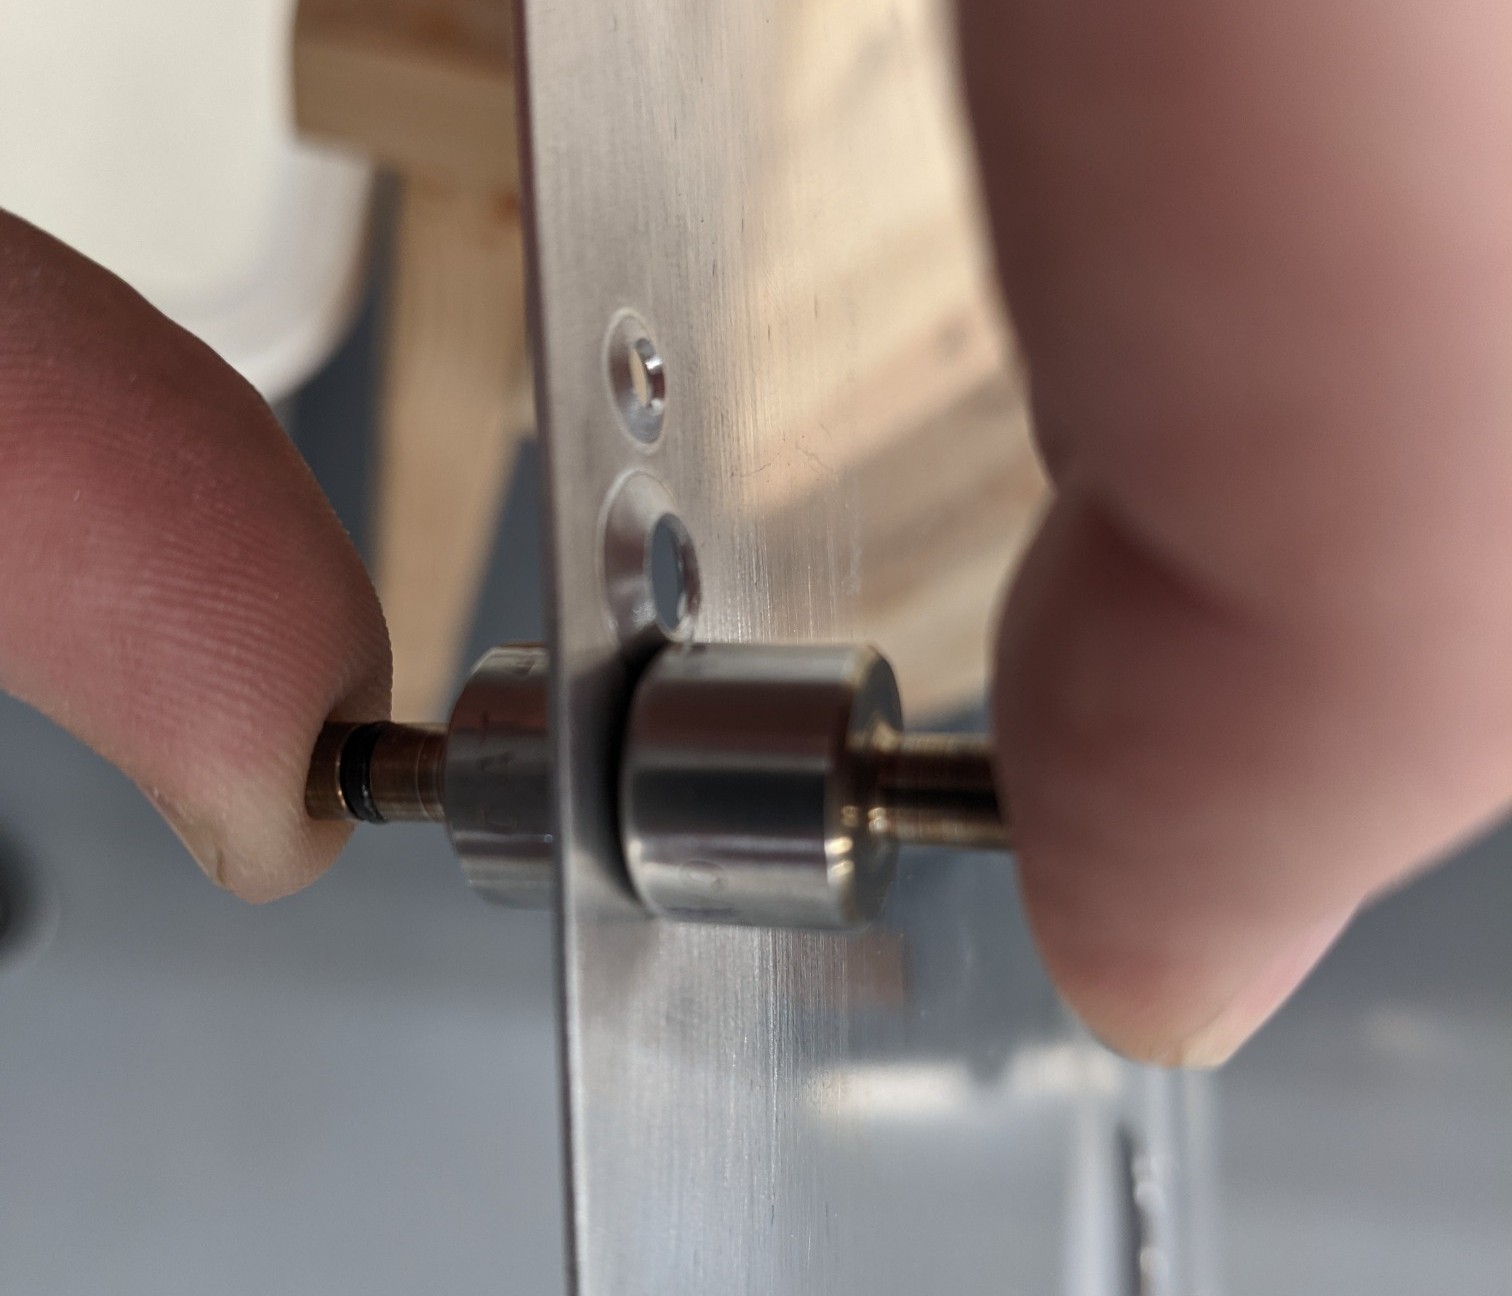
There are several nutplates for #8 screws which also require #40 dimples for flush rivets. I dimpled the #40 holes first as this leaves room for the #8 dimple die. Doing it the other way around (the order described in the plans) would cause the #40 dimple die to overlap the larger #8 dimple. I picked this tip up from Jason Ellis somewhere along the way and remembered it before setting any of the dimples.
Below are a couple of pictures that show the overlap that would occur. I am using the Cleaveland Tool dimple dies.
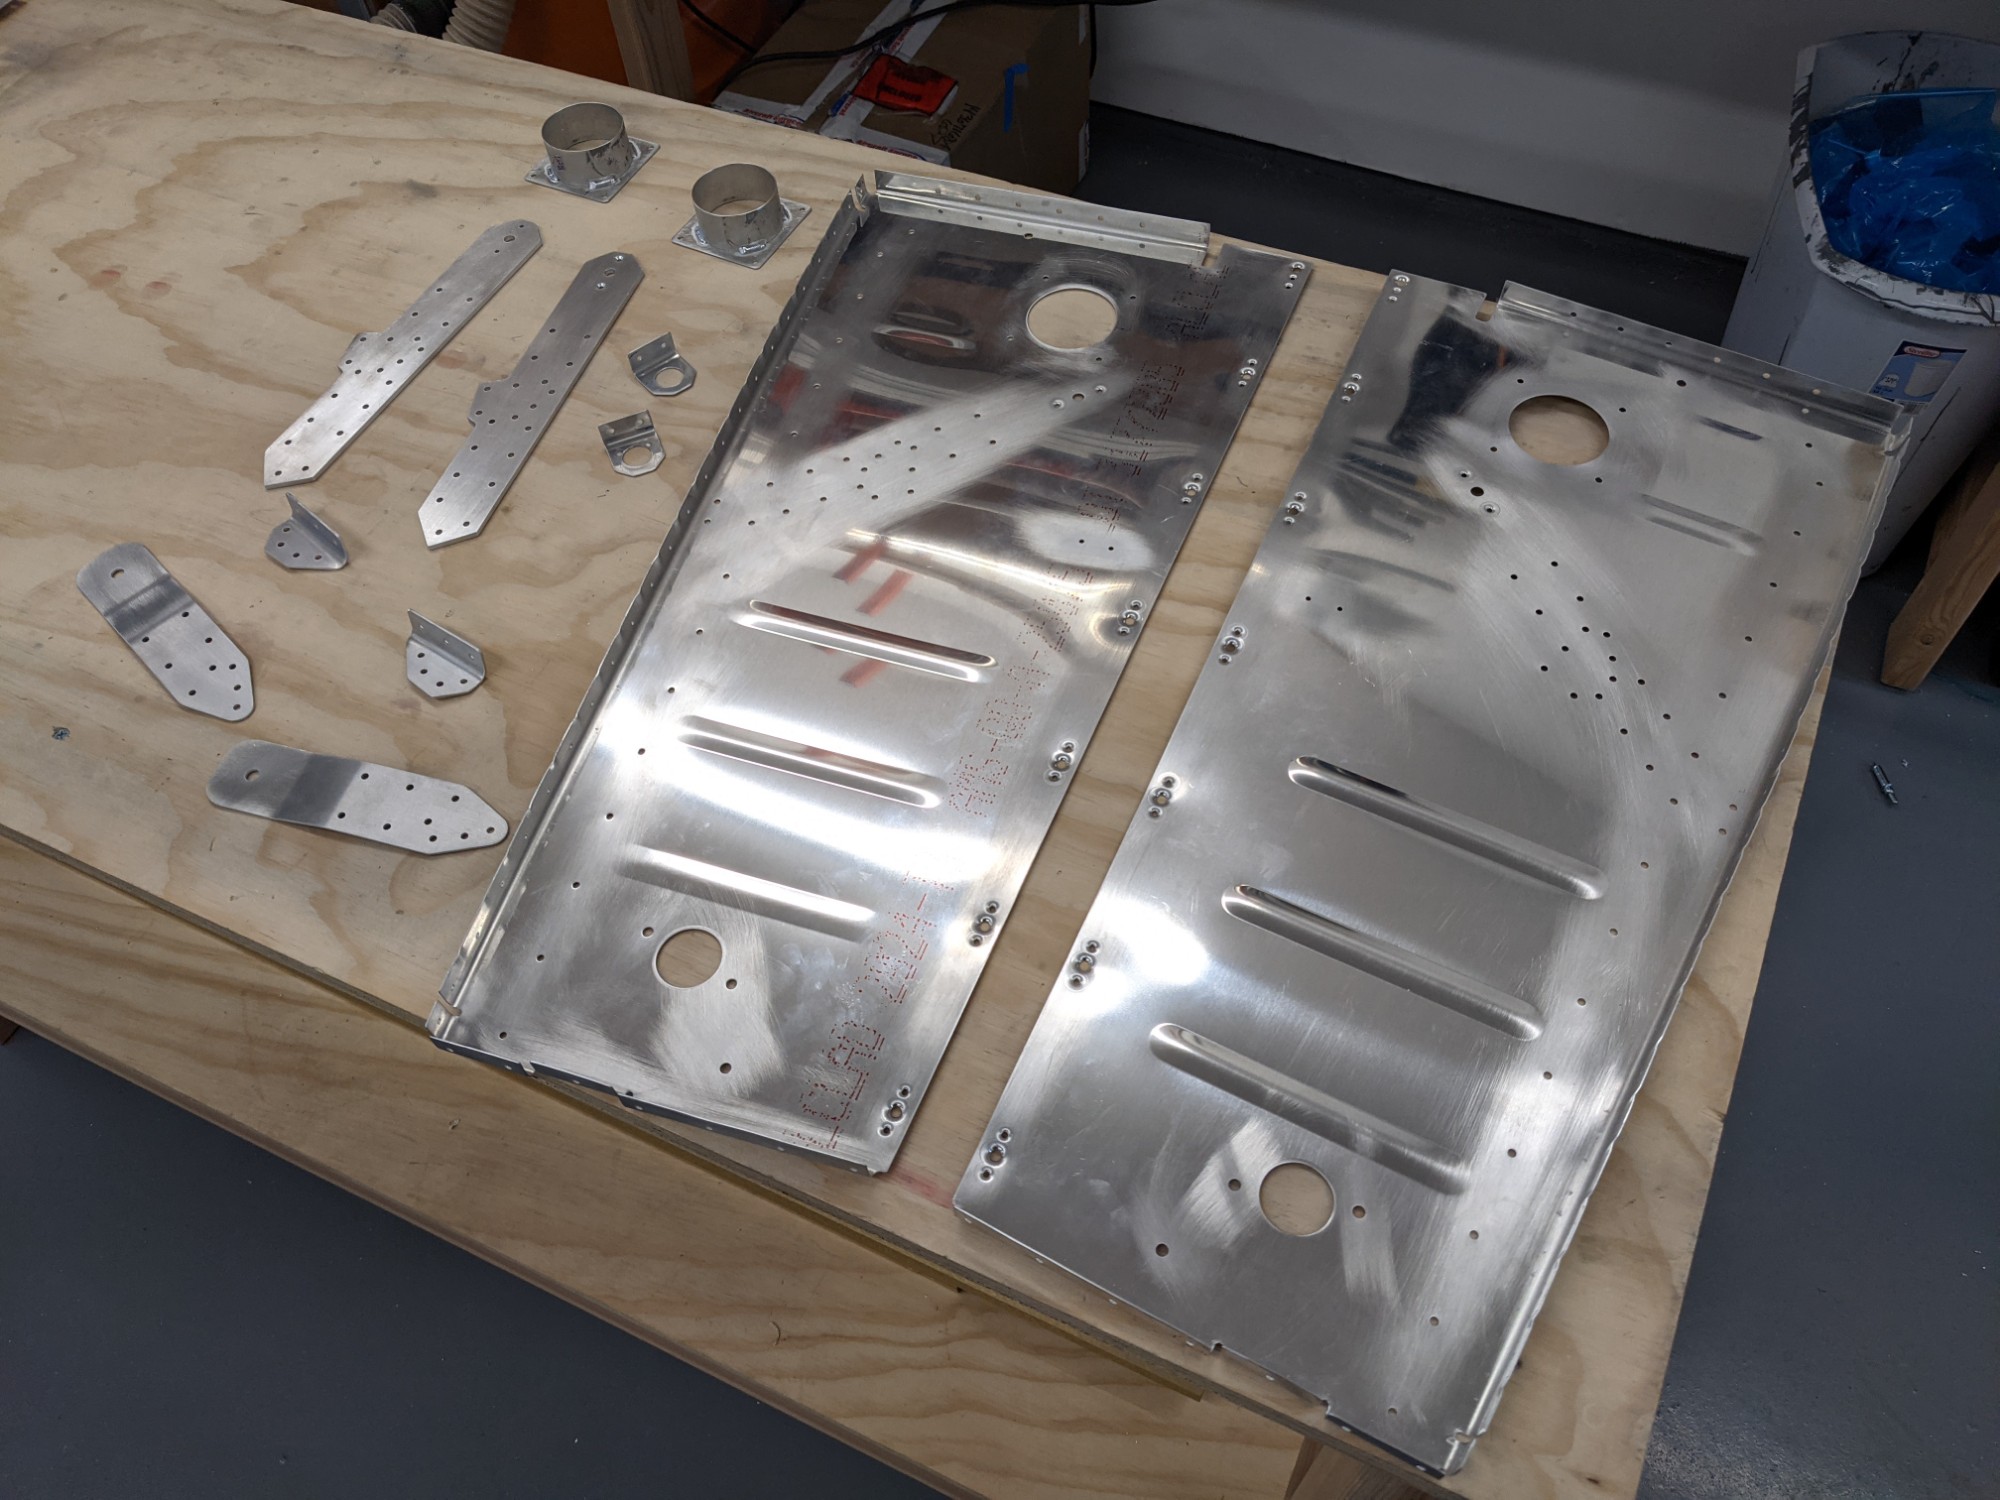
Another set of parts ready for priming.